
Before doing anything else, you’ll first need to create an account on Twitch.
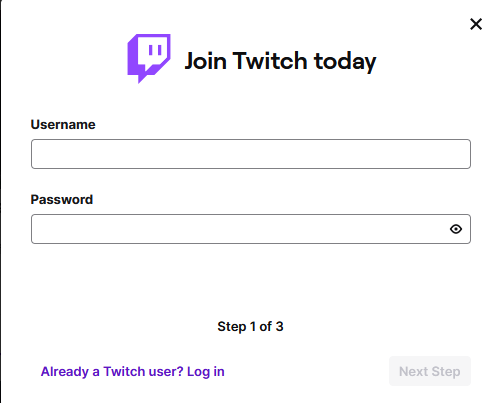
- First, head to Twitch.tv. Go to the top right corner of the screen and select the purple “Sign Up” button.

- Enter a username and password of your choice. Make sure that you haven’t already created an account with your desired email address.
- Enable two-factor authentication. This is required if you want to broadcast on Twitch for security purposes. In order to do so, you’ll need to first verify your email address in the Twitch Security and Privacy settings and then turn on 2FA. You’ll also have to save your phone number to your account as well if you haven’t already done so.
- First, head to Twitch.tv. Go to the top right corner of the screen and select the purple “Sign Up” button.


- To stream on Twitch from PC, first download and install OBS Studio.
- During the installation process, run the Auto-Configuration Wizard. This will set up the best settings for both recording and streaming. It will take into account what you want to use OBS Studio for, and take into account all of your system’s hardware resources and network conditions. If you want to run the Auto-Configuration Wizard again, simply go to “Tools menu”-> “Auto-Configuration Wizard.”

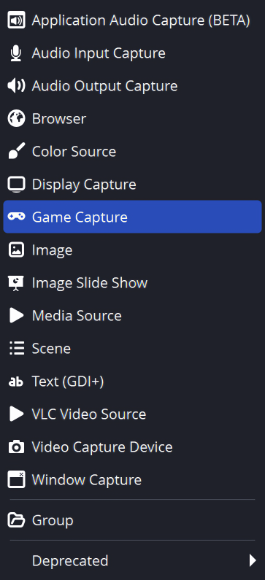
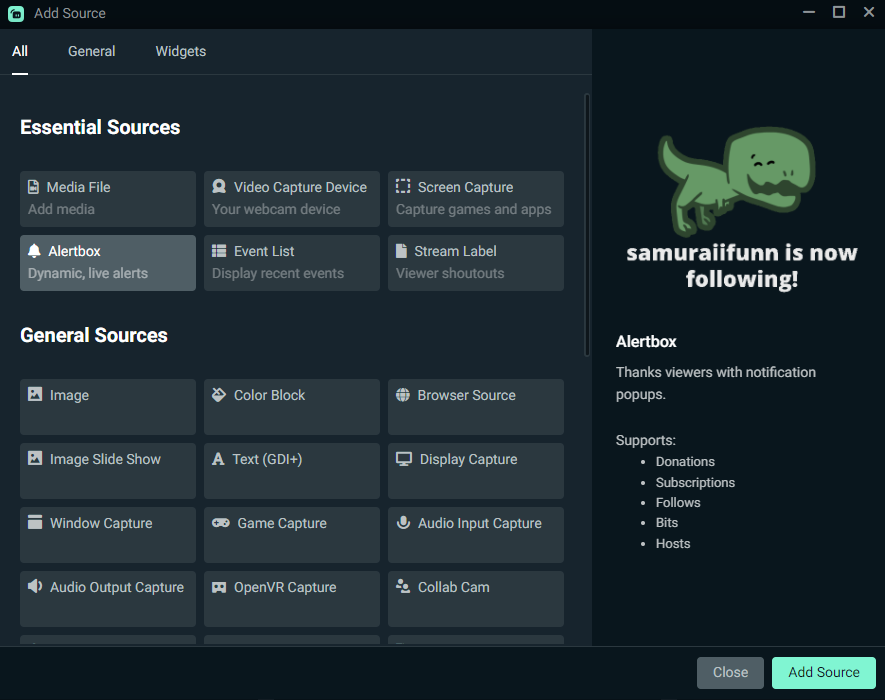
- Add Sources. As with all streaming software, you will start with a blank scene by default. You’ll want to add new sources, which includes your webcam, microphone, gameplay, exterior programs, images, text, etc.
To add a source of your choice, click on the + symbol at the bottom of the main window. - Set up Audio Input. By default, OBS Studio will capture your desktop audio and microphone. You can verify this by looking at the volume meters in the Auto Mixer area. To change the audio device that is being captured, go to “Settings” -> “Audio” and select the desired audio device.
- Double check all of your settings, and make sure that everything is working properly. Go to “Settings” -> “Output.” Click “Start Recording” or “Start Streaming” and see if everything is functioning correctly. Instead of jumping right into a stream, test everything to make sure it all works properly.
And that’s it – that’s all that you need to do to stream on Twitch from PC. Happy streaming!


Streaming Keys are unique keys or numbers that are directly connected to a user’s Twitch account. In order to stream onto Twitch, you will need to input your stream key into your streaming software of choice.
In order to find your streaming key, you will need to do the following:
- Open your web browser and log into Twitch.
- Click on your profile icon in the top right corner of the screen and select “Creator Dashboard.”
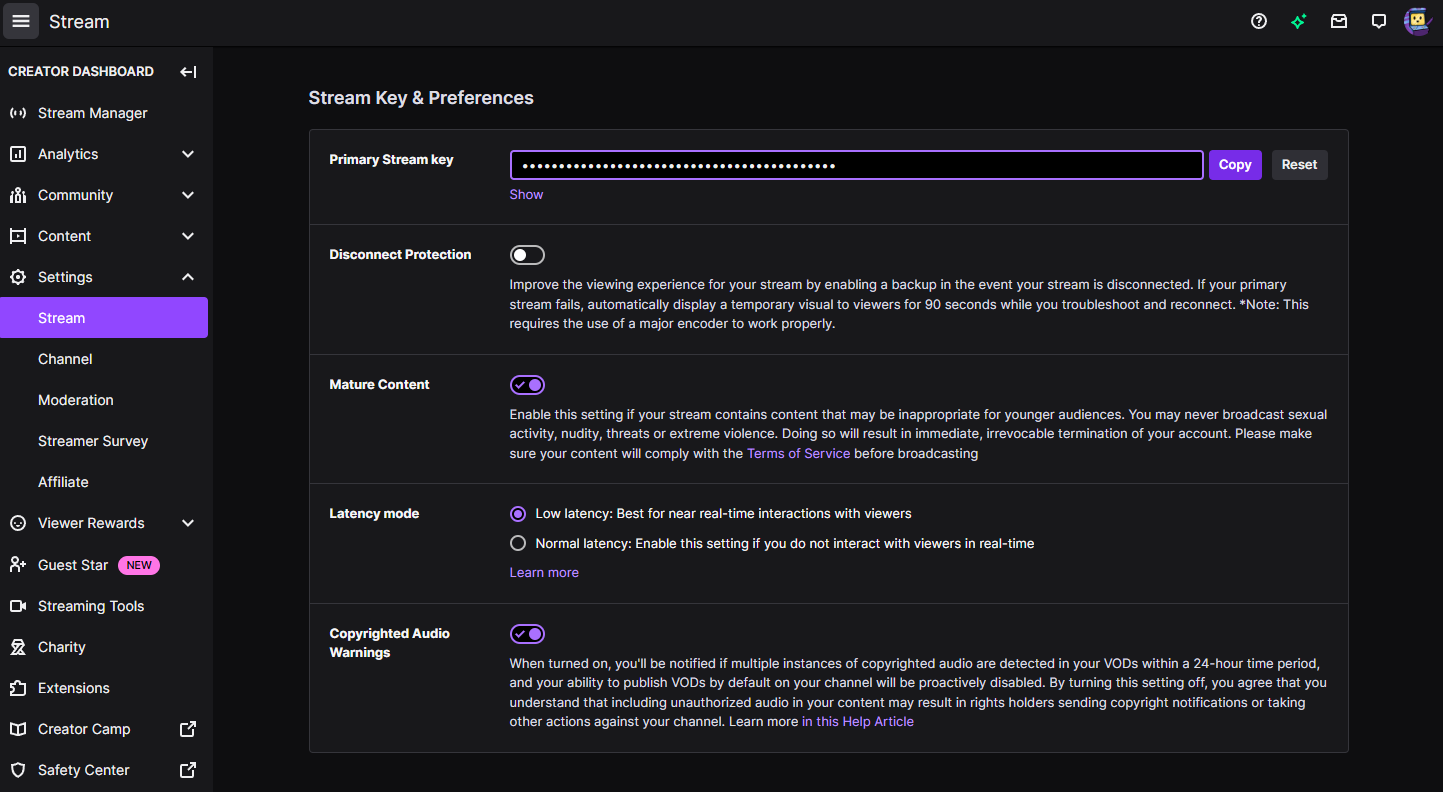
- On the left-hand side of the Creator Dashboard, select “Settings” and then select “Stream.”

- In the first section which is labeled “Stream Key & Preferences”, find the “Primary Stream key” section and click on the “Copy” button on the right side of the screen.
- And that’s it – you’ve located your Twitch stream key! Remember to never share your streaming key with anybody else or paste it anywhere other than within your streaming software.
Now that you have your streaming key, you can use it by adding it to stream from your streaming software of choice. Streaming keys will allow your streaming software and your Twitch account to link together, and it is what enables you to go live.
Stream delay is essentially the short amount of time that occurs between real time on one’s computer and when viewers view it in a live broadcast. Because of the vast amount of streamers that are live at any given time on Twitch, the short delay that occurs is pretty much unavoidable.
On average, stream delay lasts around 10-15 seconds, though certain factors like poor internet connection or sub-par processing power may result in a longer delay. However, in some cases, streamers may want to change their stream delay. Stream delay can easily be lowered by either a) a faster internet connection through an ethernet cable or a faster wi-fi connection or b) freeing up processing power on one’s gaming rig. This can be done by closing programs that are taking up a lot of bandwidth or by physically upgrading your CPU.
Alternatively, streamers who play competitive games while live may want to actually increase their stream delay time. This can be done directly through Twitch but is only available to Twitch Partners. Non-Partners can do so, but only indirectly via streaming software. Changing stream delay is a fairly easy process overall. Here’s how:
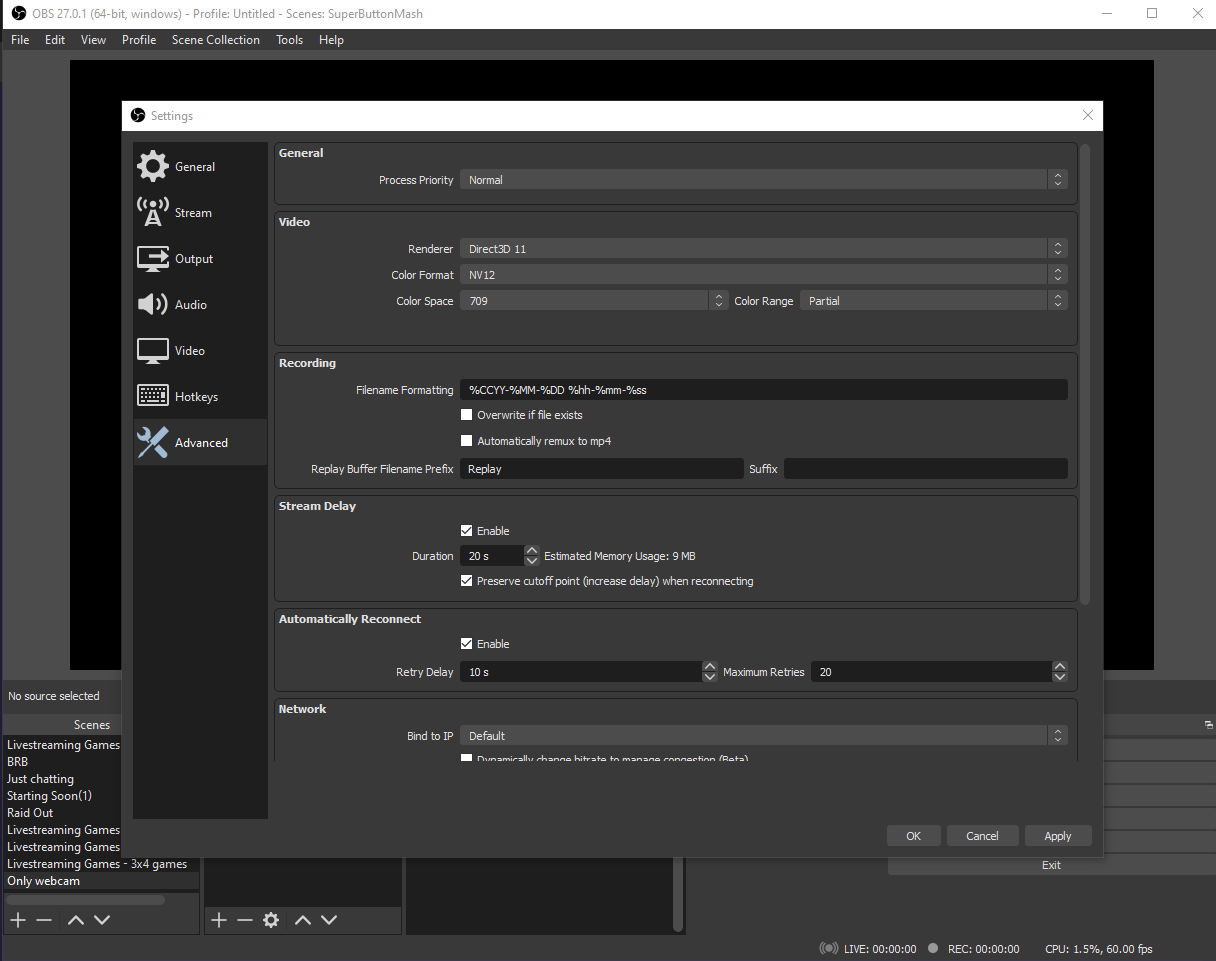
- Open OBS. Click “File” and then select “Settings”.
- Click on “Advanced” on the left-hand side.

- Navigate to the “Stream Delay” section and then check the box marked “enable”.
- Adjust the delay time to your desired amount.
- Click on the “Apply” button at the bottom of the page. And that’s it! The stream delay will take effect on your next broadcast. If you want to change it again, you can do so here at any time.
If you’d like to learn more, then feel free to check out our full guide to stream delay.
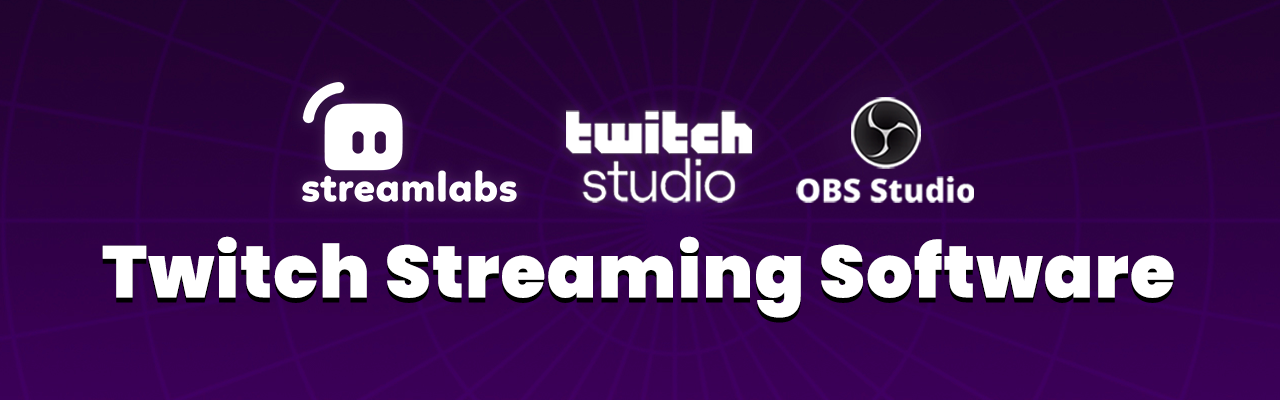
Twitch users can go live without OBS, as there are many different options out there as far as streaming software goes. As previously discussed, Streamlabs and Twitch Studio are the two other most popular programs. Let’s discuss the step-by-step process for how users can go live on both Streamlabs and Twitch Studio.
Streamlabs is a great application for live streaming, with its biggest benefit being the simplicity of setting it up and getting started. Here’s how you can stream with Streamlabs:
- Download and install Streamlabs.
- Open Streamlabs. Select Twitch. Log in to your Twitch account.
- Set your default audio input device. To do so, go to “Sources” and select “Add Source” (the plus button).

- Click “Continue to Webcam.” Select your webcam of choice from the drop-down menu.
- Click “Continue to Layouts.” Select “Customize Scenes” or choose any of the three default scenes to customize. Here you’ll be able to change various details, such as the background colors as well as adding various images.
- Click “Continue to Settings.” Make any changes that you wish to the stream settings, though Twitch Studio offers the most optimal streaming settings based on your PC hardware and internet speed.
- Click “Continue to App.” Here, you’ll be able to fully customize your stream scenes. Once all of that is good to go, you’re all done. Once you’re all finished, click “Go Live!”
Twitch Studio, which is the live streaming software created by Twitch themselves, is another very popular option for Twitch streamers. Here’s how to set up and stream with Twitch Studios:
- Download and install Twitch Studio.
- Open Twitch Studio. Log in to your Twitch account.
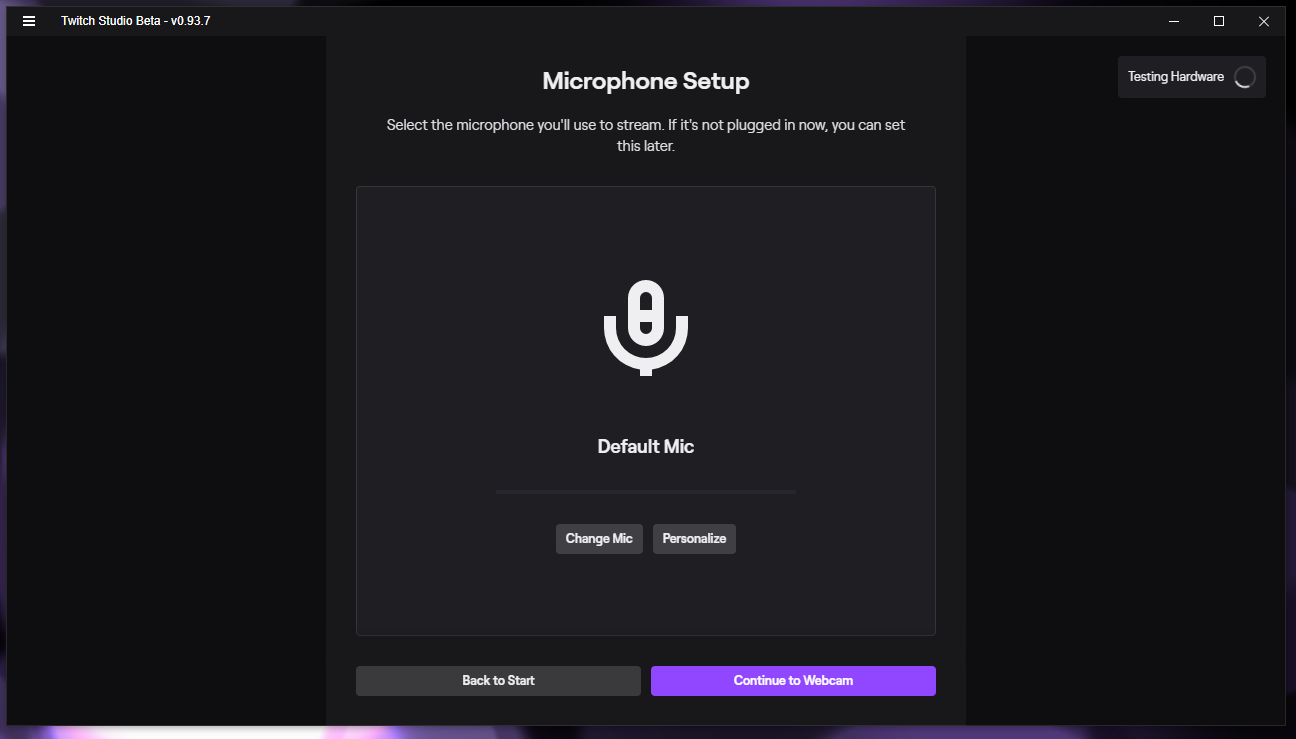
- Set your default audio input device. If you do not want to use the default microphone setup, you can click “Change Mic” and then select your desired microphone from the drop-down menu.

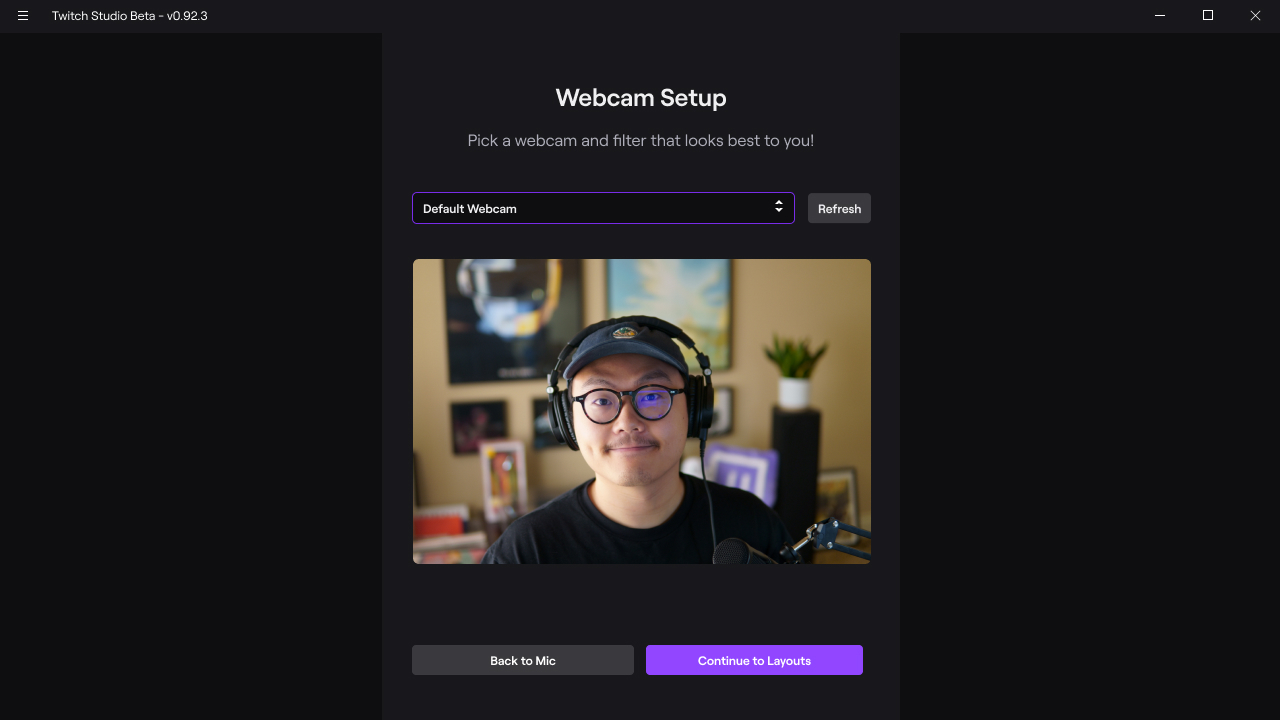
- Click “Continue to Webcam.” Select your webcam of choice from the drop-down menu.

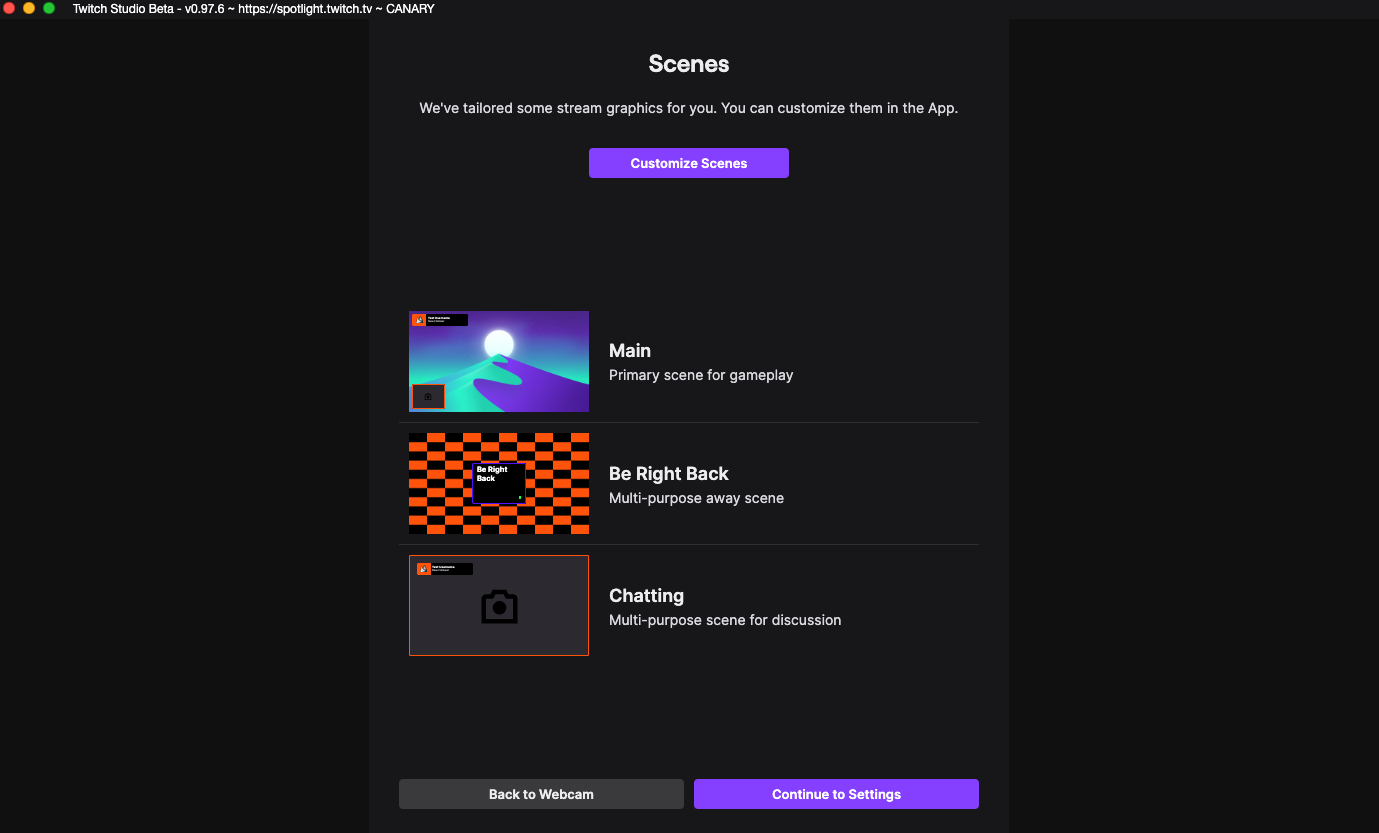
- Click “Continue to Layouts.” Select “Customize Scenes” or choose any of the three default scenes to customize. Here you’ll be able to change various details, such as the background colors as well as adding various images.

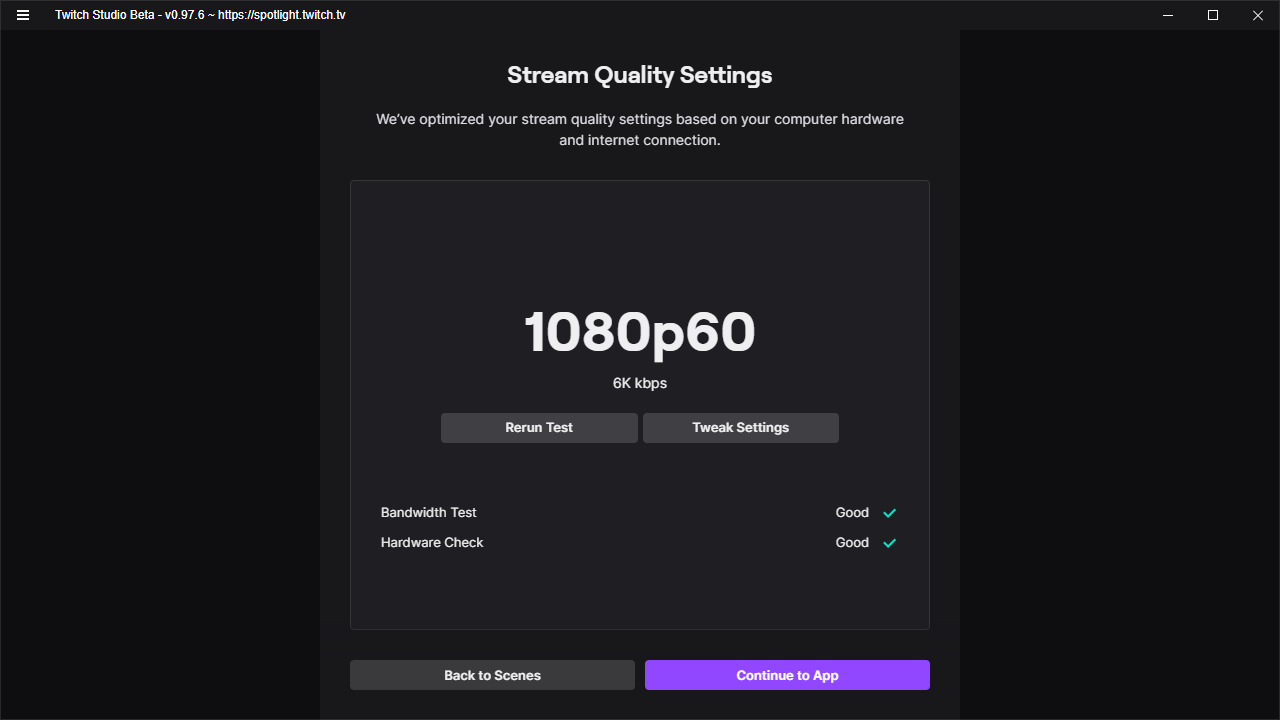
- Click “Continue to Settings.” Make any changes that you wish to the stream settings, though Twitch Studio offers the most optimal streaming settings based on your PC hardware and internet speed.
- Click “Continue to App.” Here, you’ll be able to fully customize your stream scenes. Once all of that is good to go, you’re all done. Once you’re all finished, click “Go Live!”