Making overlays is a huge step in upgrading your channel’s quality and branding. It doesn’t take long to notice that most of the top live streaming channels are utilizing stream overlays. There’s more than one way to get overlays made for your channel. However, today we’ll show you how to make a Twitch overlay from scratch. Whether it’s for OBS or Streamlabs the process for creating these designs will be almost identical.
There are a variety of overlay maker tools out there that can help you create overlays. We’ve covered all of the best options in depth to equip you with the information needed to make the right decision for your stream.
What Makes A Good Overlay ?
We’ve been making overlays at Hexeum since 2017 so we’ve learned a thing or two about making a well designed stream overlay. Here’s our top tips to keep in mind.
- Keep things clean and concise
- Use your brand colors and fonts
- Convey useful information clearly
- Don’t clutter the screen with too many elements
- Use recomended graphics sizes
- Use stream labels
- Use transparent images (PNG) over chroma key technique
How To Make a Twitch Overlay in Photopea & Photoshop
You’ve most likely heard of Photoshop before and know that it’s one of the primary applications designers use to make a Twitch overlay. However, because it’s paid software, it’s not the ideal solution for most people. Fortunately there’s an alternative to Photoshop that’s also rich in features called Photopea. Photopea is completely free and one of the best ways to make a Twitch overlay.
We’re going to be using Photopea in this tutorial, however due to the similarities in software, photoshop users can also follow along. We’re going to start off by making the intermission overlay screen.
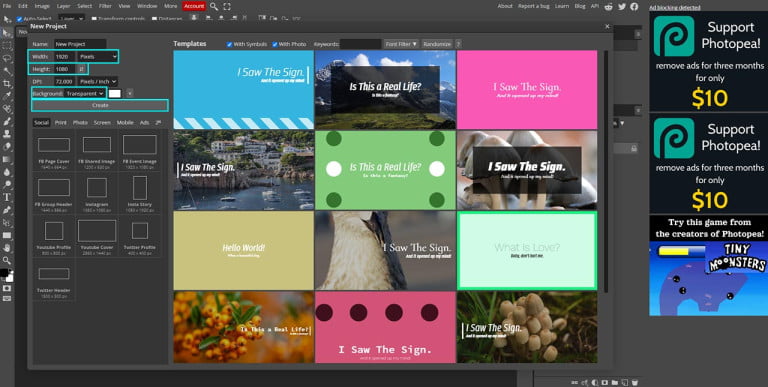
1. Creating The Project
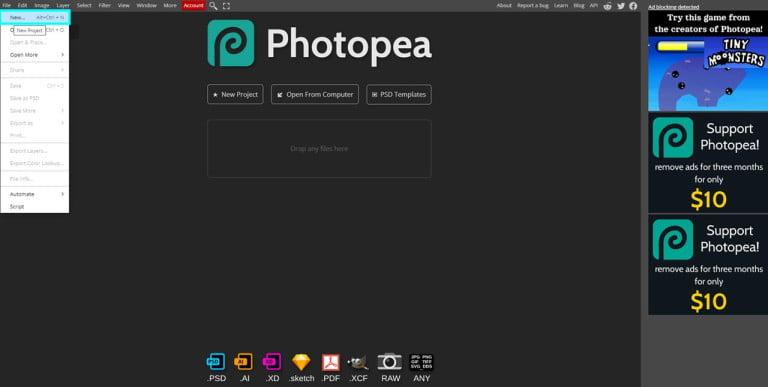
Set the Width and Height to 1920x1080px (sizes taken from Twitch graphics size guide). Make sure that Background is set to Transparent. Now press Create.
*You should now have a blank canvas where we can begin adding graphics.
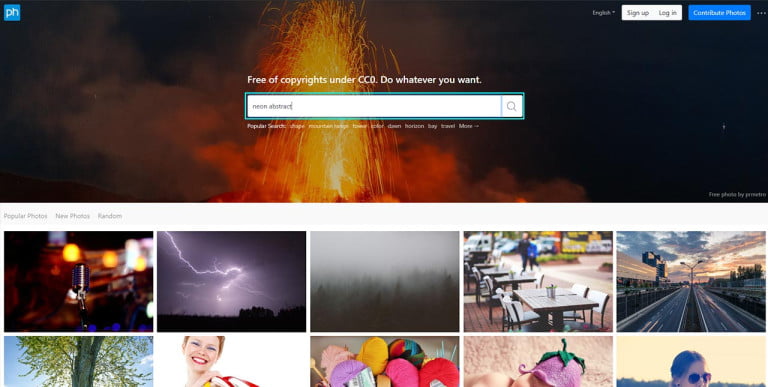
2. Finding A Background
The next step is finding a background image. There are quite plenty of websites with free images available to download. We’ll stick to using Pxhere. They’ve got a huge library of images, a lot of which make great backgrounds for overlays.
Try entering search terms such as neon abstract. Once you find an image you like click on Free Download Original.

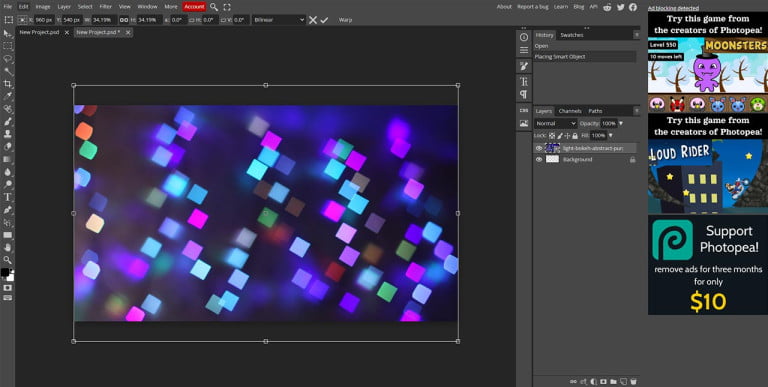
3. Adding The Background
In the top left of Photopea select File -> Open & Place. Open your background image. Adjust the image size to fit it into the canvas. Resize the image by dragging the corners.
Once the image covers the whole canvas press Enter, this will exit transform mode.
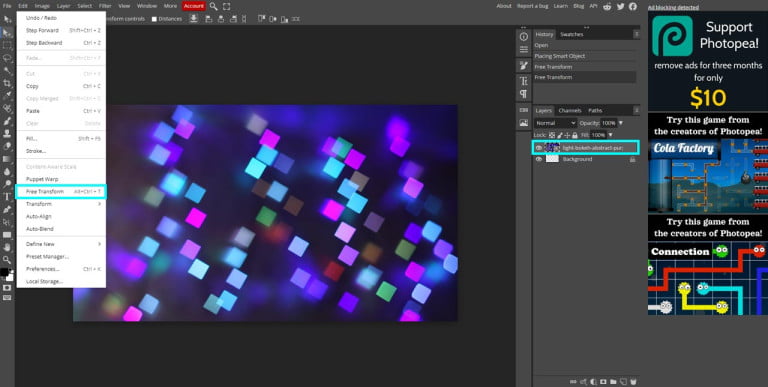
If you ever need to adjust the image size again, first click the image layer, and in the top menu select Edit -> Free Transform
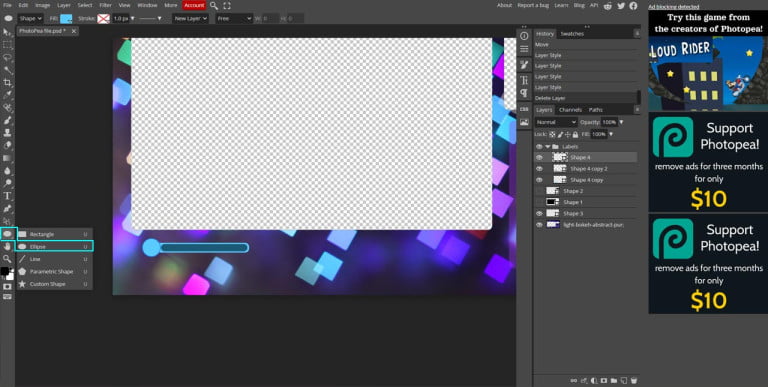
4. Creating The Cutout
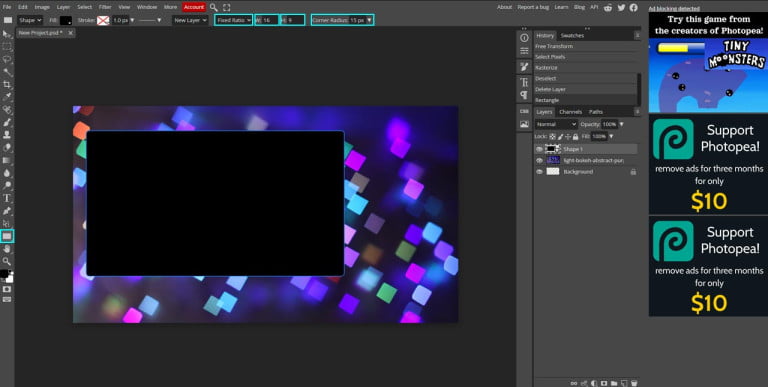
Enable the rectangle tool from the toolbox on the left. Change the corner radius to 15px to create softer edges.
Set the draw settings to Fixed Ratio then set W : 16 and H : 9. If you use a 4:3 webcam then adjust the ration accordingly (i.e. W:4 and H:3).
Click and Drag to draw the rectangle on screen.
Repeat this process to draw a smaller rectangle.
Right click the background image layer from the layers panel on the right side and Rasterize
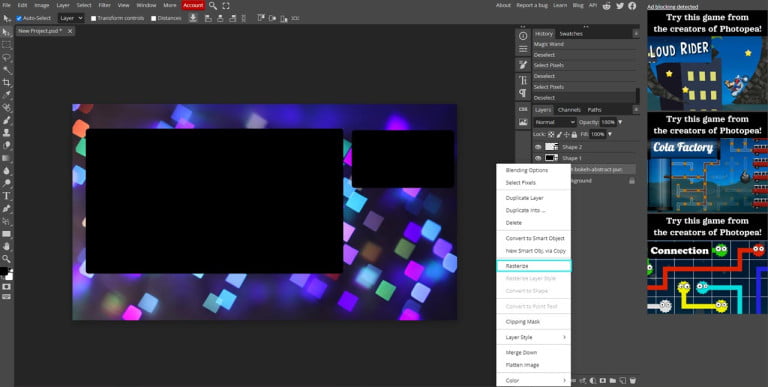
Hover over the rectangle layers thumbnail then Ctrl-Click the layers thumbnail. The layer will now be outlined with a dashed white line.
Now, Select the background image layer and press the Del key.
The cutout area will now be transparent. Repeat the same process for the smaller rectangle.
5. Creating The Chat Box
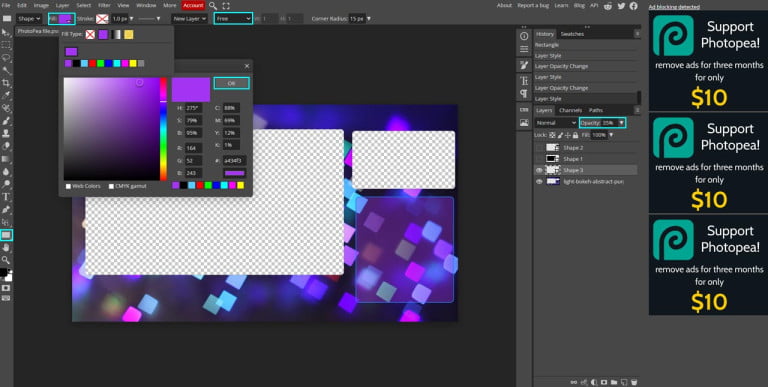
Again, enable the rectangle tool. This time set the draw mode to Free. Start dragging on screen to draw out the chat overlay shape.
Select Fill from the top toolbar and you’ll be shown a color selector. Once you’re happy with the color select OK.
With the chat box layer still selected, change the opacity. Around 35% is a good value.
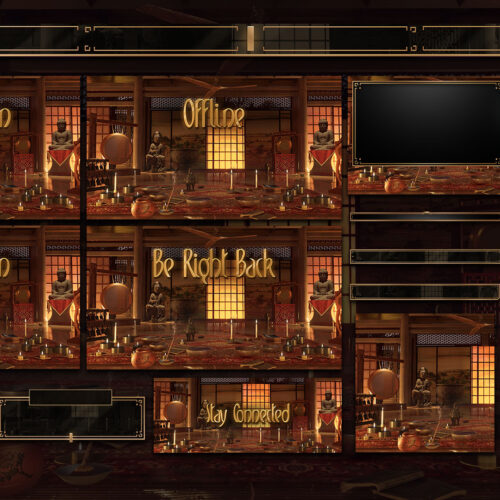
6. Creating Stream Labels
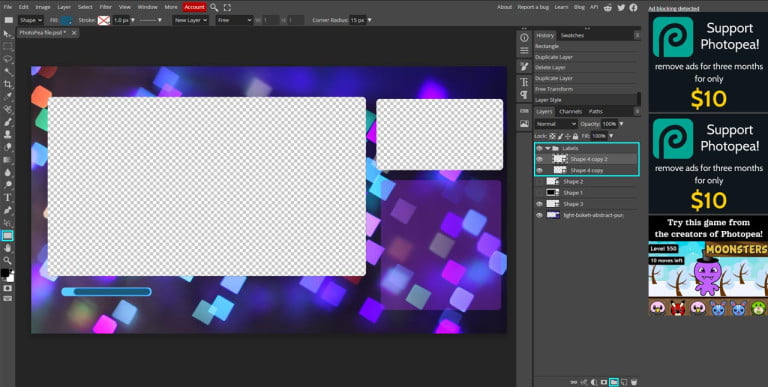
Create a new folder by clicking the folder icon from the right hand sidebar. Once that’s done, select the rectangle tool from the toolbox on the left.
Now create a new rectangle in the shape of a label. Then create a smaller similar shaped rectangle and overlay it on top of the bigger one. Change the color of the smaller rectangle to add some contrast.
Long click the rectangle tool in the toolbox to show alternative shapes.
Select the Ellipse tool (Squashed circle icon) . Draw a small sphere whilst holding shift and position it on the left side of the label.
*Holding shift will make sure the shape is a perfect circle
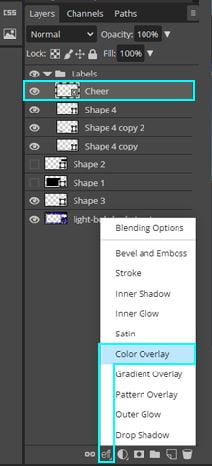
To add icons you need to firstly download our tutorial files. Now, from the top menu go File -> Open & Replace. Select an icon and position it within the circle of the stream label. Once positioned press enter.
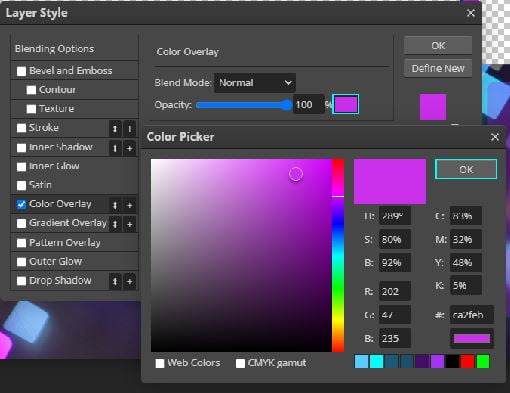
Double click the icon layer and enable Color Overlay from the dialog. Change to a color of your choice using the color picker
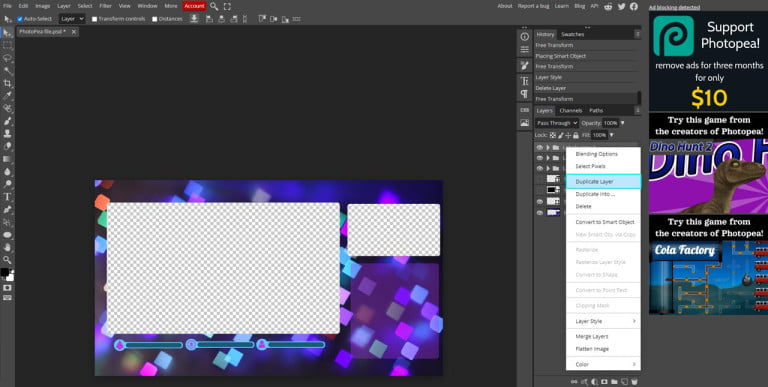
Duplicate the stream label folder by right clicking the layer and selecting Duplicate Layer. You can now add additional icons for each stream label.
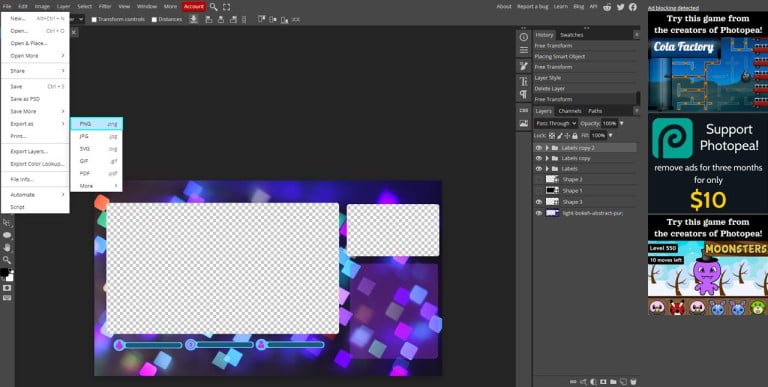
7. Downloading Your Overlays
Export your overlay by doing File -> Export As -> PNG.
It’s very important to select PNG. PNG allows transparency values,which allows see through parts in an image. This is required when creating graphics such as a webcam overlay.
All that’s left to do is add the overlays to your stream.
Tutorial Resources
To help you follow along with the tutorial we’ve created a downloadable file containing the project files, icon pack and background. Right click and Save Link As to choose where to download it.
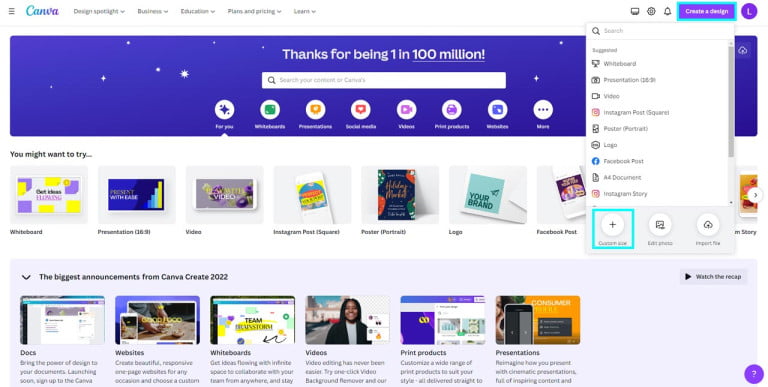
How To Make a Twitch Overlay in Canva
Canva is another widely used tool to make Twitch overlays. Its biggest advantage is how easy it is to use. This makes it a great option for those who have limited experience with design. It makes creating overlays a breeze. If you want high quality designs without sinking time learning advanced tools, then give it a go.
For the purpose of this tutorial, we’re going to show you how to create an intermission screen in Canva.
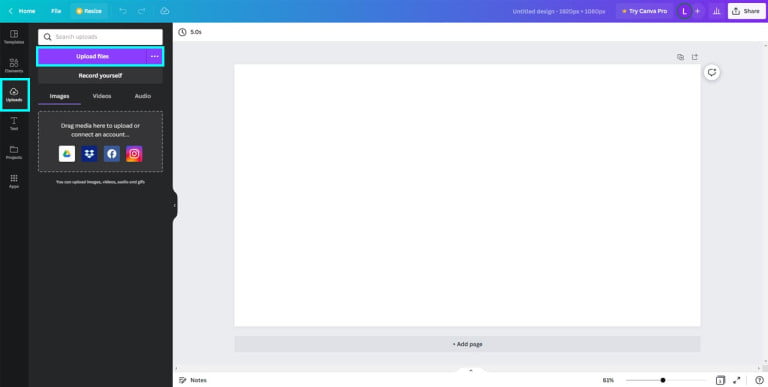
1. Creating A New Canvas
Set width and heigh to 1920x1080px. Then Create New Design

2. Adding A Background
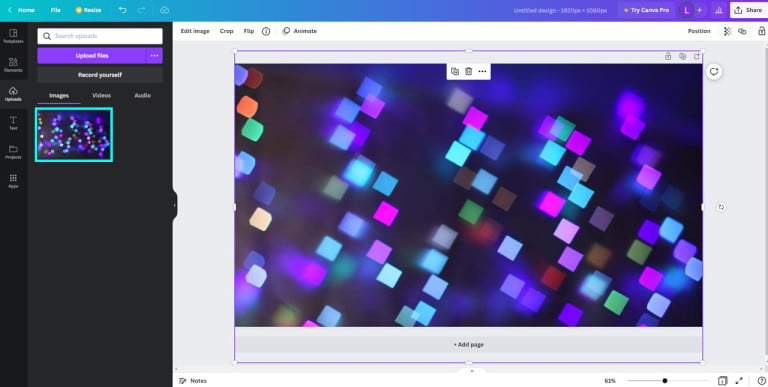
We’ve previously covered how to find a background. Once you’ve found a background select Uploads from the left sidebar and Upload Files.
Once uploaded, drag it from the left panel onto the canvas. The background we chose had to be resized to cover the canvas. Do this by dragging one of the corners.
*Move Canva elements by selecting and dragging them. You can also use your arrow keys for more precise placement
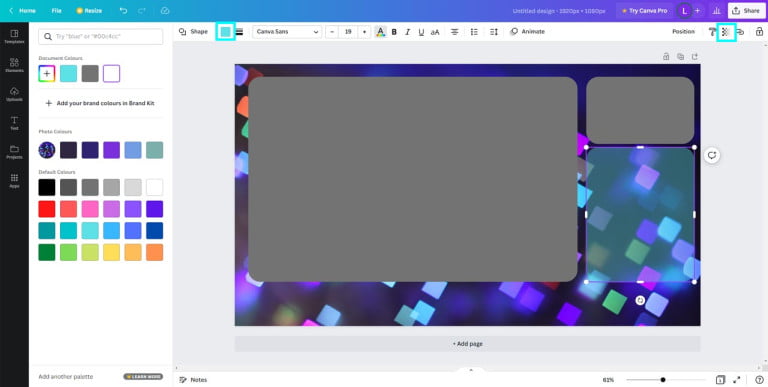
3. Creating The Cutout
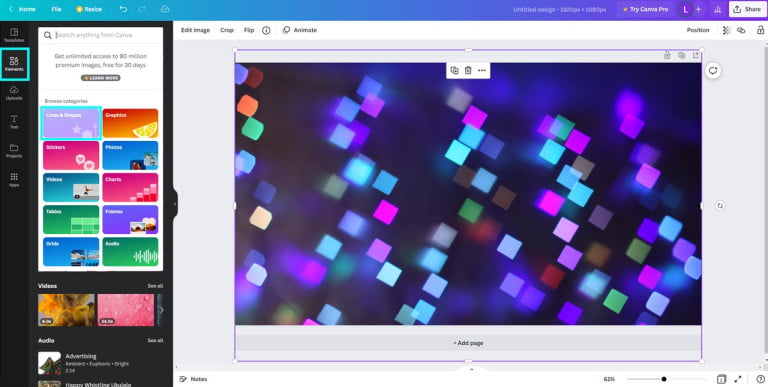
Now we will create two rectangles which will serve as the webcam and gameplay areas later on. Expand the Elements section on the left.
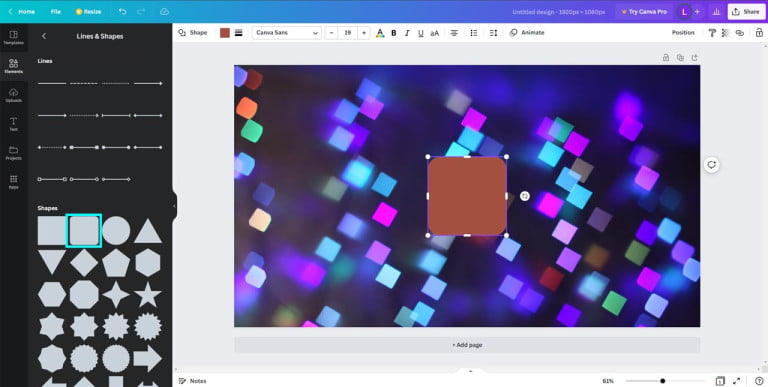
Click into the search bar, some preset categories will now show up. Select Lines & Shapes
Choose the soft edged rectangle to add it to the screen.
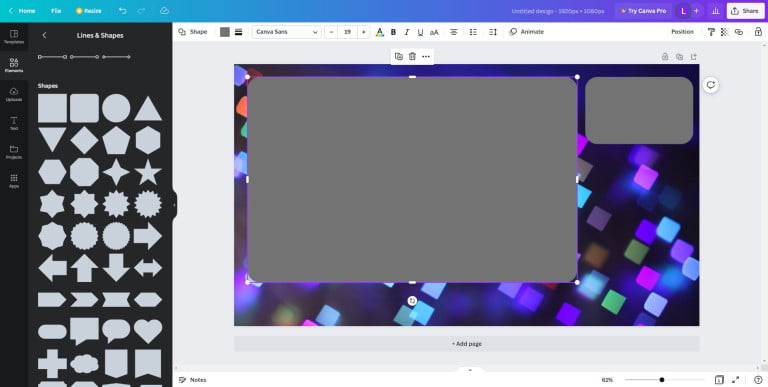
Reposition and resize the first rectangle as shown in the image below.
Now add a second rectangle, position and resize it to serve as a smaller gameplay area.
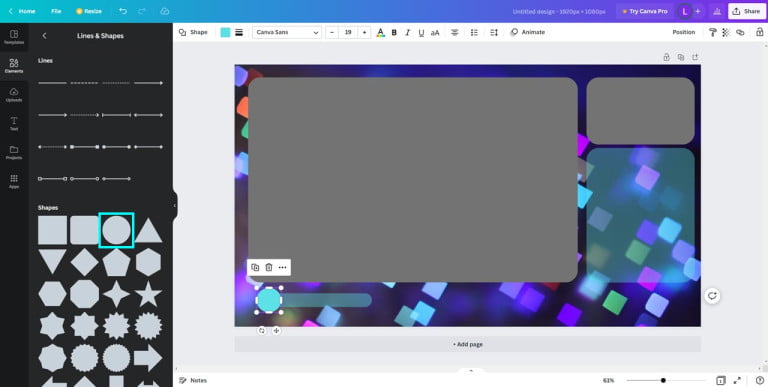
4. Adding A Chat Overlay
Create a chat overlay by adding another rectangle to the canvas. Position it underneath the gameplay area and to the right of the webcam area.
Once positioned, change the color by selecting the coloured box on the top tool shelf. Then change transparency by selecting the button on the top right of the tool shelf. A value of 40% is good.
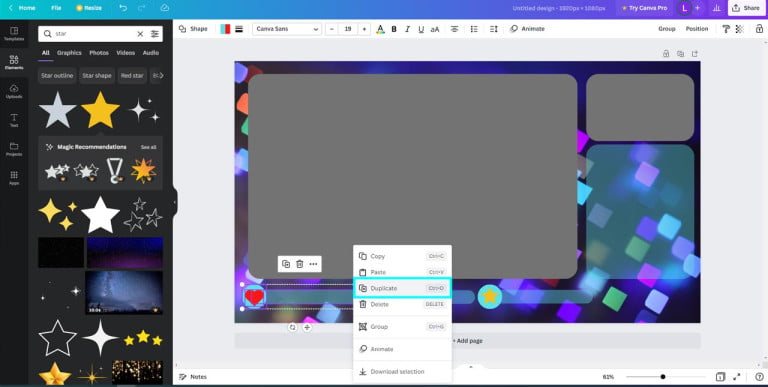
5. Creating A Labels Bar
Add a new shape to the scene. Place it below the larger webcam area. The label should be significantly wider than its height. This gives you plenty of space for placing text later on. Change the color, and set transparency to around 40% again.

Add another shape to the canvas. We chose a circle. Then position it to the left side of the label.
Select Elements from the sidebar. Now do a search for Heart. Once added to the canvas reposition and resize it to fit inside the stream labels circle.
To duplicate the base stream label design, first click the oblong shape, then whilst holding shift select the circle. Now right click it and Duplicate.
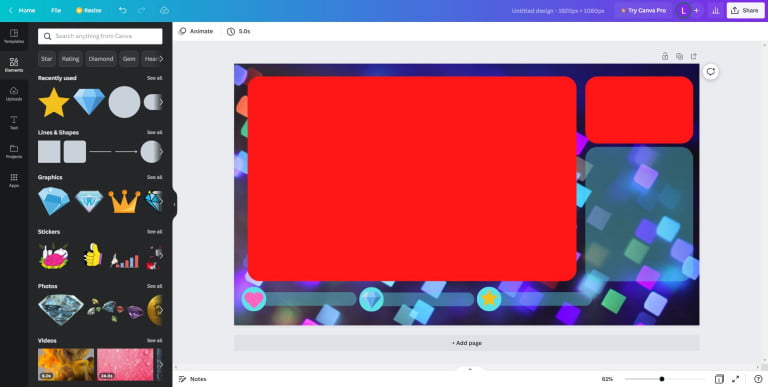
6. Editing Screen Colors
At this stage it’s a good idea to change the color of the cut-out areas. We have chosen red. This is the color you will use to chroma key when you set it up in your streaming software.
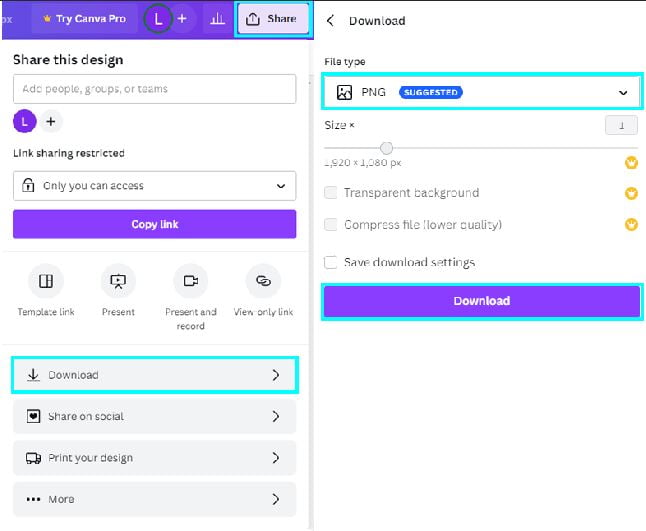
7. Downloading Your Overlays
The final step is to download the overlays. In the top right select Share -> Download.
Make sure PNG is selected as the file type then press Download.
How To Make Twitch Overlays in PlaceIt (Not Free)

PlaceIt is a great tool to quickly make a twitch overlay using existing templates. Keep in mind, if your goal is to make a Twitch overlay for free, this method requires a payment. As you can imagine working with templates gives you much less control of the overall design. However, because most of the elements are already created it’s much quicker compared with the process of making one from scratch.
1. Finding A Template

2. Editing The Template
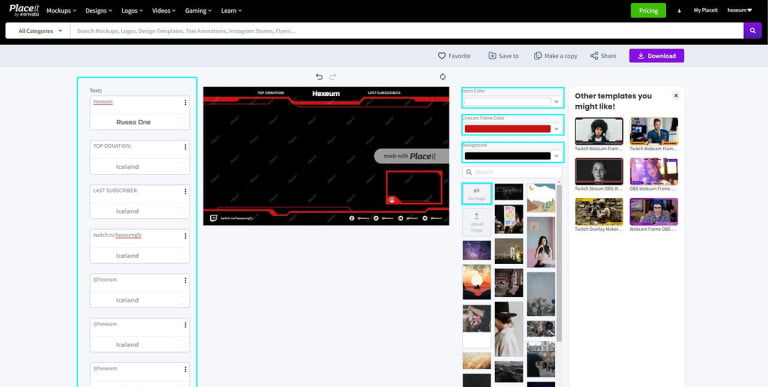
Once you’ve found a template you like, select it to load the editor.
On the left hand side you’ll see some options for editing text and graphics within the template.
On the right side you can change the background image and the colors within the template.
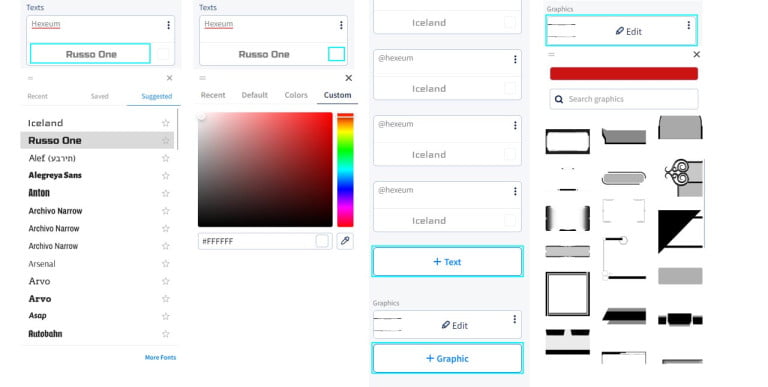
The color options on the right are specific to each element. To edit all the colours and fonts use options in the left sidebar.
To change the text font click the lower part of the text options to reveal a font picker dialog.
Similarly to change the text color, click the small box in the lower right. This will reveal a color picker dialog.
If you want to add more text or graphics to your template, scroll down and use the + Text or + Graphic buttons.
To edit the color of existing graphics, select the Edit button to reveal a settings dialog. From here you can change the graphical shape preset and its color.
3. Adding A Logo
To add some finishing touches we’ll add a logo to the template. Select the + Graphic button in the sidebar on the left. Upload Image, select a logo to upload, then crop it.
The slider scales the logo up or down. Use your mouse to reposition the logo by holding the left click. Center the logo and increase its size.
Make sure it still fits within the boundary. Select Crop when you’re finished.
Place your logo onto a template. Drag the corners to resize.
4. Downloading Your Overlays
Once you’re happy with the design it’s time to download the overlay. Select the Download button shown near the top right.
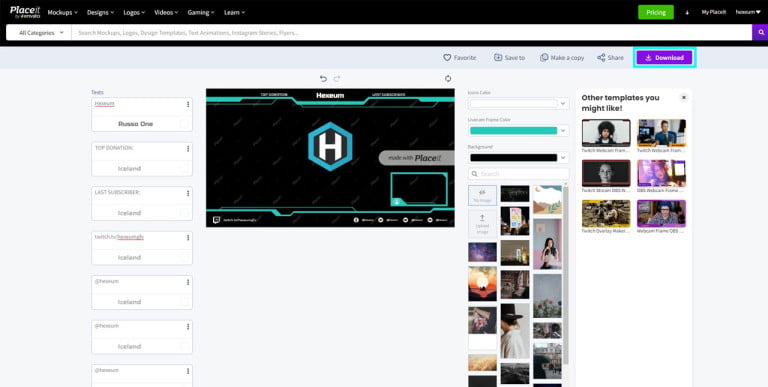
To complete the download you’ll need to enter payment details.
If you like the idea of working with templates but want a free method, then check out how to make overlays using free templates.

Creating Twitch Overlays Using AI
AI art is a pretty heated topic these days. One thing is for sure though, the technology will be here to stay. If you’re just getting started as a streamer and want to try your hand at making the overlays by yourself, then some AI tools could prove very useful to you.
Midjourney
The tool we’re discussing is Midjourney, one of the most popular AI art generators using stable diffusion technology. We begin by using the application to generate the background to be used within your stream overlays.
- Head over to the Midjourney home page and select, sign in.
- You’ll then be asked to authorize the application using your Discord account.
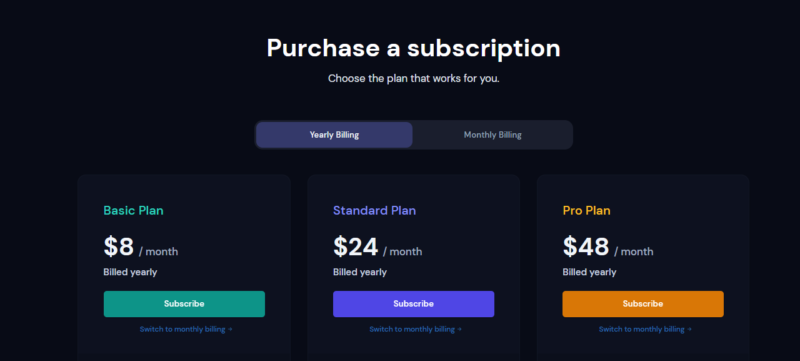
- Now go to the subscriptions page and select the Basic Plan (You can also use a free version but it’s limited)

- You’ll then need to invite the Midjourney bot to your own server
- Once the bot is on your server, go to a text channel and start typing the following command. /imagine
- You’ll then need to begin entering the prompts that will generate the image.
- Be as descriptive as possible
- Here are some common prompts that come in handy: photorealistic, 4k, cinematic lighting, ultrareal
- The AI will then generate four different images related to your prompt. If you’re not happy with the results try tweaking the prompts and generating new images.
- Once you’re happy with the results, Select either U1, U2, U3 or U4
- U1 is the top left image
- U2 is the top right image
- U3 is the bottom left image
- U4 is the bottom right image
- The application will then upscale the image, and it will be available to download on the website’s dashboard.
Now that you have a base screen background, we recommend using this and following the steps outlined in the photopea method substituting in your background image where necessary.
How To Make a Twitch Overlay From Templates
One great way to quickly make a personalized overlay for Twitch is by editing overlay templates in Photopea. Most templates come in PSD format, there’s plenty of free templates out there on the web. Once you’ve found a layout that you like, you need to download it. Make sure that the package contains the PSD files so you can edit them.
If this sounds like a good way to make a Twitch overlay see the steps below. We’re using our own free bounty overlays in this tutorial.
1. Opening The Template
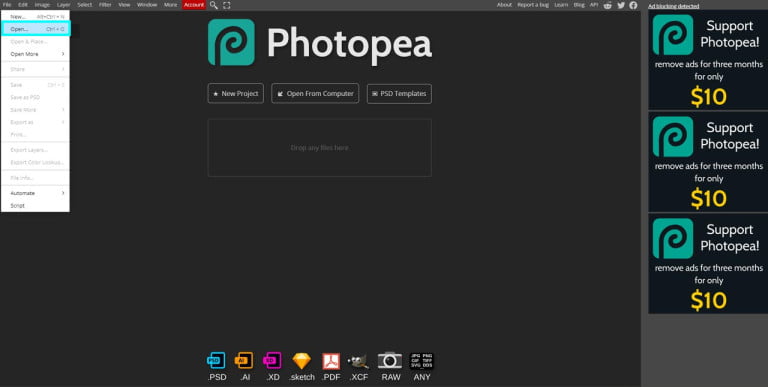
Head over to Photopea.
Click File -> Open. You can now choose a PSD file for edits. Locate the file you want to edit, select it and press Open
2. Editing The Template
The most common edit is changing the social usernames to match your own.
To do this, enable the text tool from the toolbox on the left. Select existing text within the template to begin editing it.
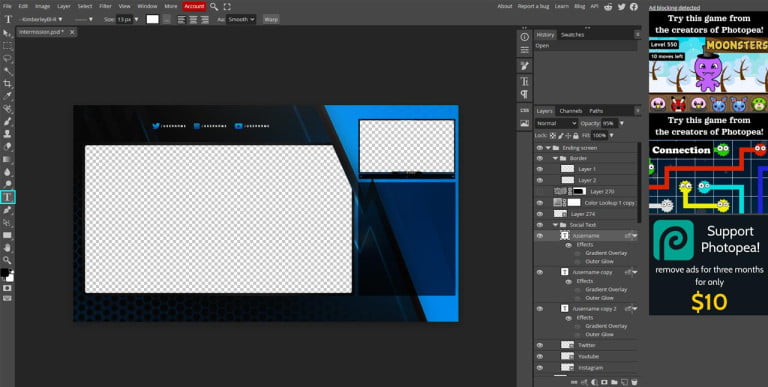
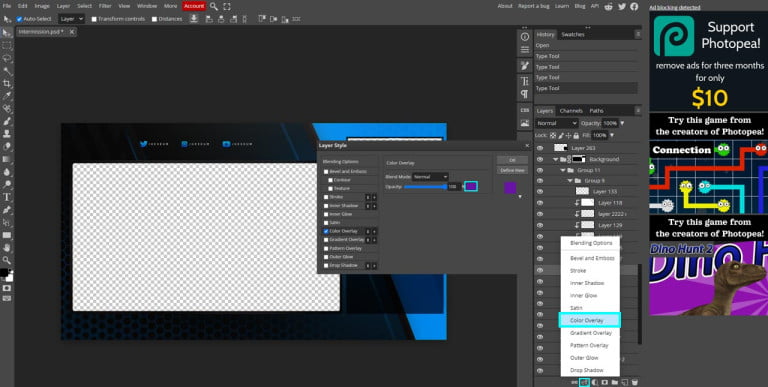
Colours can also be changed to match your own theme. Select the layer you want to edit. The easiest way to select the layer is by selecting it within the main editor window.
Once the correct layer is selected, select eff button at bottom, then Color Overlay.
The layer style dialog will now show, allowing you to change the color for the layer. Press Ok to apply the new color.
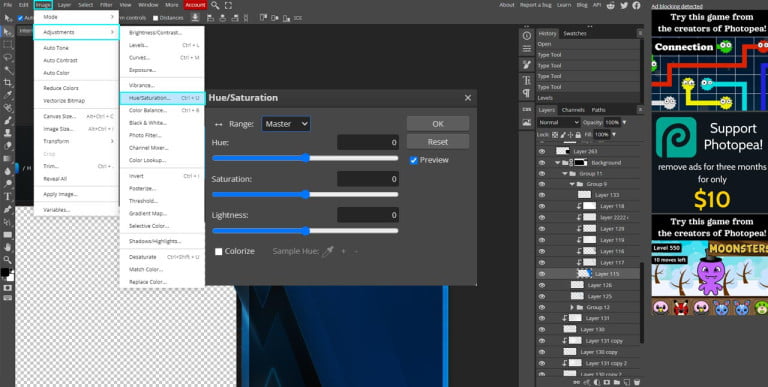
One problem with using the color overlay effect is that it overwrites any textured layers and creates one flat color. If you need to change layers that aren’t one flat color then use this next method.
With the layer still selected, from the top menu select Image -> Adjustments -> Hue/Saturation
Use the hue slider to change the main colors, and use saturation and lightness to fine tune your changes.
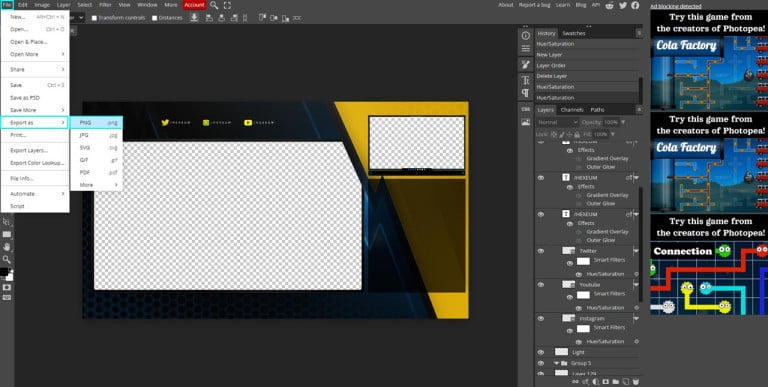
3. Downloading Your Overlays
When you’ve finished editing the layouts it’s time to export them. In the top left select File ->Export As -> PNG.
It’s important to select PNG as the file format to maintain transparency values. This makes it easier to place your webcam feed and gameplay behind in your broadcasting software.
4. Free Template Layouts For Edits
If you like the idea of editing a stream layout template, check out the free designs below. All of them include the PSD file so you can follow our method shown above for editing.
Create Overlays Using Gimp
Video Tutorials
Understandably for some people it’s much easier to learn from tutorials in video format. We have put together a list of extra learning tutorials that cover how to make a Twitch overlay. Each video covers a different application used for creating overlays. If you’re not sure which application or method is best for you, read through each section of our guide. We list the benefits and drawbacks for each method so you can make the best decision for yourself.
Even if you know which application you want to use. We recommend reading through our guide. We cover some more advanced aspects of each software.
Making An Overlay In Photopea
Making An Overlay In Canva
Making An Overlay With PlaceIt
Additional Resources
We put together this list of resources that’ll help you to make a personalized overlay for Twitch. Some resources we may have already covered in parts of this tutorial. We will continually add new resources here that we think can help you out.
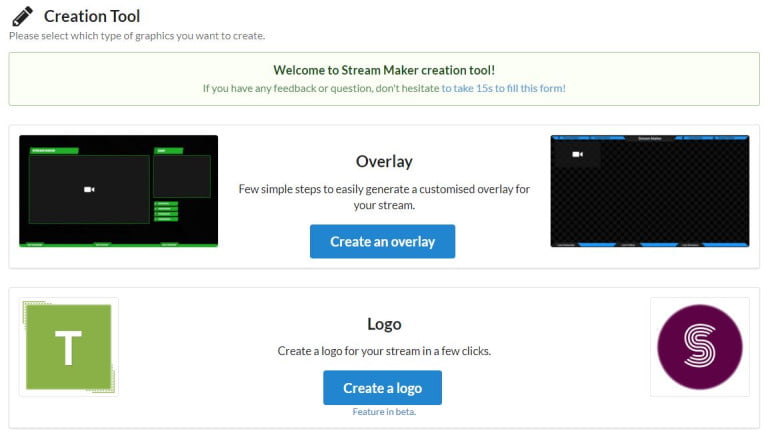
Strmaker
Free Resources
Conclusion
There are a number of tools designed to help you make a Twitch overlay completely free. If you’ve got the time to learn new tools, you can start creating some awesome layouts in no time. However, the more streamlined ways for making overlays can incur a cost. On the other hand, some of the free methods involve learning more advanced tools with steeper learning curves. Making an overlay this way might take some time.
Although creating overlays from templates is quick, it can give you less room for creativity.
If you’ve gotten this far and realized there’s more work involved in creating an overlay than what you thought, fear not. We’ve got a huge collection of premade stream overlay packages in store. We value your time, that’s why our packs are easy to use, well documented and designed by professionals.
FAQ
Can I Make my Own Twitch Overlay Template ?
Yes! Tools such as Photopea, Canva or Nerd or Die overlay maker, all provide you with the tools to create engaging Twitch overlays from scratch.
What To Include in My Twitch Overlay ?
- Social Handles: This will encourage viewers to follow you.
- Webcam overlay: A stylized border for your facecam
- Branding: Integrate branding and logos into your design
- Sponsors: Add sponsor banners to your overlays
- Animation: Fluid animations create a professional image
- Subscriber Count: Show off your subscriber goals and progression
- Event List: Display a list of relevant events
- On Screen Chat: Keep full screen Twitch viewers engaged with a full screen chat overlay
Best Twitch Overlay Makers ?
- Canva
- Photopea
- PlaceIt
- Nerdordie
- Photoshop
How To Make Animated Twitch Overlays ?
Creating animated graphics is a huge step up from designing static elements. For now there are no free tools with a low barrier to entry that we know of. If you have time and money to pay for top software we recommend learning after effects.