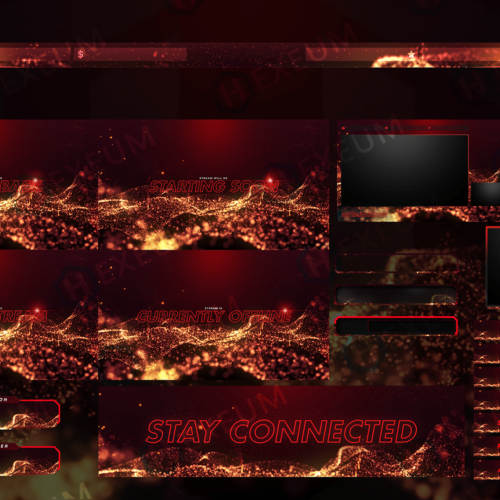

If you’re using professionally made stream overlays chances are they’re going to be animated. Adding animated overlays to Streamlabs will require a specific source called a Media File. A media file is used to display video files within scenes.
A list of supported media types for this source can be found here. WebM is the most commonly used file type for animated overlays because; their file sizes are small, they include transparency values and don’t use a lot of CPU.
Let’s take a look at how to add an animated overlay to Streamlabs with the steps below.
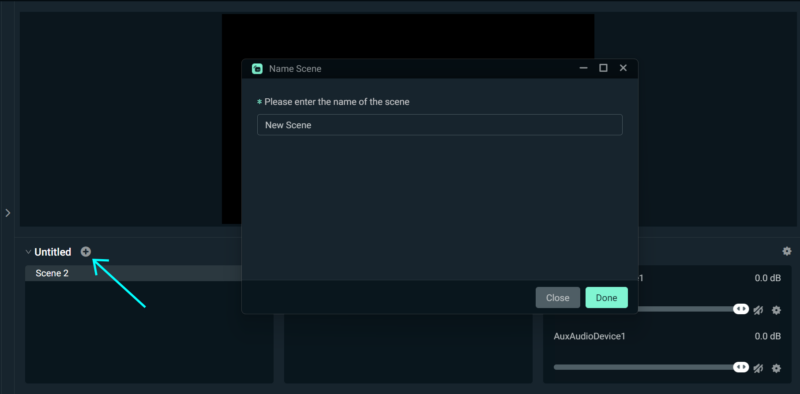
- Launch Streamlabs. Press the + button to create a new scene. Name it appropriately. Alternatively if a scene already exists, click it to activate it.

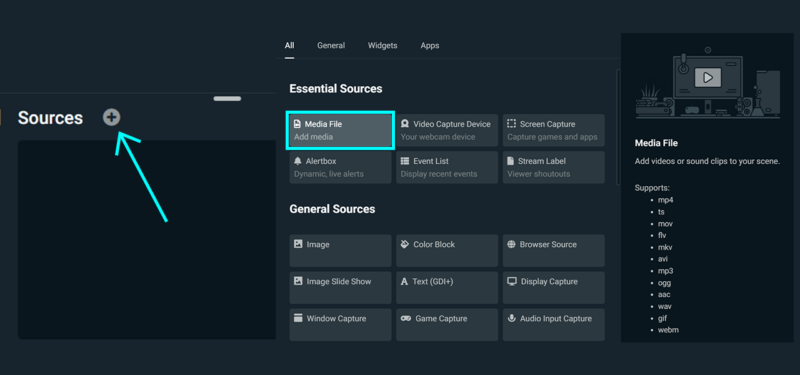
- Select the + button in the sources section, and choose Media File from the dialog. There’s a list of supported file types listed on the right.

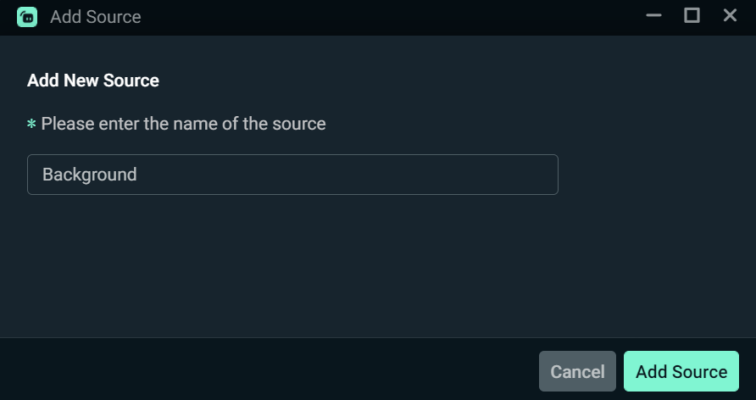
- Enter a name and press Add Source. Scenes can quickly become complex. Name sources logically to maintain organization.

- Click Browse from the properties dialog and choose the animated file to add. Enable the Loop option to loop the animation indefinitely. WebM is the optimal file format for animated files. If there’s no browse button visible, make sure Local File is enabled.

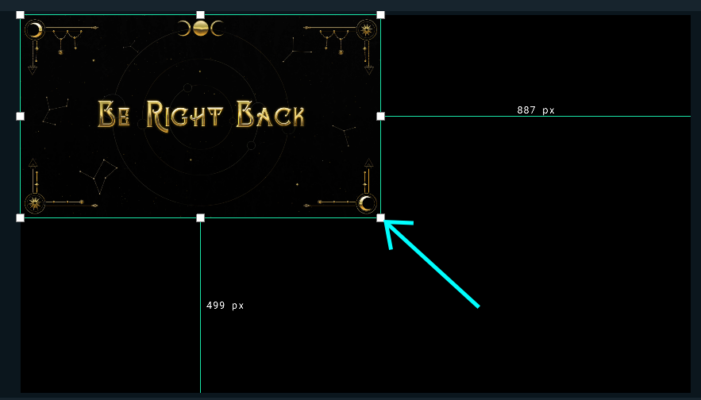
- The media file is then added to the scene. From there, it can be resized by dragging the corners.

- Launch Streamlabs. Press the + button to create a new scene. Name it appropriately. Alternatively if a scene already exists, click it to activate it.

In some cases, displaying non-animated graphics is a preferable option. For those situations an image source is used. The image source supports a wide variety of file types which are listed here.
Let’s take a look at how image overlays are added to Streamlabs desktop.
- Launch Streamlabs. Press the + button to create a new scene. Name it appropriately. Alternatively if a scene already exists, click it to activate it.
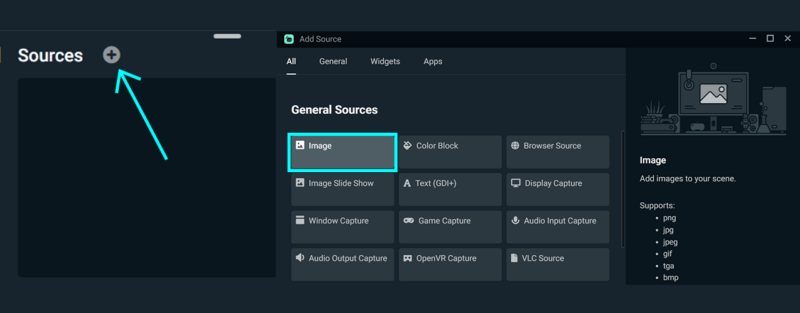
- Select the + button in the sources section, and choose Image from the dialog. There’s a list of supported file types listed on the right.

- Enter a name and press Add Source. Scenes can quickly become confusing so pay attention to naming your sources well.
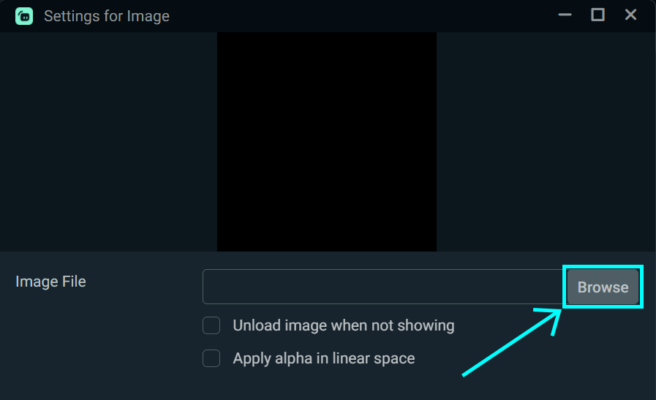
- Click Browse and select the static image overlay you wish to use. Finally click Add Source.

- Drag the corners of the source to resize it.
- Launch Streamlabs. Press the + button to create a new scene. Name it appropriately. Alternatively if a scene already exists, click it to activate it.
There are times you’ll want to add external overlays or graphics within Streamlabs. Browser sources are the secret ingredient for achieving this. Browser sources are like built-in web browsers for Streamlabs. They accept a URL and can display whatever is shown at that URL.
A common use case for this would be to display an in game stats overlay, or some external tool like a Twitch chat overlay. Use the steps below for adding a browser source to Streamlabs.
- Launch Streamlabs. Press the + button to create a new scene. Name it appropriately. Alternatively if a scene already exists, click it to activate it.
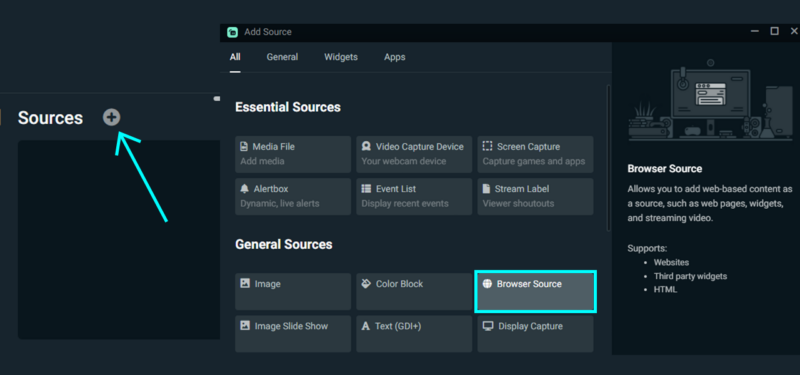
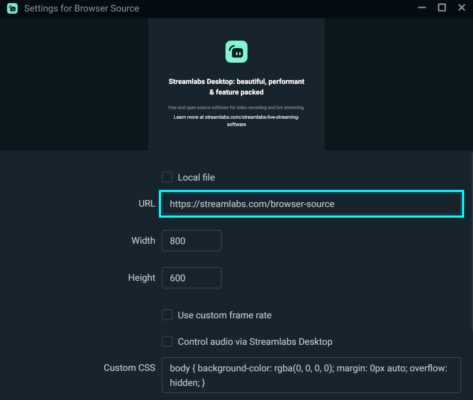
- Select the + button in the sources section, and choose Browser Source from the dialog.
- Enter a name and press Add Source. Scenes can quickly become confusing so pay attention to naming your sources well.
- Paste your unique link into the URL field. Adjust the width and height values to accommodate what your browser source will display. Finally click Add Source.

- Launch Streamlabs. Press the + button to create a new scene. Name it appropriately. Alternatively if a scene already exists, click it to activate it.
Text sources are a useful way to overlay important information within Streamlabs scenes. Streamers use these sources on a daily basis for displaying things like top donations or even social usernames.
Fortunately, setting up a text layer is straightforward by following the steps below.
- Launch Streamlabs. Press the + button to create a new scene. Name it appropriately. Alternatively if a scene already exists, click it to activate it.
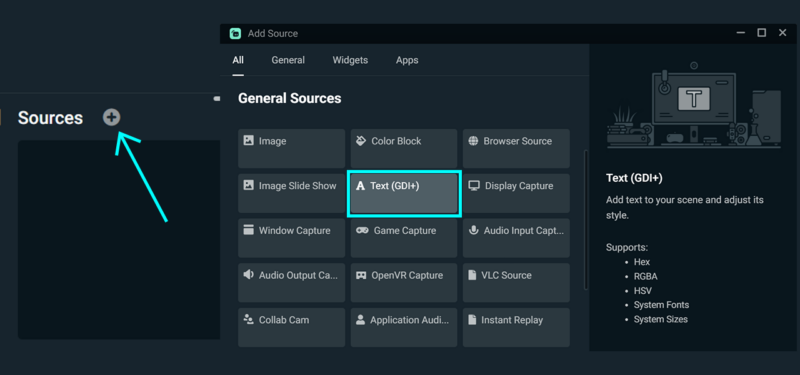
- Select the + button in the sources section, and choose Text(GDI+) from the dialog.
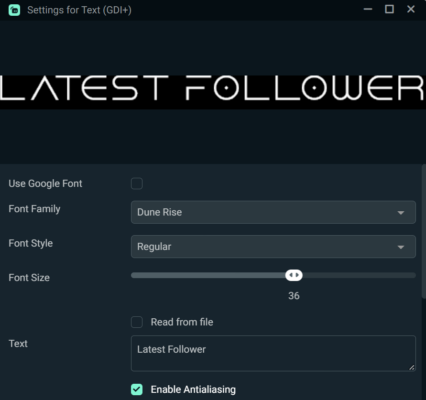
- Enter a name and press Add Source.
- Enter the text to display using the Text field. Font Family will change fonts, and display a list of fonts installed on your system. Alternatively, enable Use Google Font and choose from a huge list of web fonts.

- Launch Streamlabs. Press the + button to create a new scene. Name it appropriately. Alternatively if a scene already exists, click it to activate it.
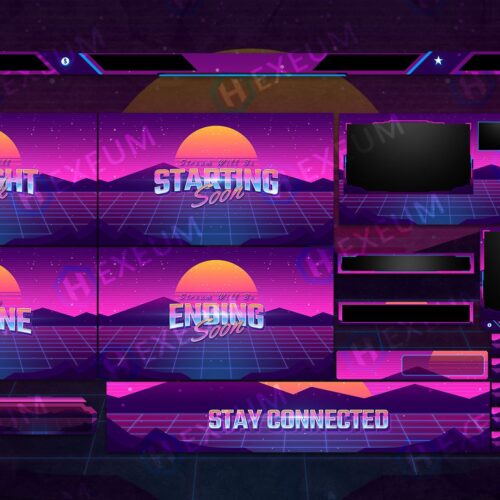
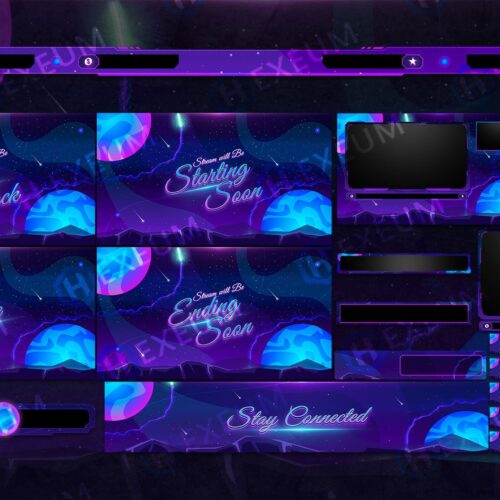
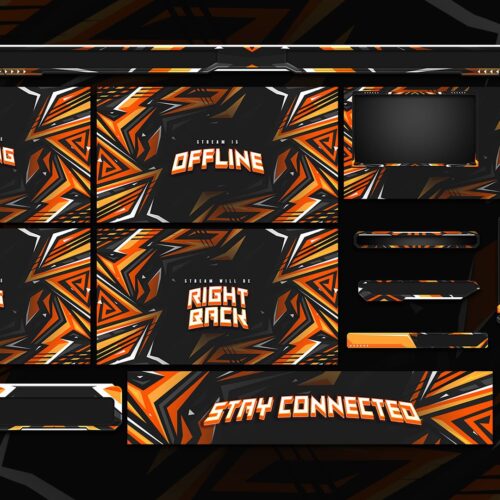
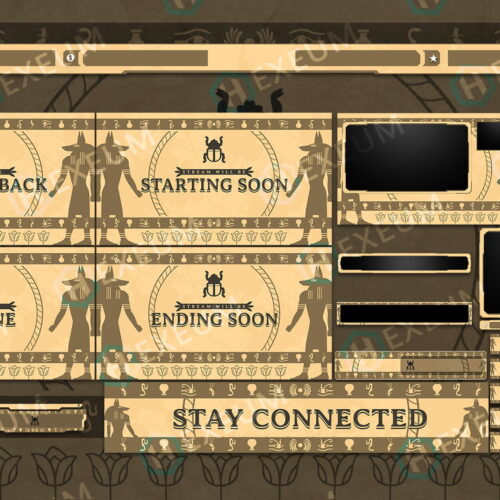
High quality and professional stream overlay packages come with a one click install file for Streamlabs. This quick setup will install all scenes, sources and transitions in less than a minute. This can save hours of configuration and set-up, freeing up more time to focus on more important things like, say, actually streaming!
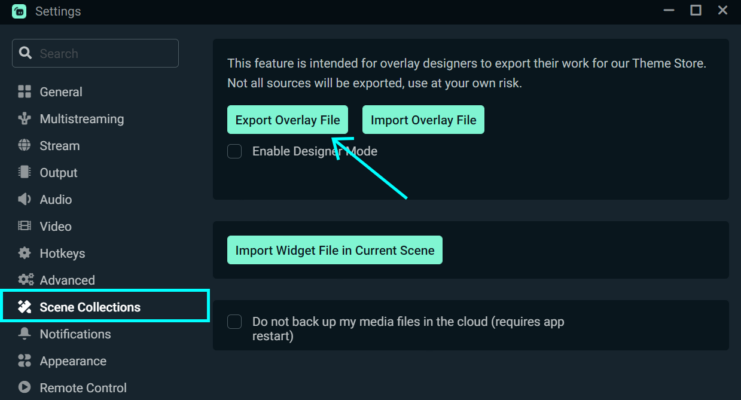
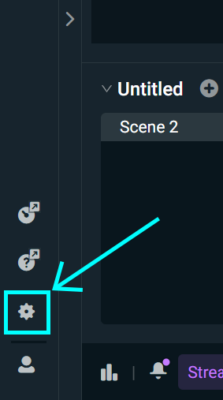
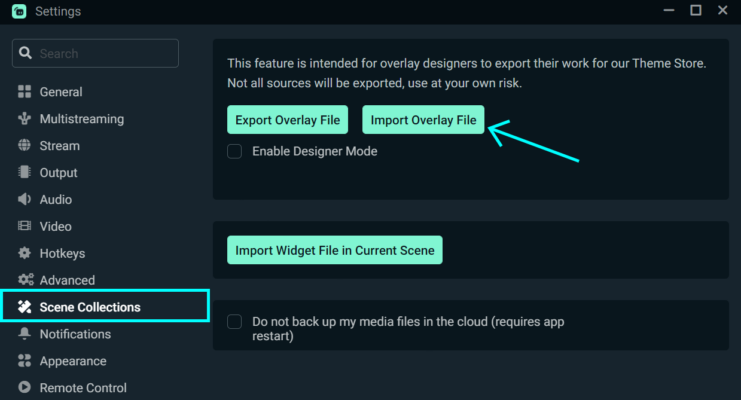
- Launch Streamlabs. Click one the gear icon to open the settings panel.

- Choose Scene Collections from the sidebar on the left. Then click Import Overlay File.

- Locate the .overlay file to import. Once opened, it may take a few minutes to set everything up.
- Launch Streamlabs. Click one the gear icon to open the settings panel.
When it comes time to for PC upgrade or change or, the thought of transferring overlays can be a daunting one. Streamers often spend hours when initially setting up their overlays and widgets. Fortunately there’s a simple 2 step process to do this.
- Export an overlay file from the 1st Pc
- Launch Streamlabs. Click the gear icon to open up the settings dialog.
- Choose Scene Collections and select Export Overlay File.
- Choose where to save the .overlay file. Once saved, add it to a USB Drive, or upload it to google drive so it can be downloaded on the 2nd PC.
- Launch Streamlabs. Click the gear icon to open up the settings dialog.
- Import the overlay file on 2nd PC
- Launch Streamlabs. Click the gear icon to open up the settings panel.
- Choose Scene Collections and click Import Overlay File. Now find the overlay file that was created from the 1st Pc. The import could take a few moments so give it some time.
- Export an overlay file from the 1st Pc