
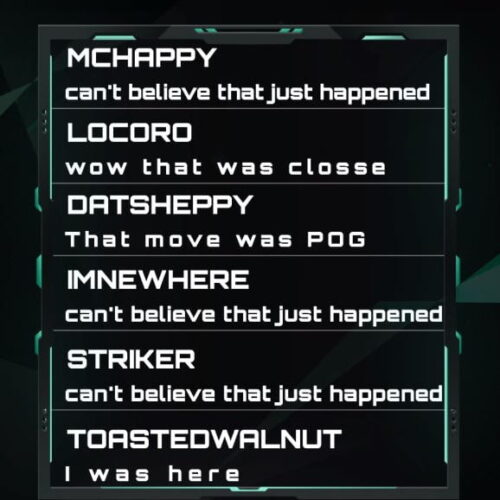
One of the most important aspects of streaming is engagement. Creating a stream that encourages viewers to interact and engage is sure-fire way to build up a strong community and follower base. One popular method of encouraging engagement is by displaying a chat box overlay for your Twitch chat.
We’ve put together a list of the best premium and free chat box overlays that work with top platforms like Streamlabs, Streamlements and OBS.
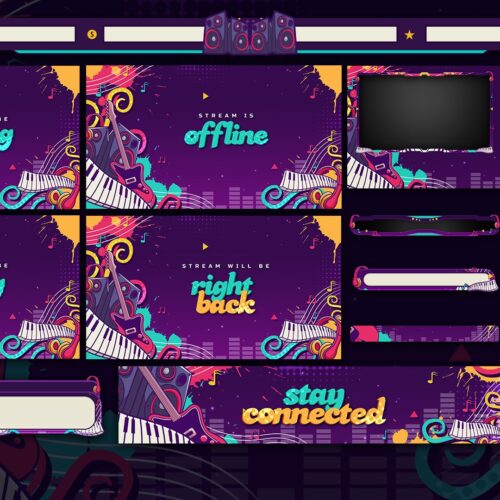
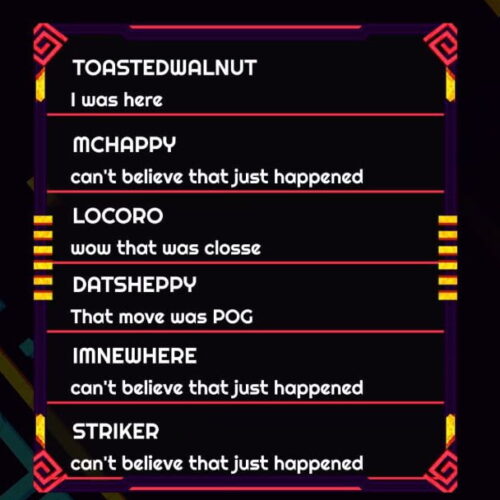
Free Twitch Chat Box Overlays
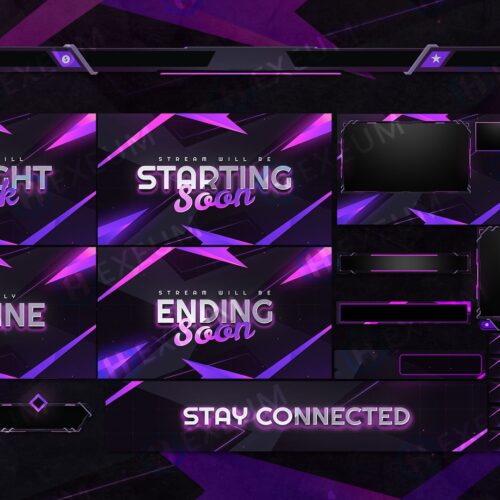
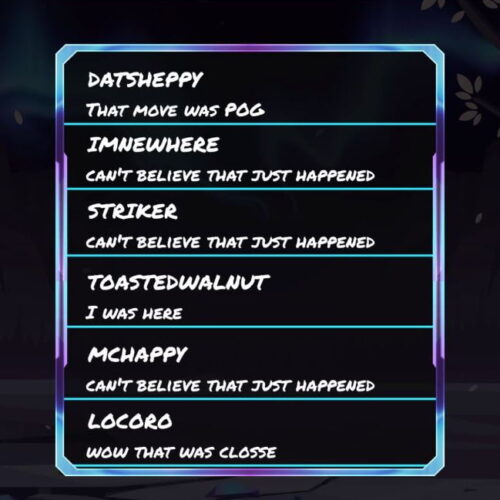
Premium Twitch Chat Box Overlays
Here are some of the best chat box overlays for the platforms Streamlabs & Streamelements. These widgets have 12 customisation options, so you’ll be able to fine tune each one to your unique specifications.
If you’re using Streamlabs they have quick import links so you’ll be up and running in no time. We’ve also got a guide that takes you step by step through the set up.
How Chat Box Overlays Help Your Stream ?
So you’ve probably noticed that a lot of streamers will overlay their chat on their stream whether it’s Twitch, YouTube or Trovo. Are streamers simply just doing this because it’s meta or is there another reason ? Well there definitely a portion streamers who simply follow the crowd without understanding how it will benefit their stream. Well you might be surprised to know that there’s a huge psychological aspect behind chat overlays.
Humans are social beings and we tend to enjoy events more whilst in the company of others. Ever noticed how many more laughs you get out of comedy films when you’re in the company of friends ? Or why people converge together in huge masses for sporting events. Being part of a crowd or conversation really enhances the experience for a majority of people. With this understanding you can start to see why a live Twitch chat is so engaging. Even if you choose not to interact with chat, being able to see conversations, reactions and emotions in real time creates a social experience rather than just a viewing experience.
So now we know why chat is so effective, what’s a Twitch chat overlay got to do with this ? Well there are two main reasons..
- Viewers who watch in full screen. The first kind of viewer could be what’s known as a lurker, they enjoy kicking back and enjoying the stream, rarely interacting. For these viewers, although they’re not actively typing in chat it’s still important they feel part of a social experience.
- Viewers who can’t make it to your live stream. A lot of viewers might not be available during you streaming hours. These types of viewers still enjoy your content through VOD’s or YouTube clips. Having a chat overlay on stream ensures that, chats reactions and conversations are recorded.
Conclusion
To sum it up, engagement is crucial in streaming as it helps build a strong community. One effective way to encourage interaction is by using chat box overlays for your Twitch chat.
We’ve compiled a list of the best chat box overlays, both free and premium, that work with popular platforms like Streamlabs and StreamElements. These tools will help you create more interactive and engaging streams, so give them a try to boost your online presence and connect with your viewers.