
No products in the cart.


Discover the best Twitch overlays to supercharge your stream. Every content creator deserves top-tier designs to promote their unique brand at an affordable price. Hexeum overlays are high-quality, seamlessly compatible with industry leading software and easy to install, customize and manage.
Download your overlays instantly once the order is complete.
We've been crafting the best Twitch overlays since 2017.
Over 300k streamers and counting have used our overlays.
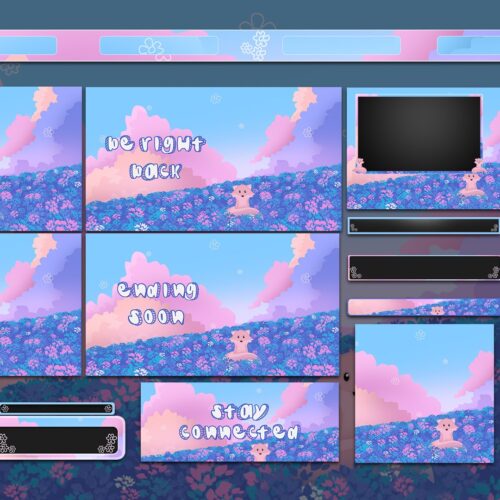
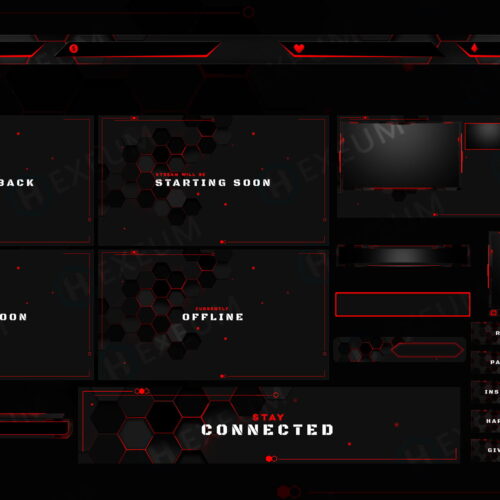
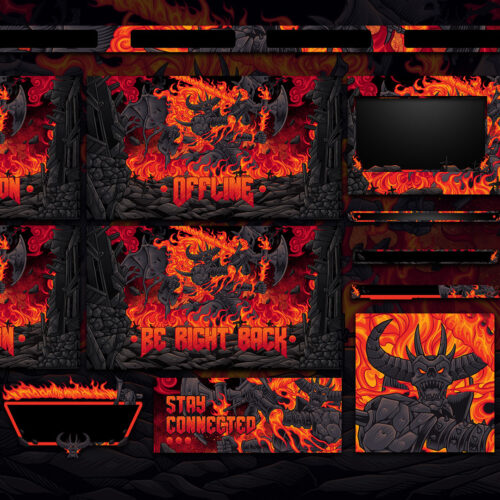
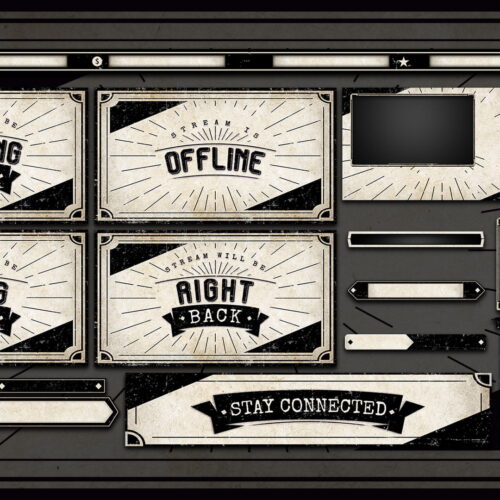
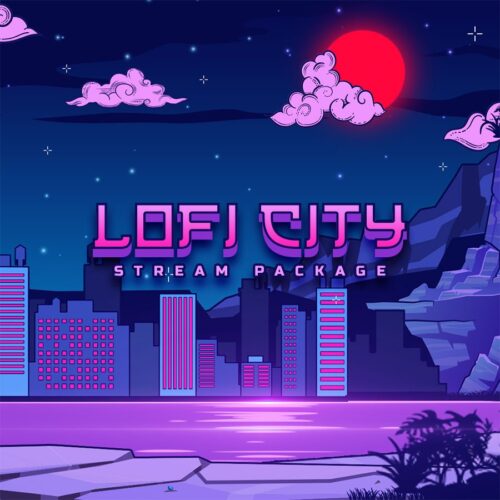
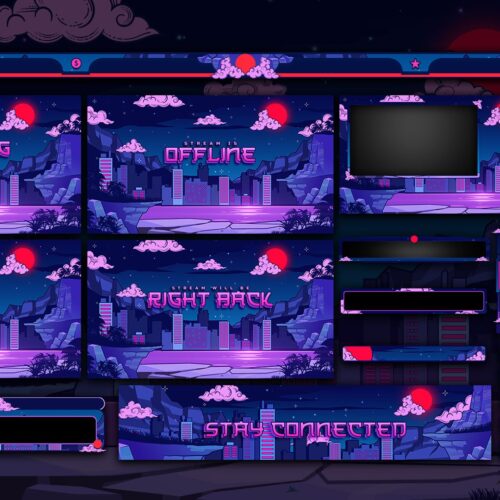
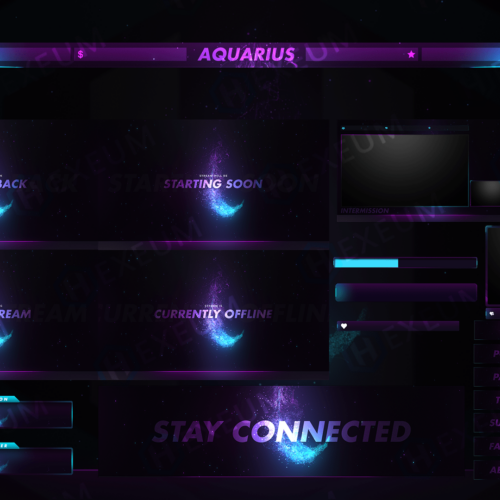
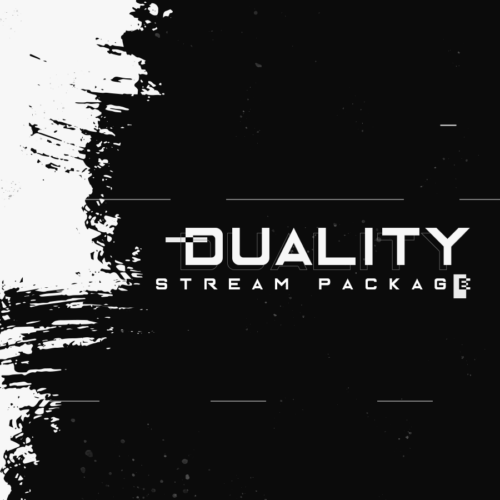
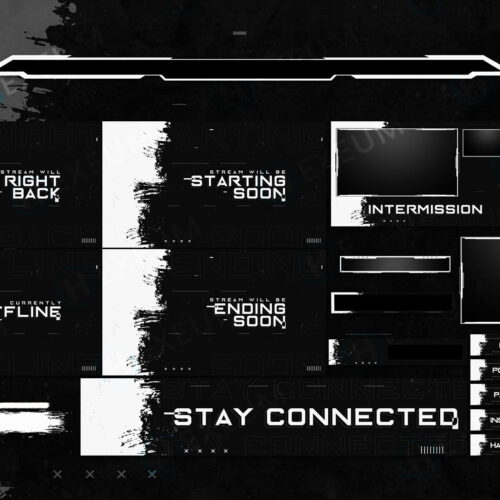
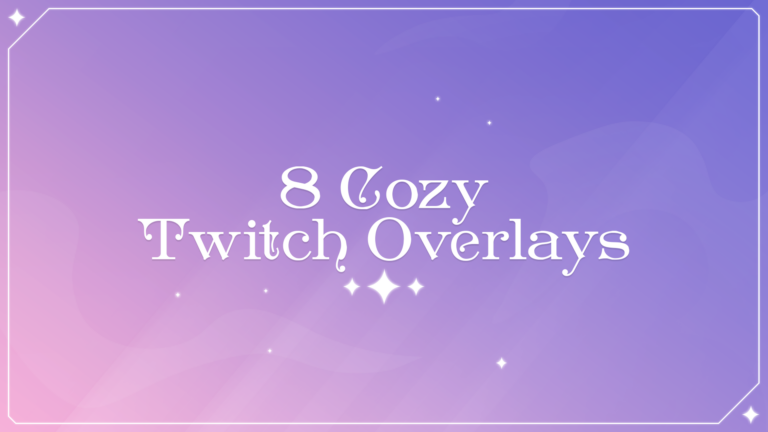
Discover our premium Twitch overlays; Your all-in-one solution to give your stream a fresh look. From stream screens to webcam overlays and animated alerts, we provide everything you need to elevate your streaming experience.
Experience seamless compatibility with various streaming software like OBS, Streamlabs Desktop or StreamElements. We also support a wide range of popular streaming platforms, including Twitch, YouTube, Kick, Facebook, Trovo, and more.
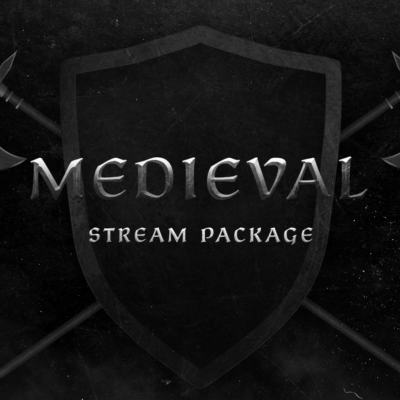
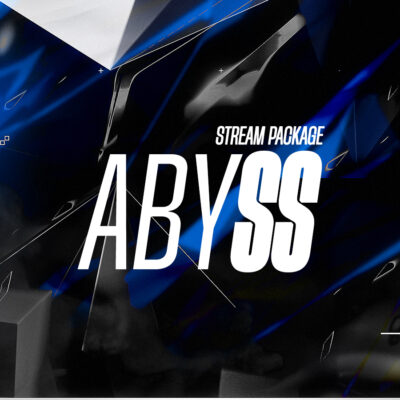
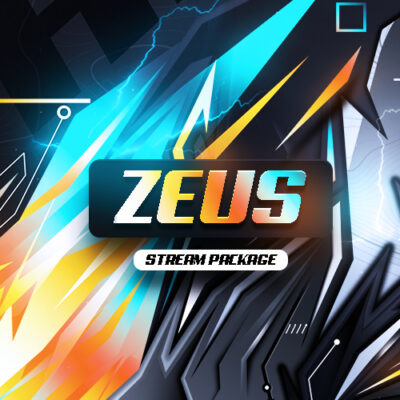
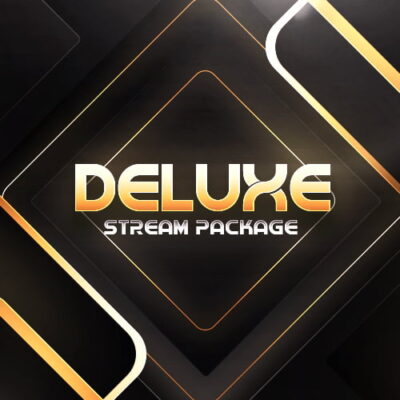
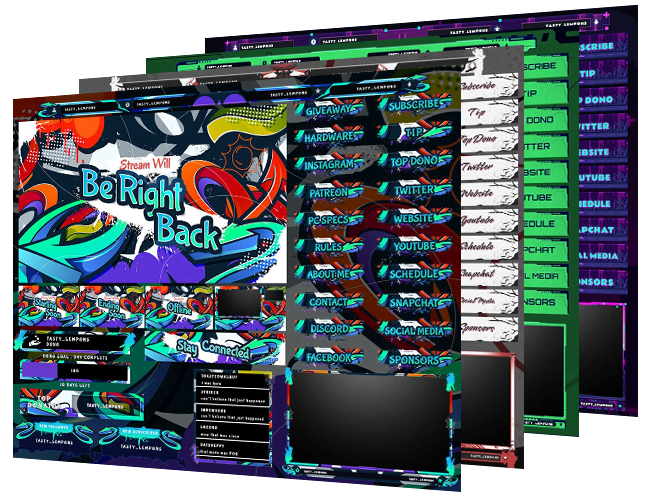
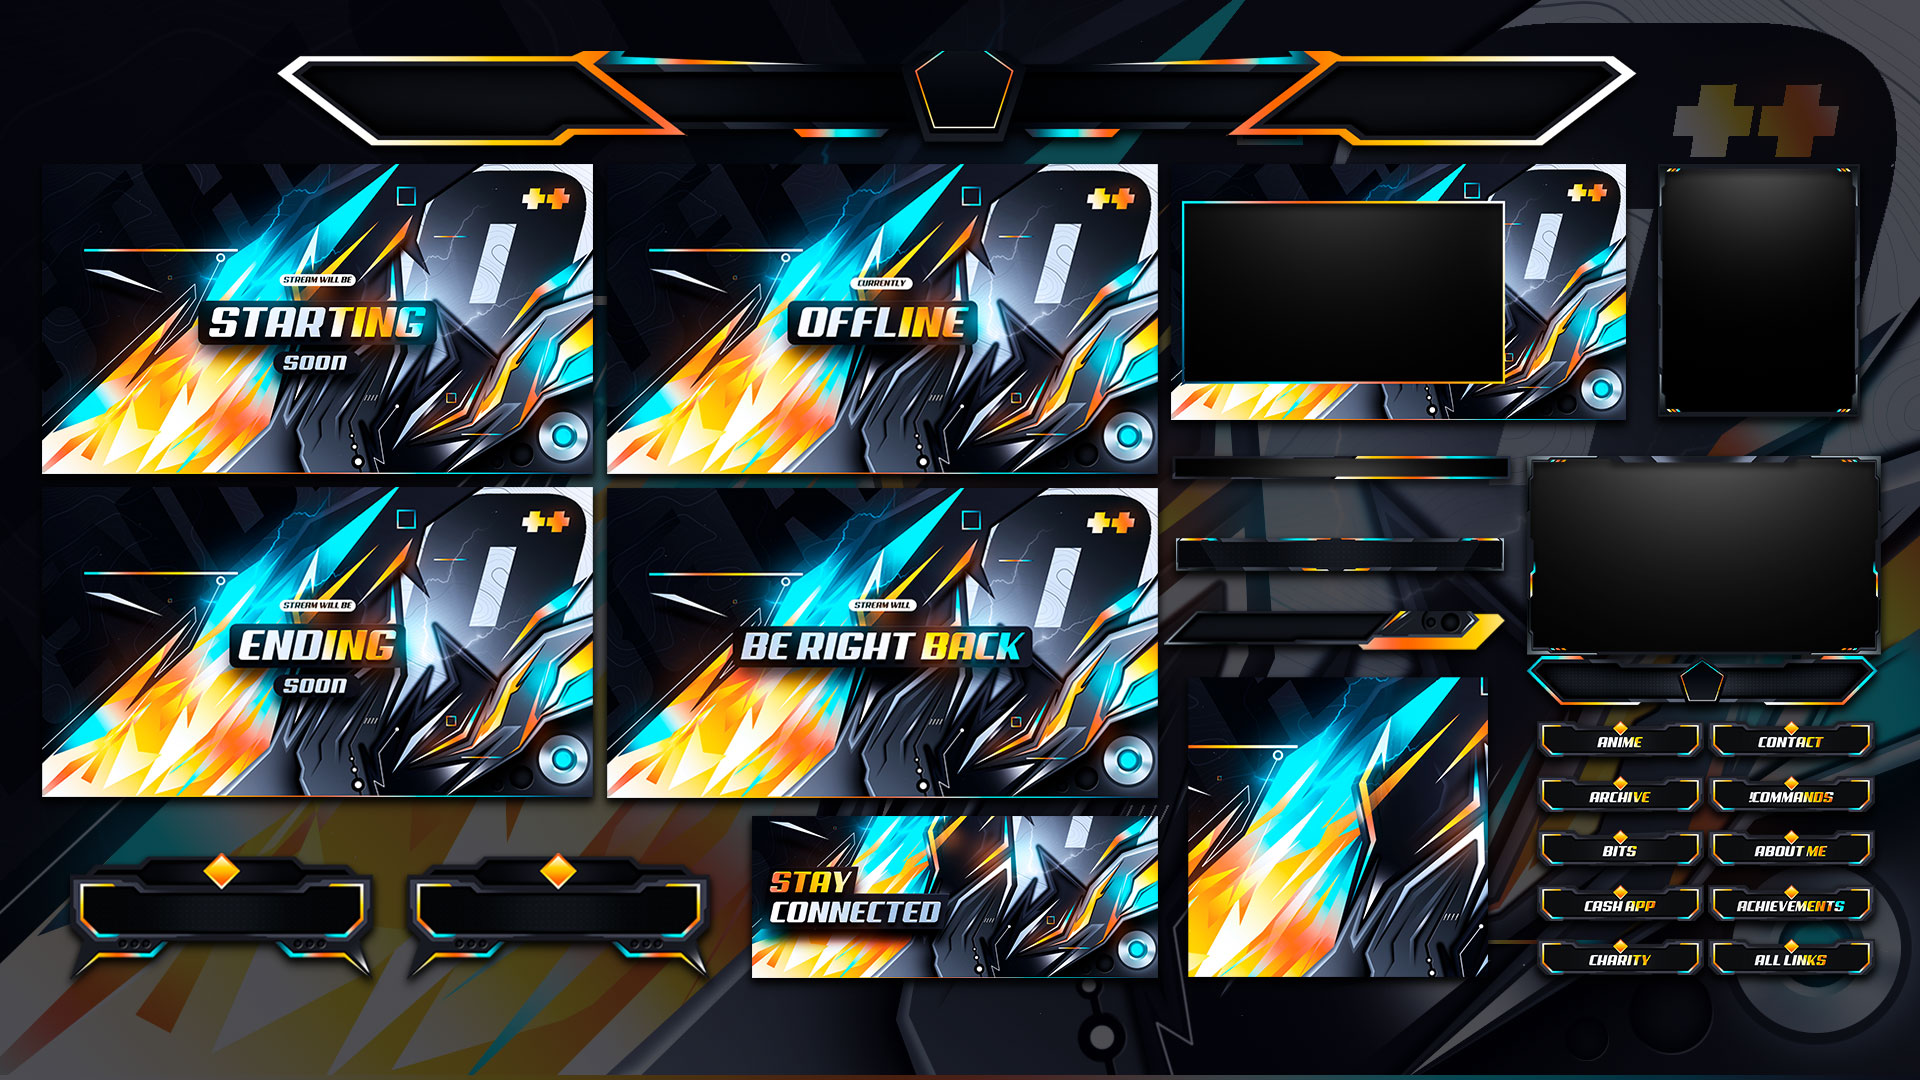
We’ve got hundreds of stream overlays to choose from in our store. Each overlay has it’s own unique style designed to cater to every kind of streamer. Whether you’re in the ESports scene, a creative artist, or a variety streamer, we have the perfect overlays to match your unique style and content.
With over 6 years of expertise providing stream overlays for content creators, we offer user-friendly packages that are easy to set up and customize. Our widgets and alerts for Streamlabs and Streamelements come with customisation options, while Streamlabs users benefit from quick-install links and one-click setup.
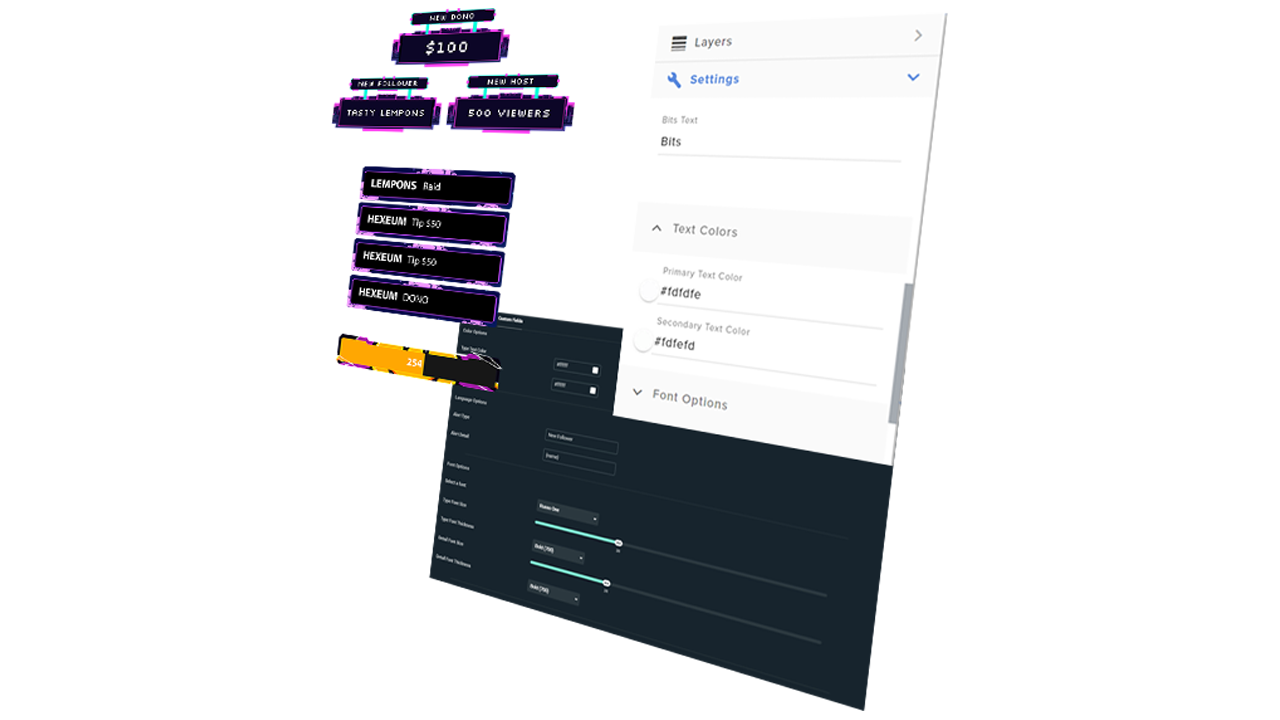
With over 60% more features included in our packages than the average stream package, you can rest assured that you’re getting the absolute best value from your purchase. Some of the additional goodies included in our complete packages, not often included in other packs are, stream widgets, one click install links for alerts, widgets and overlays and stream labels.
If you’re a fan of customisation then Hexeum makes that easy for you with our widgets. With some packages having up to 40 customisation fields across widgets, you can tweak them to your heart’s content.
With files available to download instantly, 37 second Streamlabs install, detailed installation tutorials and a support team waiting to assist you, the final step is finding your dream package in store.
Starting out as a streamer, finding accurate information can be challenging. To address this, we’ve developed comprehensive guides filled with practical advice. Our aim is to enhance your streaming quality with valuable tips, ranging from creating custom overlays and integrating them into your stream, to optimizing your OBS settings.

Twitch overlays are graphics, either animated or static, that streamers use to enhance their personal brand and boost viewer engagement.
Streamers can choose from a variety of overlays like webcam frames, stream labels, full-screen overlays, and alerts. To keep their look consistent, many prefer to buy a stream package, which bundles various overlays and graphics together.
Such packages come with everything needed to enhance a stream: overlays, channel art, widgets, alerts, and other assets.
Premium overlays typically offer higher quality and more features than free ones. However, that doesn’t mean there aren’t excellent free overlays available.
Deciding to buy an overlay is entirely up to you. We’ve always provided free overlays and resources for streamers and will continue to do so.
Stream overlays are highly recommended to set you apart from other streamers, and to reinforce your branding. Whether you’re a streamer on Twitch, YouTube, Facebook or Kick, you’ll have noticed that all of the top performing streamers are utilizing overlays to create a unique brand and theme associated with their channel.
The way that you present yourself to viewers is a huge part of the reason that most streamers opt for using an overlay. First impressions count, and five seconds is all it takes for someone to start forming an opinion on you. This is the main reason that it’s so important to present your stream in the best light for first time viewers.
In general, most broadcasting software will be able to support the use of stream overlays, alerts and widgets. The top software used for displaying overlays on stream are OBS, Streamlabs, Twitch Studio and XSplit. So long as the software supports media sources and browser sources, you’ll be able to set up overlays with it.
Yup! Since you don’t stream directly via those platforms, you use a middleware known as broadcasting software. Broadcasting software will work with multiple streaming platforms. In fact in some cases you can stream to multiple platforms at once. So, as long as your broadcasting software can be set up with your platform of choice, then your overlays will also work.
One exception we should mention is Twitch studio, and TikTok Live studio. Both of these applications can only stream to their corresponding platforms. However, OBS and Streamlabs are both the go-to applications for streamers and offer versatile integrations with many platforms.
© 2024 Hexeum. All rights reserved