
No products in the cart.
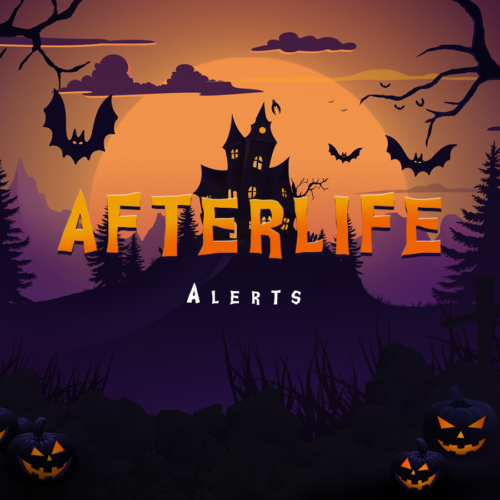
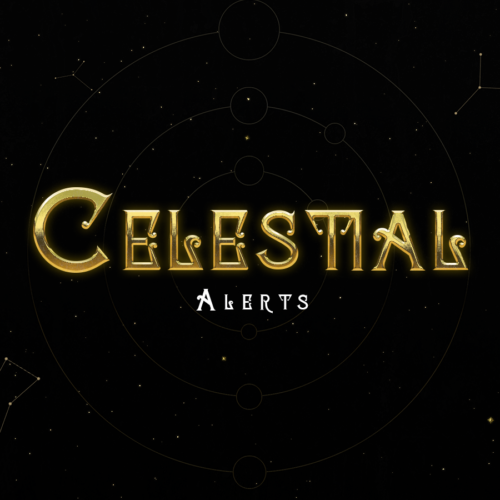


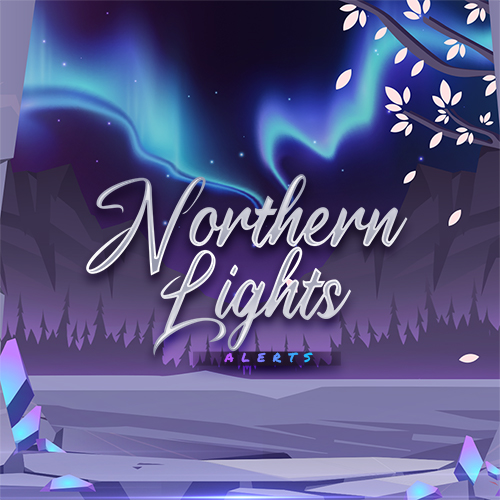
Free Chat Box Overlays For Twitch Streamers
One of the most important aspects of streaming is engagement. Creating a stream that encourages viewers to interact and engage is sure-fire way to build
Showing 1–12 of 49 results
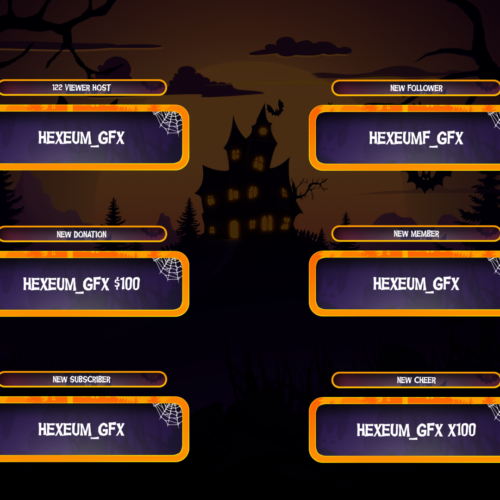
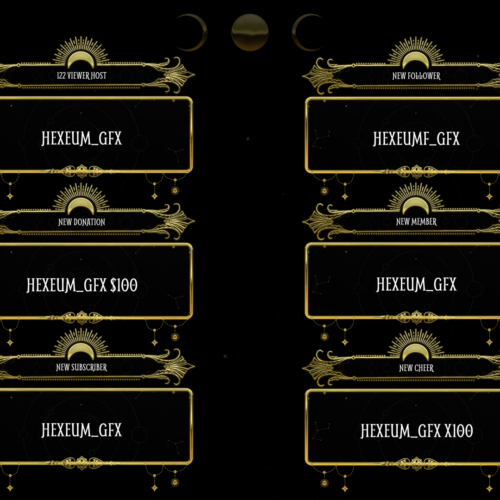
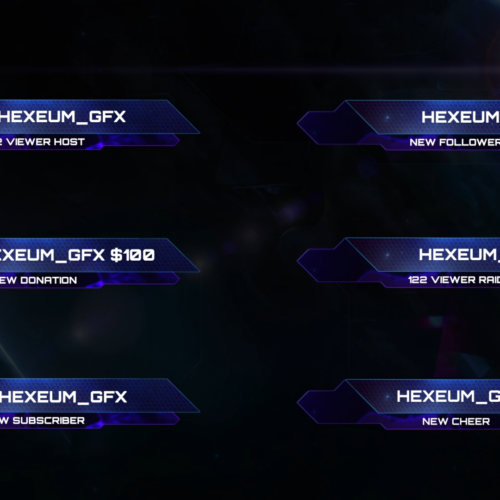
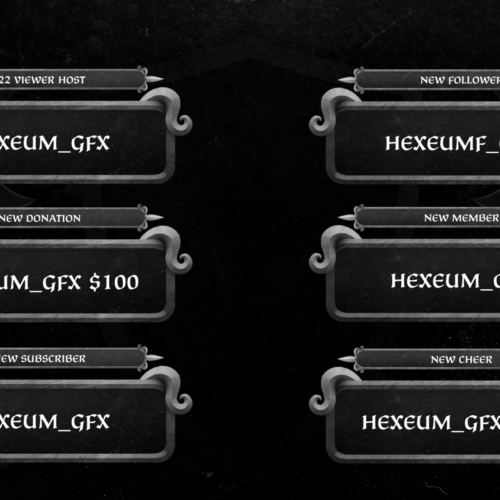
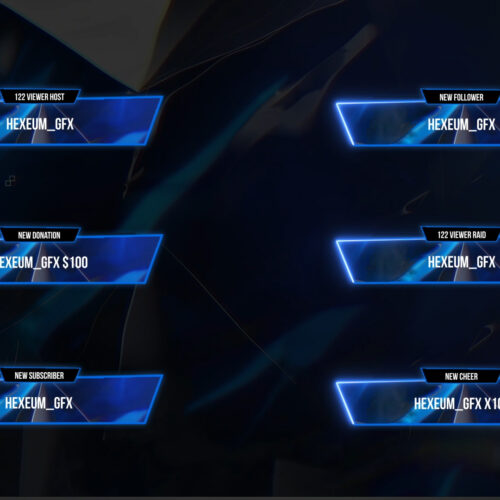
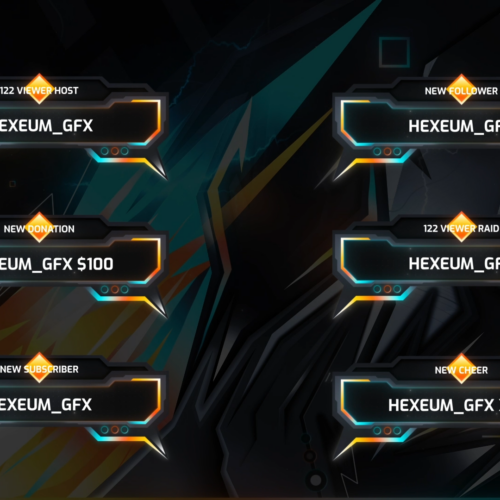
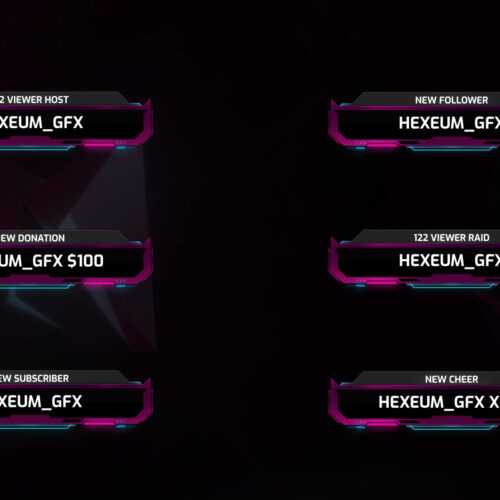
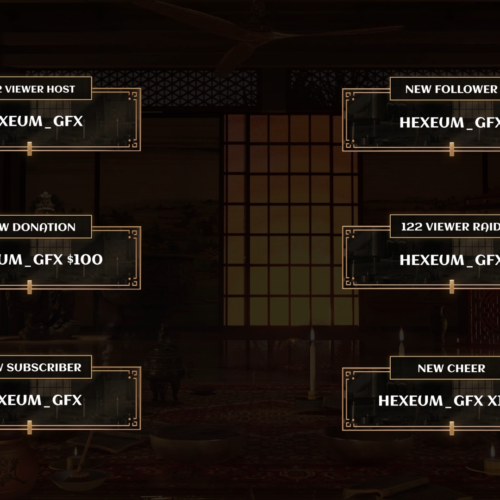
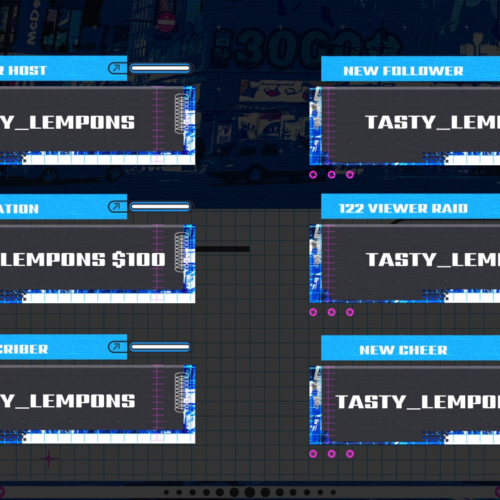
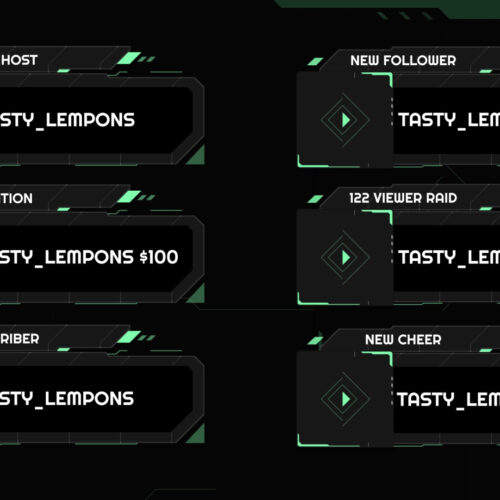
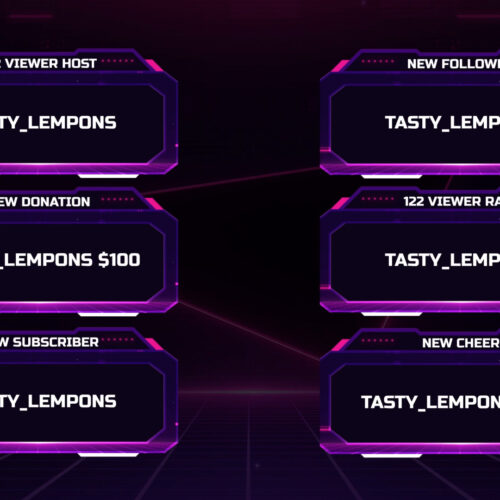
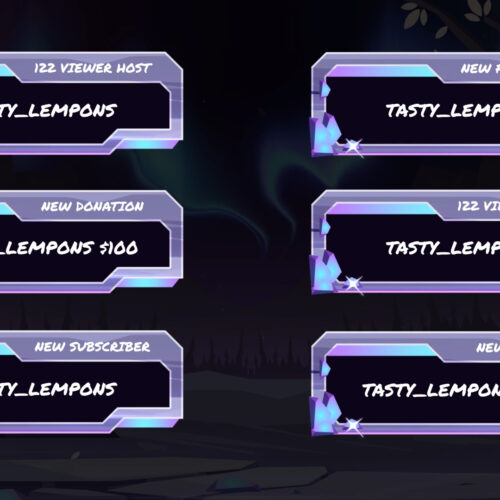
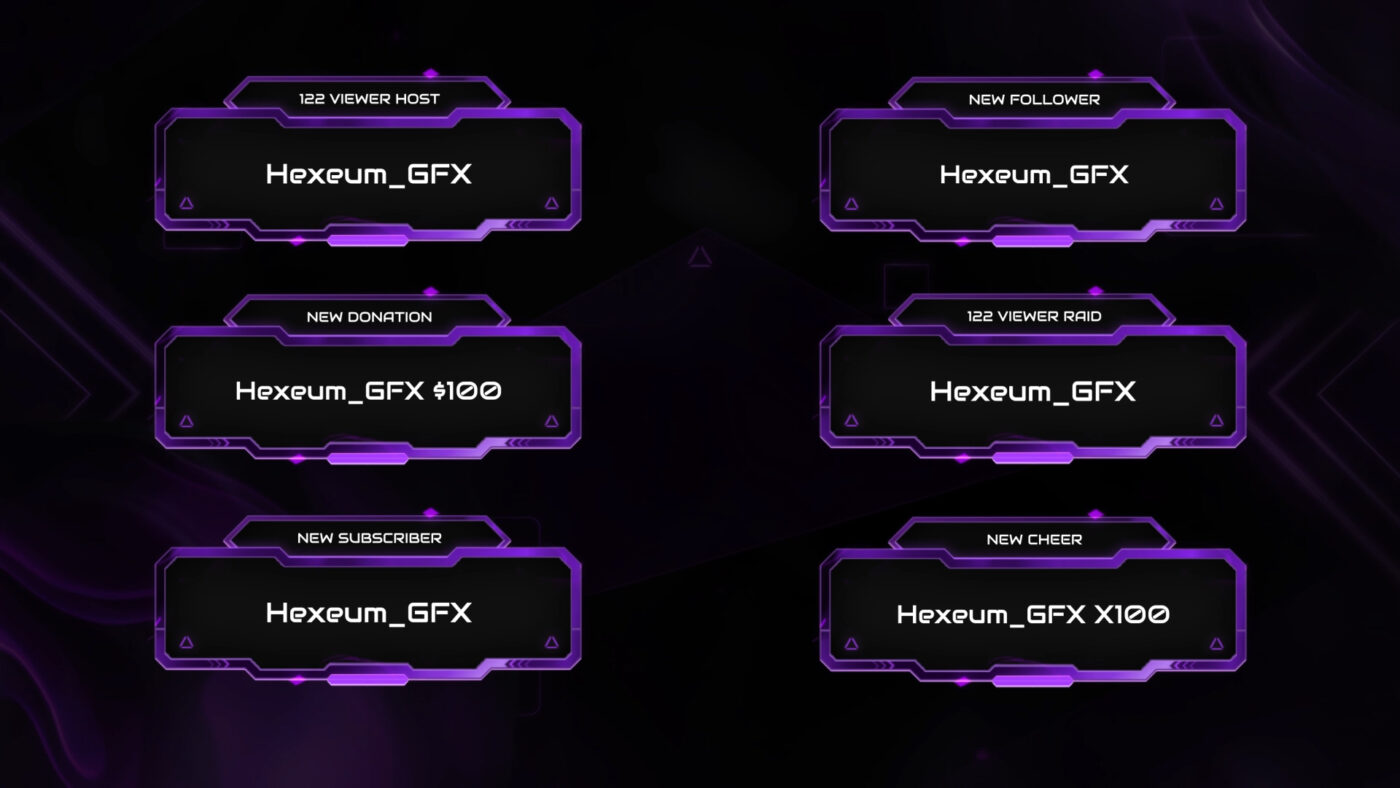
We’ve got the best Twitch alerts for all of the major streaming platforms. Whether it’s Twitch, YouTube or Facebook. These stream notifications are designed to integrate seamlessly with leading broadcasting software; OBS, Streamlabs, StreamElements and XSplit. Includes all alert types – Follows, Subscribers, Donations, Cheer, Raid and Host.

Twitch Alerts are used by streamers to receive notifications when important actions are taken by their supporters during a stream – follows, subscribes or donations. These real-time notifications let both the streamer and their viewers know that an interesting event has occurred. Twitch alerts come in many forms; animated videos, GIFs, text and sound effects.
Twitch alerts are one of the best ways to engage with your community and never miss an important event. These alerts are most commonly added to your stream using software such as OBS, Streamlabs, StreamElements or even directly within Twitch itself.
Twitch alerts are set up and added to your stream using software such as OBS, Streamlabs or StreamElements. Each software will have slightly different steps, but the overall process is very similar. You’ll firstly install the alerts and then add them to your broadcasting software via a browser source.
Check out our Streamlabs quick install instructions below.

Those using Streamlabs desktop don’t need to paste the URL, it’s integrated into the alert source.
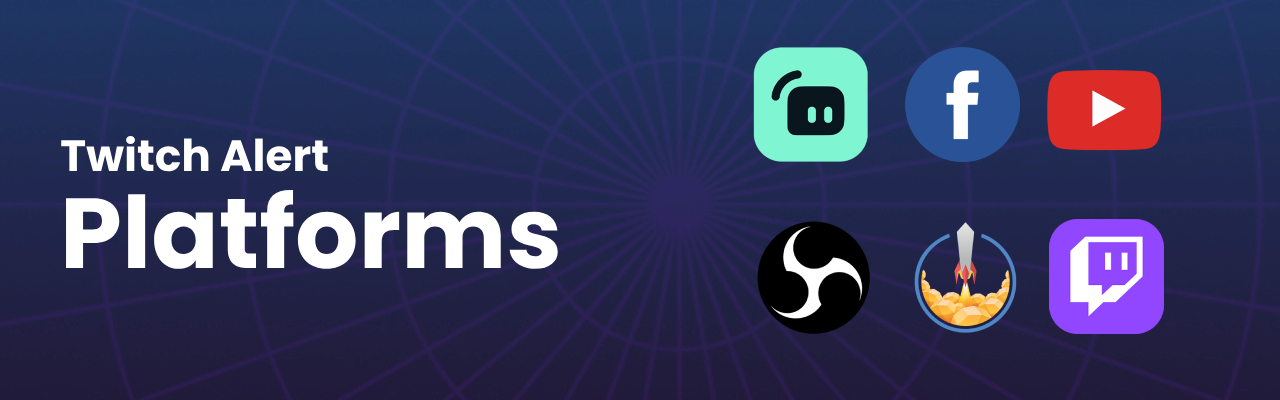
We’ve configured our alerts to integrate quickly and easily with the industry’s top platforms and software. Whether you’re a Streamlabs or StreamElements user, you’ll be able to use our alerts across the biggest streaming platforms – Twitch, YouTube, Facebook or Trovo, we’ve got you covered.
Similarly when it comes to software, these alerts will work with OBS, Streamlabs desktop, XSplit and more. Basically if your broadcasting software supports browser sources, compatibility won’t be an issue.
Get the best Twitch alert packs that cover you for the most frequent types of interactions and events on stream. See all twitch alert types below.
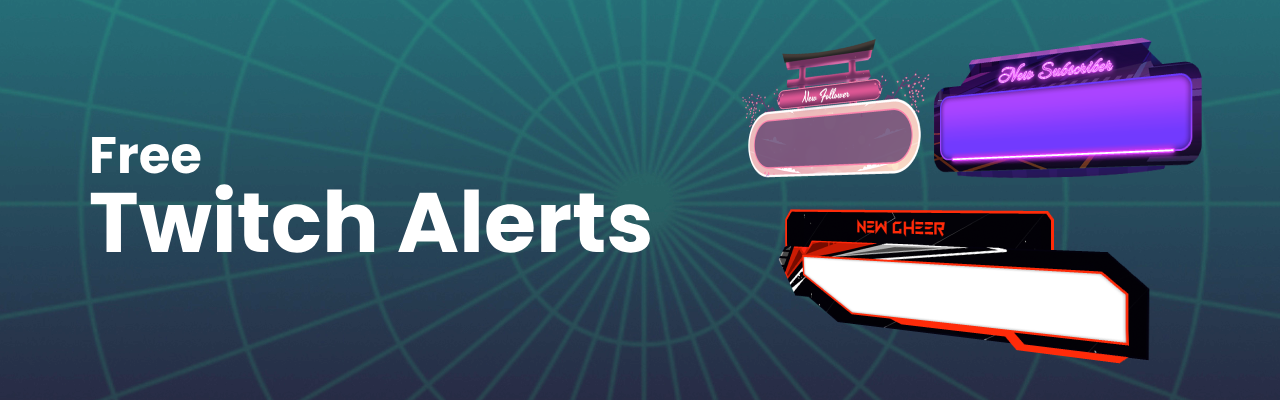
We often get asked if we’ve got any free twitch alerts available in store. The answer is yes! Fortunately our ever growing list of freebies include a selection of free alerts, available to download instantly. Some of our free alerts cover hugely popular styles, including Japanese, E-Sports and Neon themes.
These free alert packs are a great starting point for anyone looking to get to grips with alert notifications, or perhaps testing the best combination of software to use for your stream.
Twitch alerts work by keeping the streamer up to date on real-time events and interactions from their viewers. It’s good etiquette to thank viewers for their support and show your appreciation for them. Using alerts make sure you’ll never miss support from your viewers again.
Twitch alerts work with streaming software such as Streamlabs, StreamElements or more recently, directly within Twitch itself.
They’re not a requirement for streaming, but they’re highly recommended. Viewers have come to expect their favorite streamers to thank them for their support when they engage. Alert notifications make it easier for you to show your appreciation to viewers. This in turn will make more viewers want to support you.
For alerts to work you’ll need some combination of the following – OBS, Streamlabs or StreamElements
Here are some useful tips for troubleshooting alerts that aren’t showing up.
If you like a challenge then you can try creating Twitch alerts on your own. For best results we recommend familiarizing yourself with graphic editing software and coding.
Alert’s are added to OBS using a browser source. All you need to do is add your unique widget URL into this browser source to get the alerts working with OBS.
One of the most important aspects of streaming is engagement. Creating a stream that encourages viewers to interact and engage is sure-fire way to build
© 2025 Hexeum. All rights reserved