No products in the cart.
Twitch Intermission Screen Definitive Guide
- September 1, 2023
- by Liam Doherty
Let’s talk about intermission screens. We’ll discuss what they are, how to get one for free and even how you to make your own. The intermission screen is utilized by the vast majority of streamers on Twitch as they’re an important part of their branding. There’re many places to get one of these screens both free and premium. We’ll show you where you can find them so you can find the best screen for your stream.
What's An Intermission Screen ?
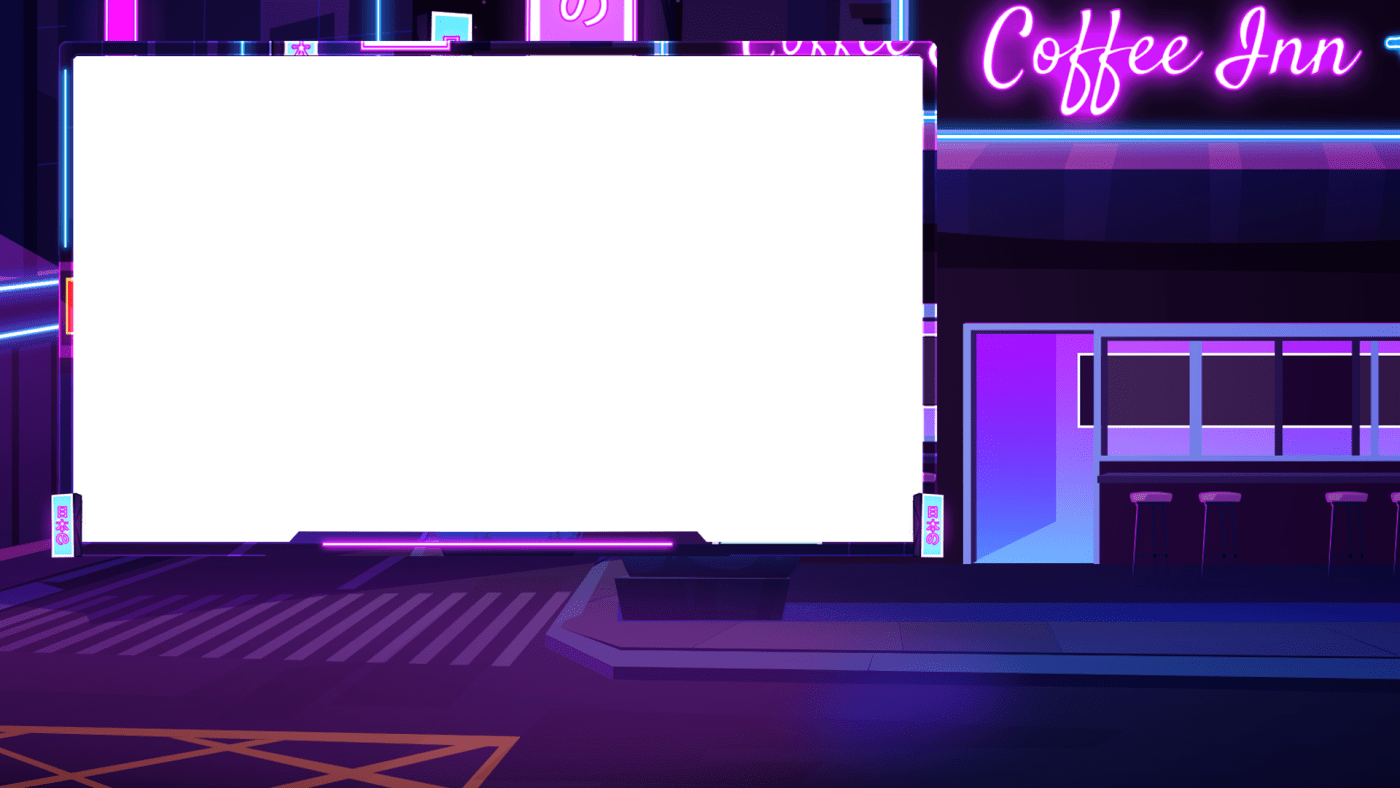
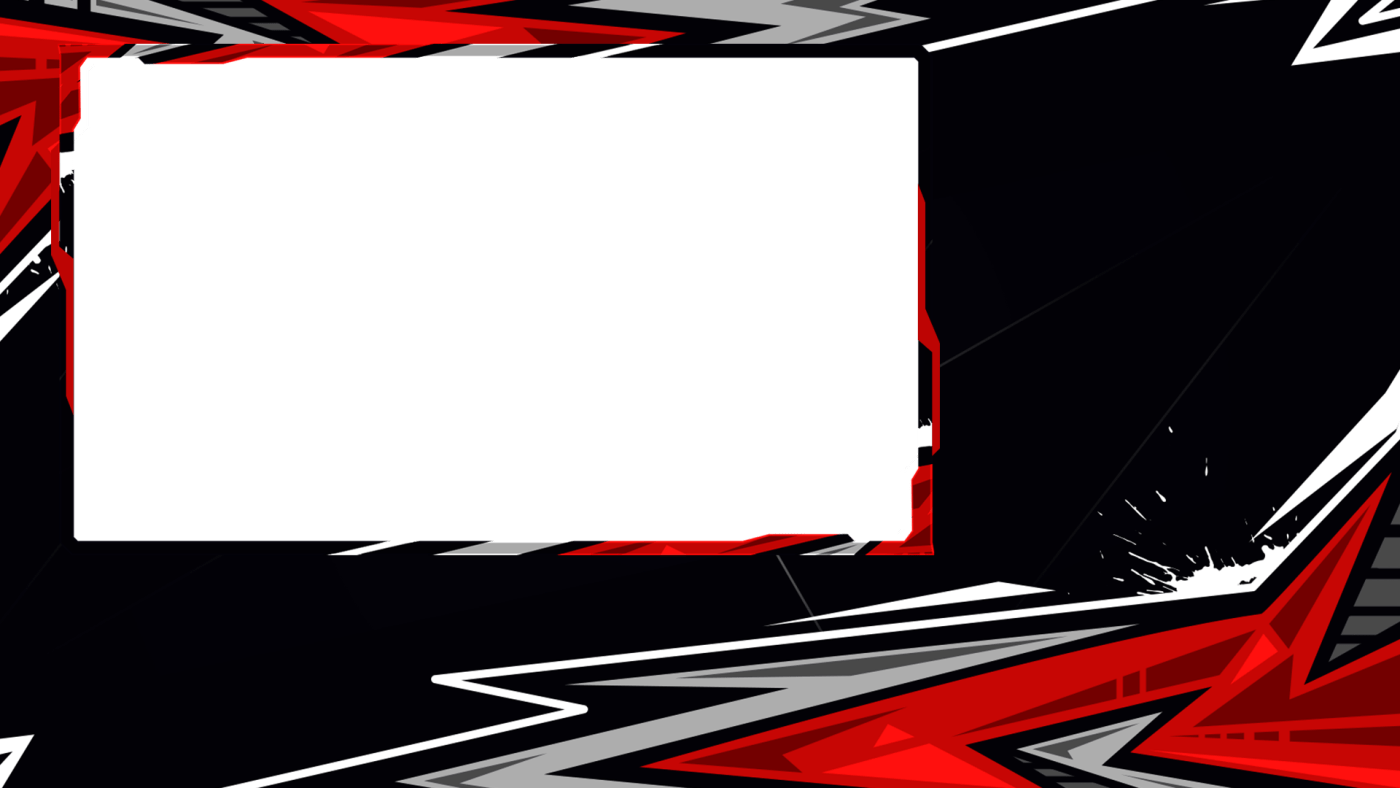
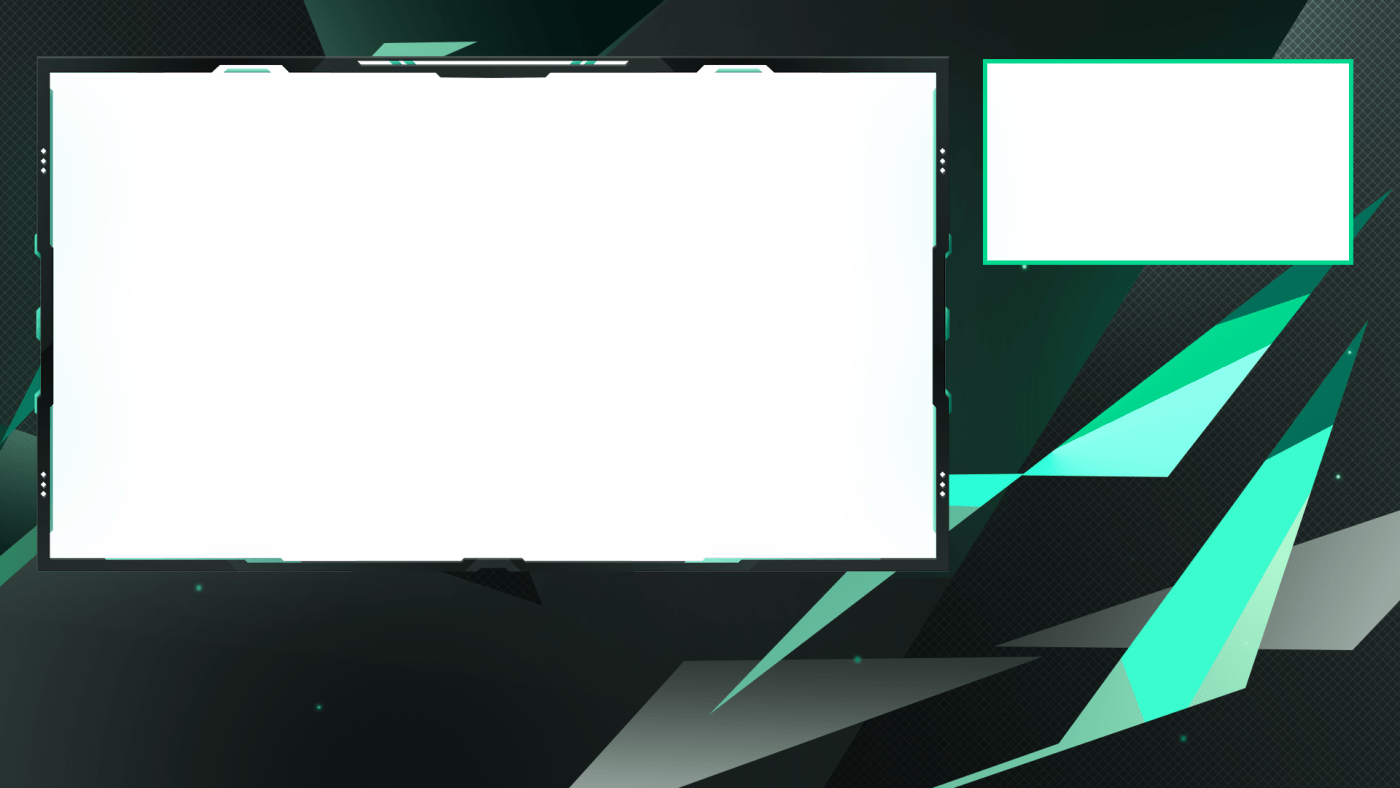
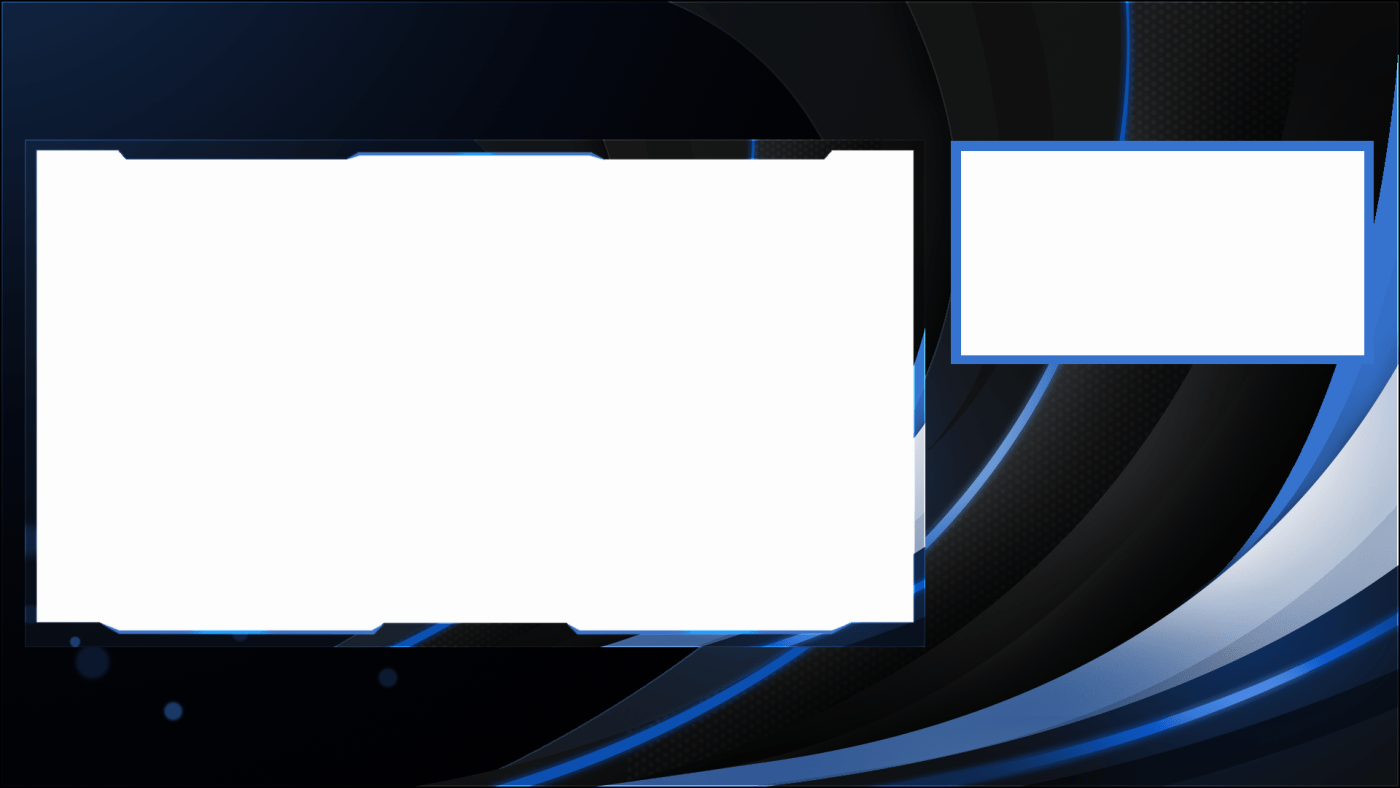
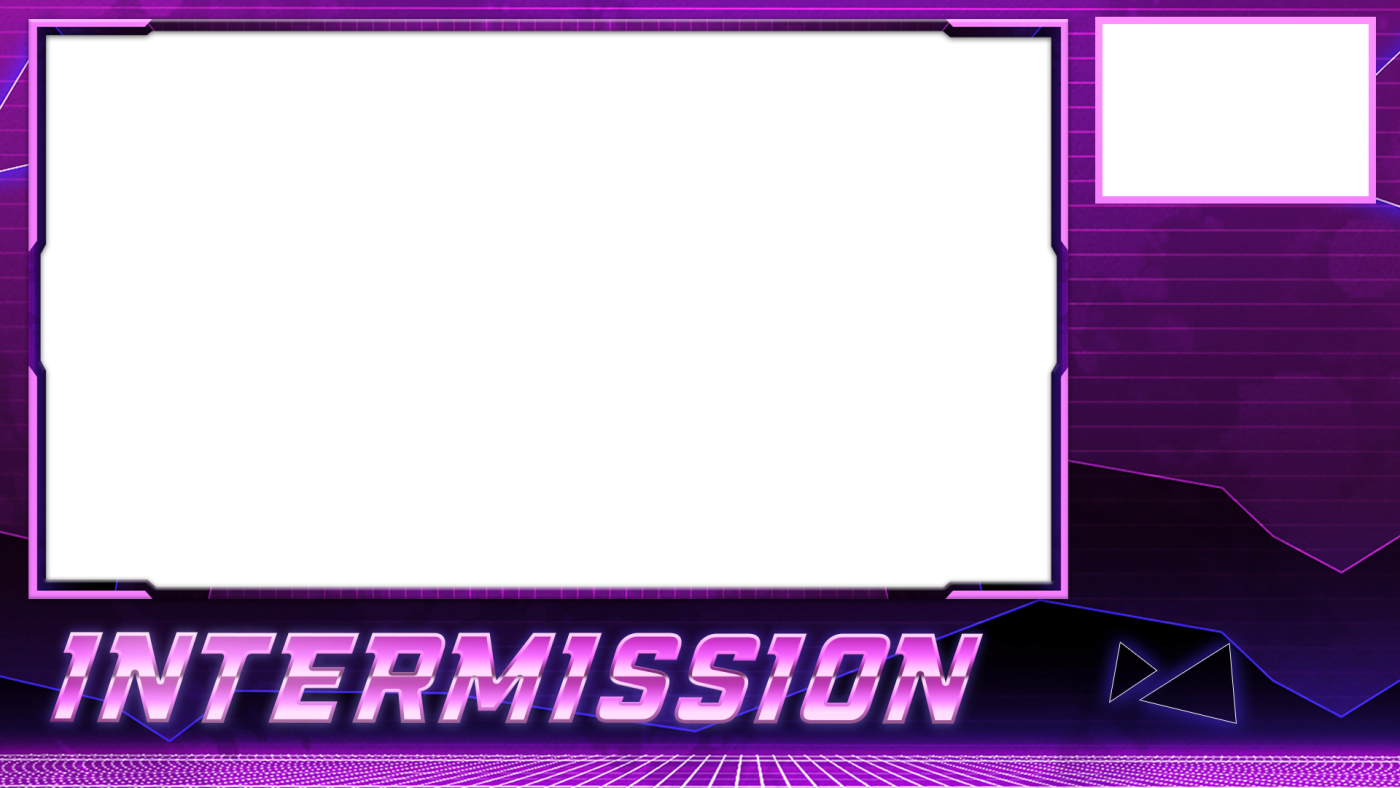
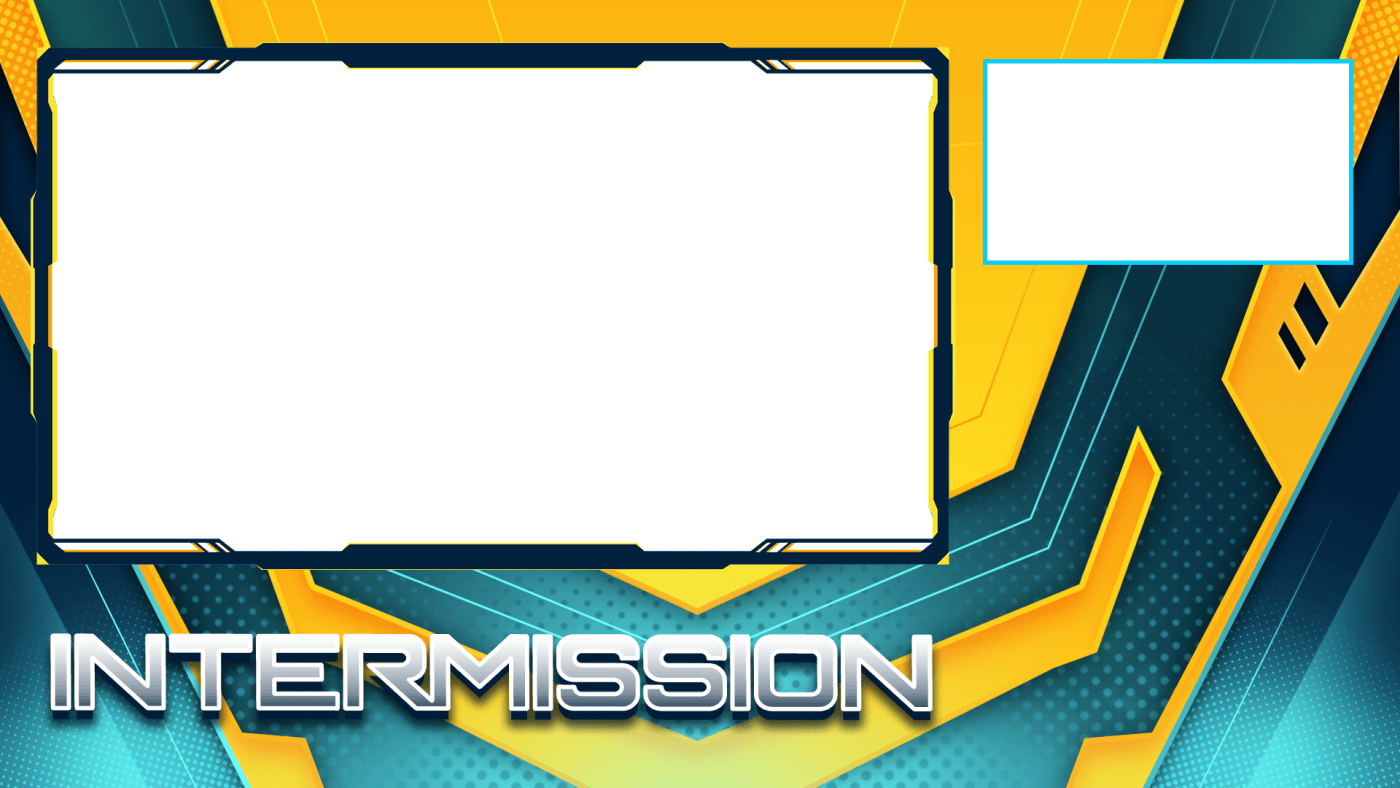
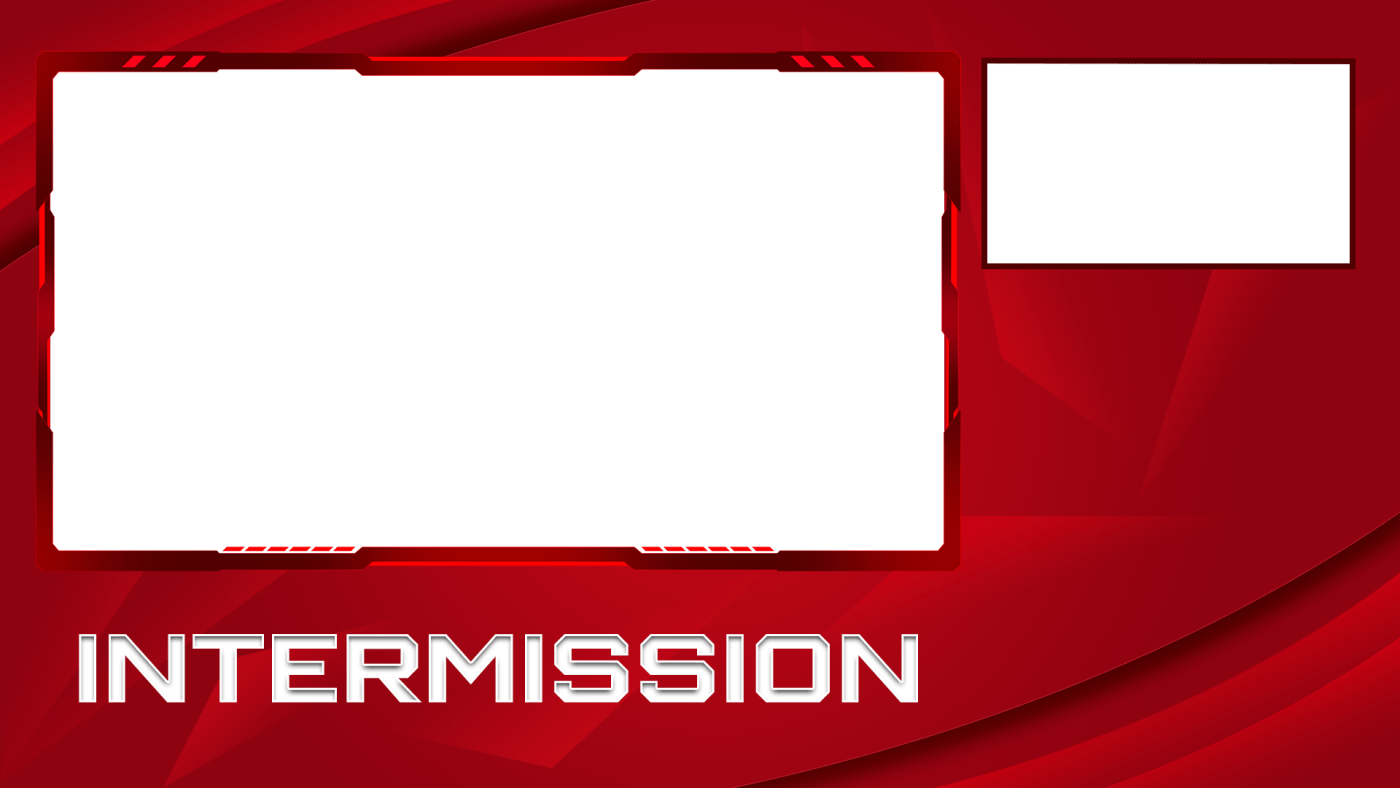
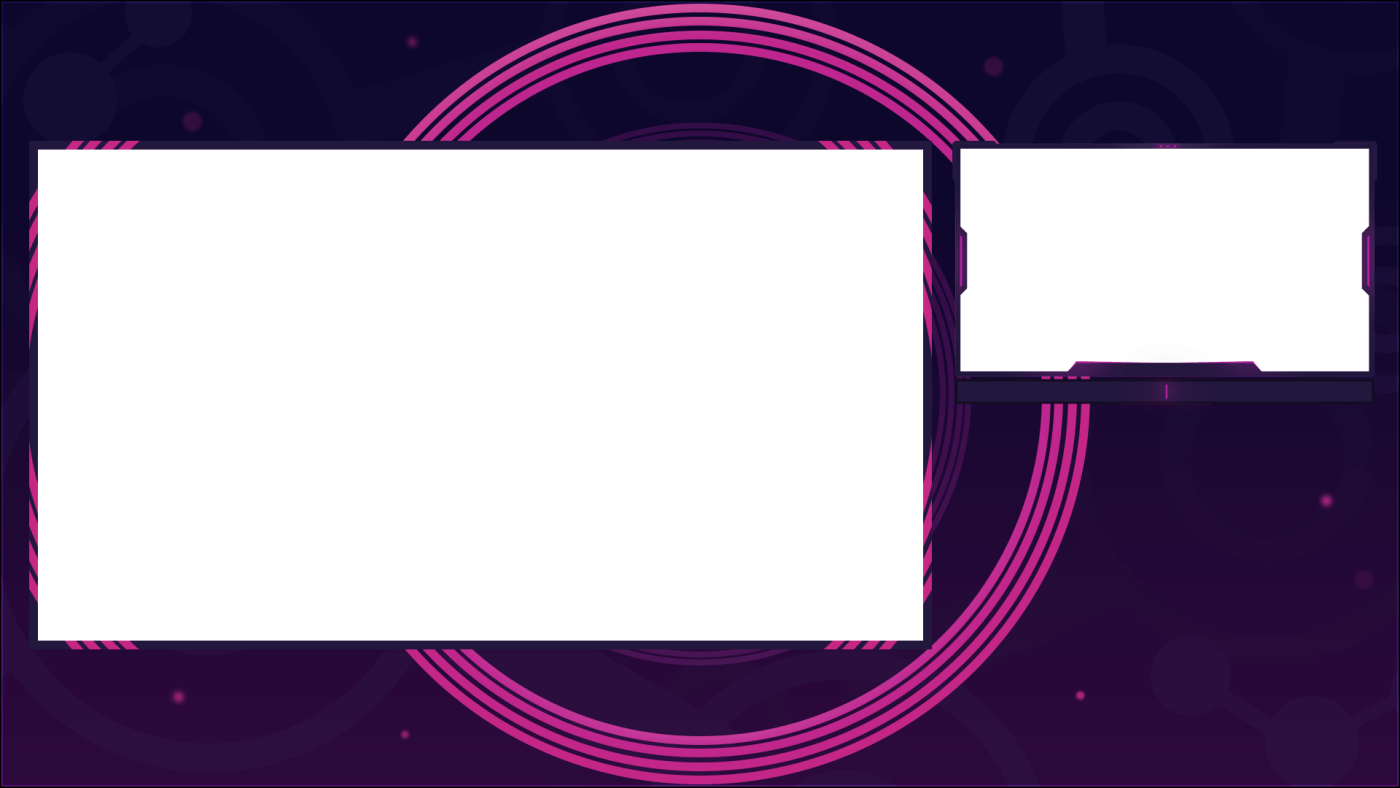
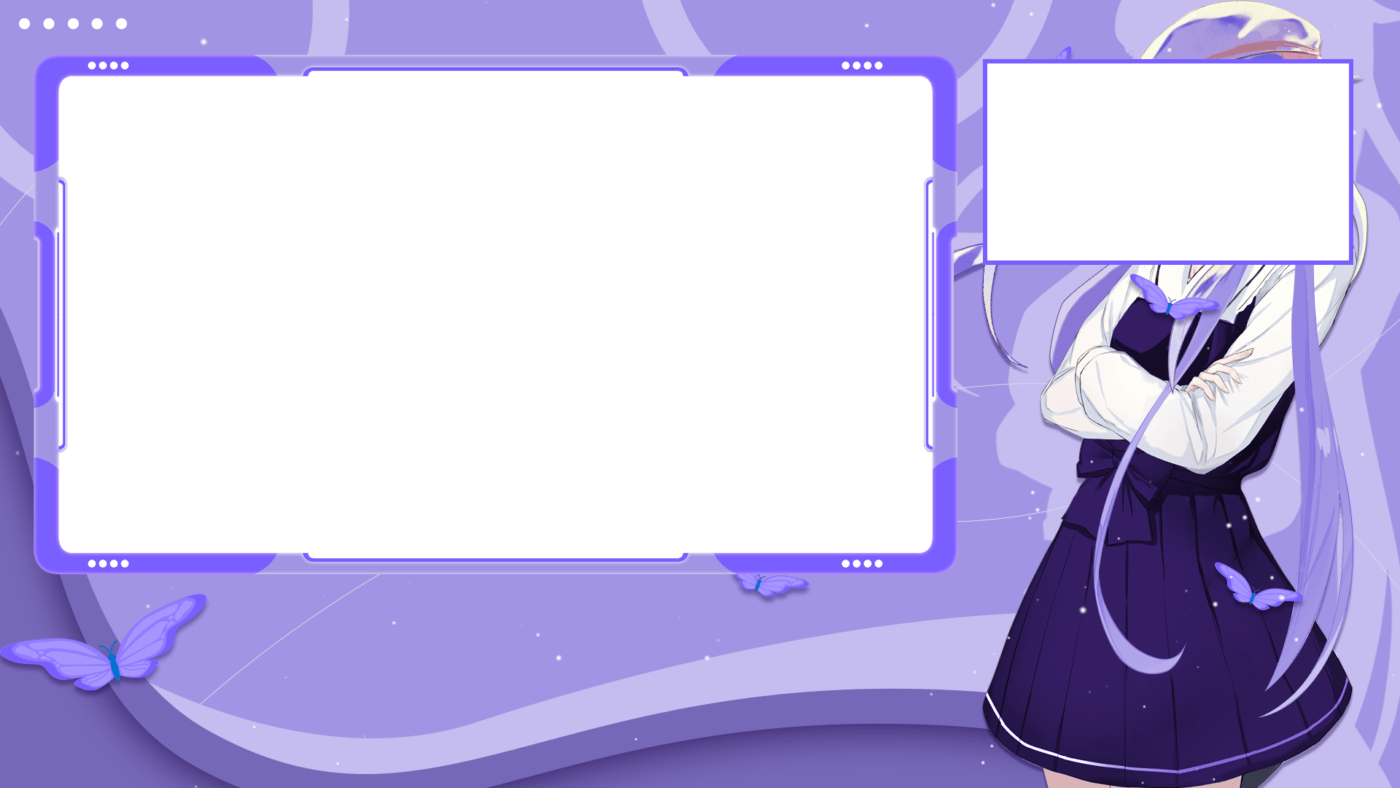
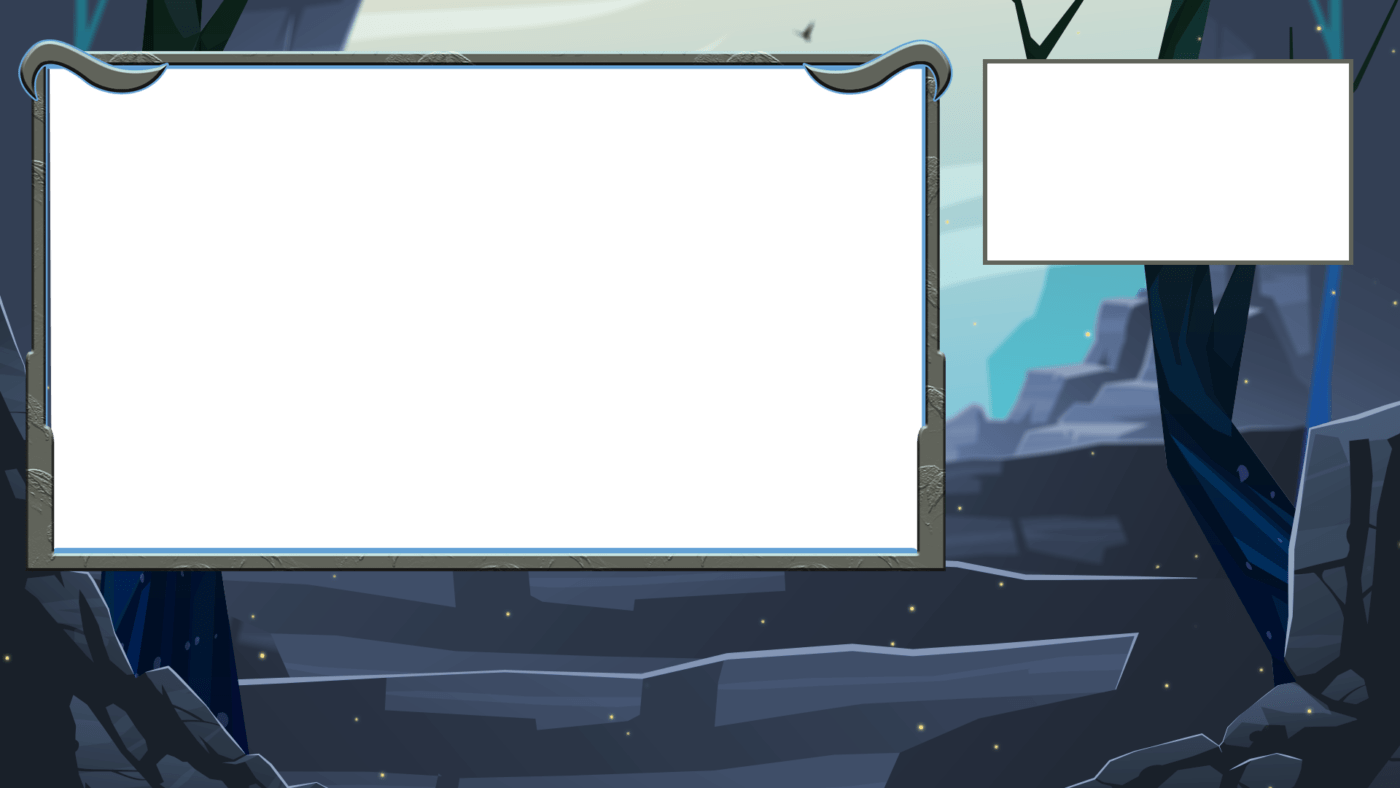
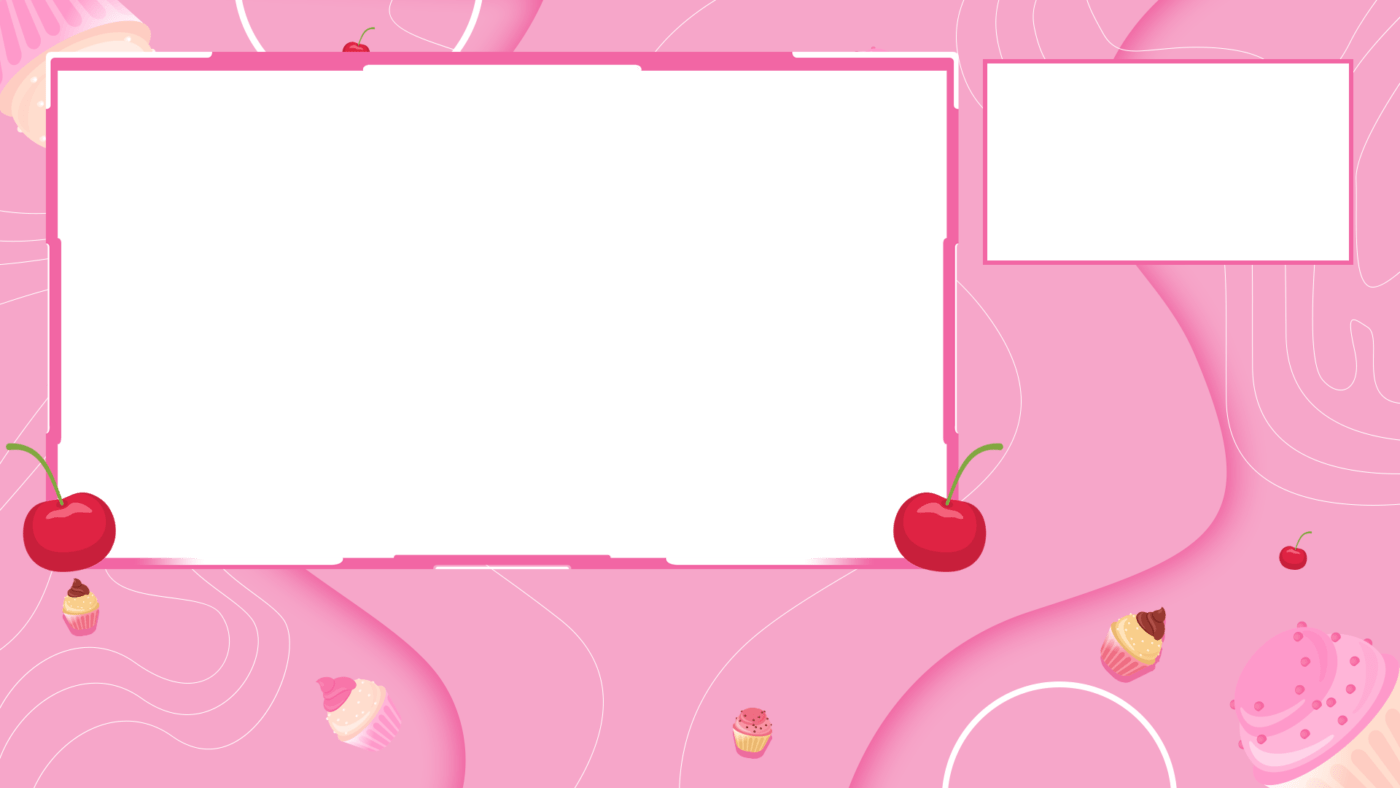
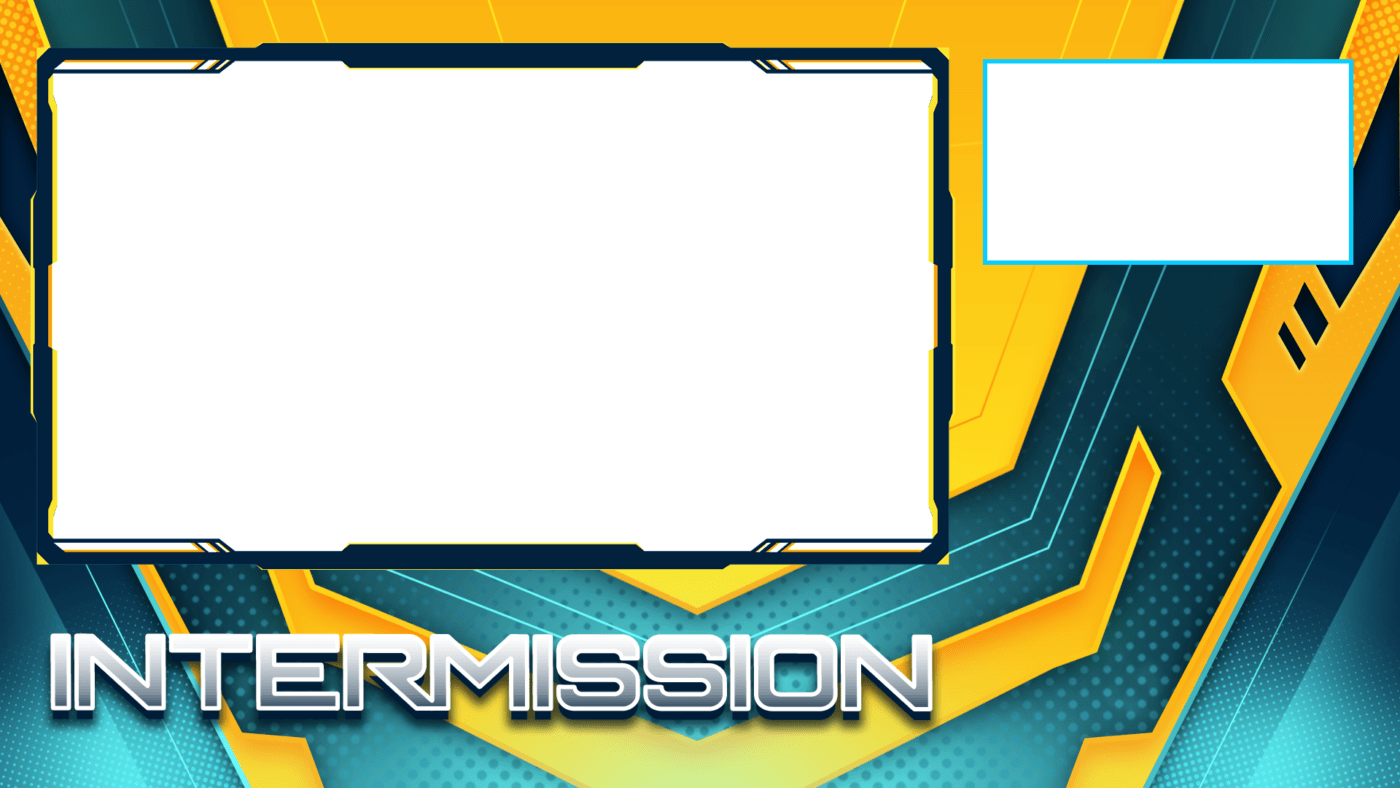
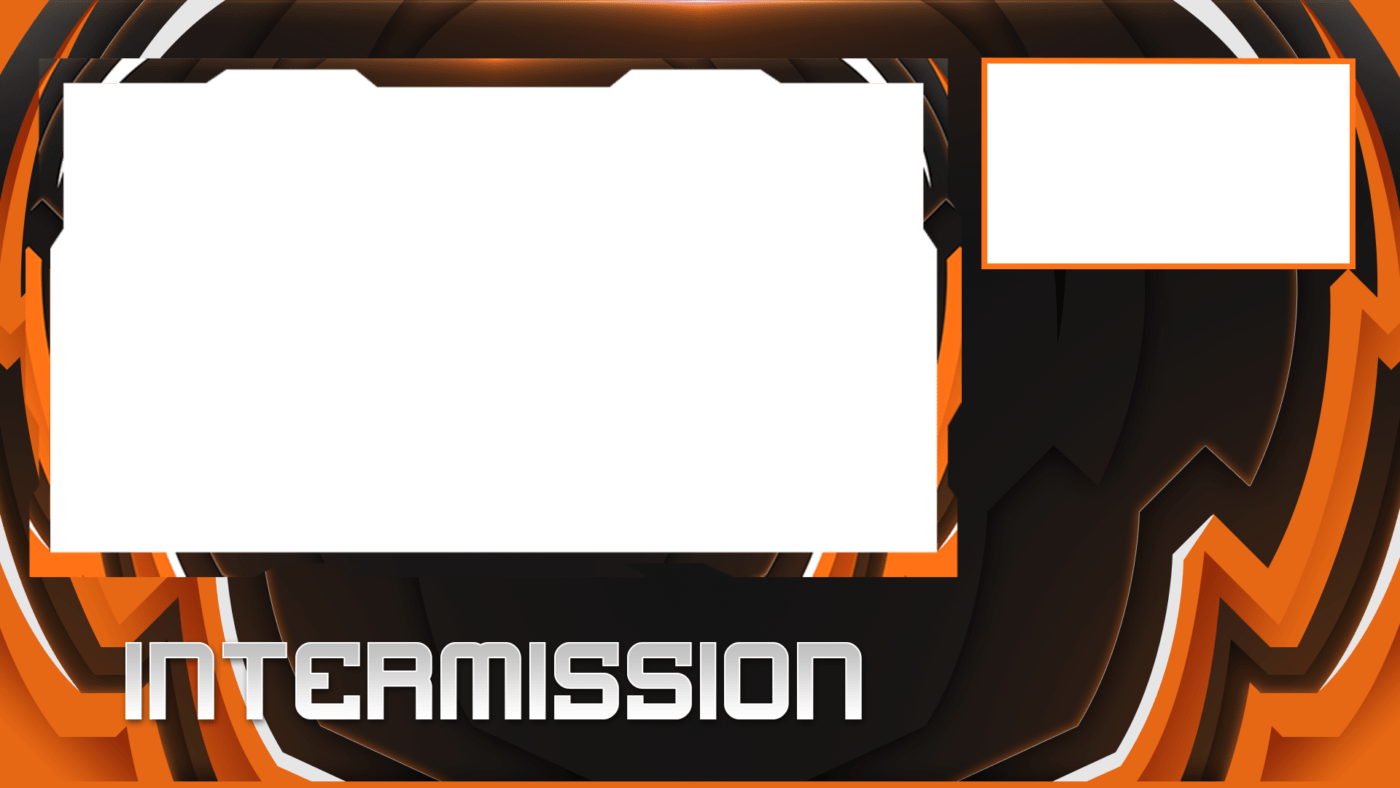
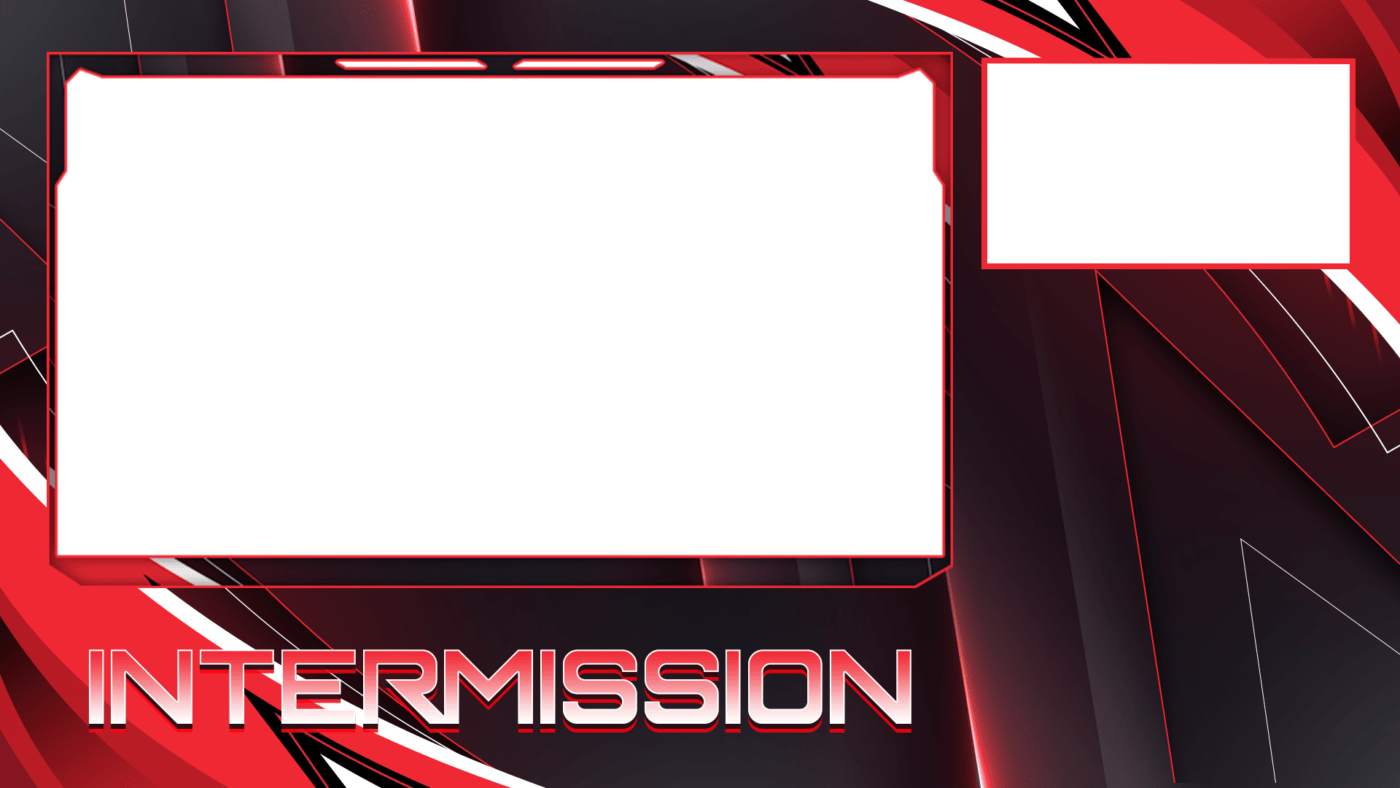
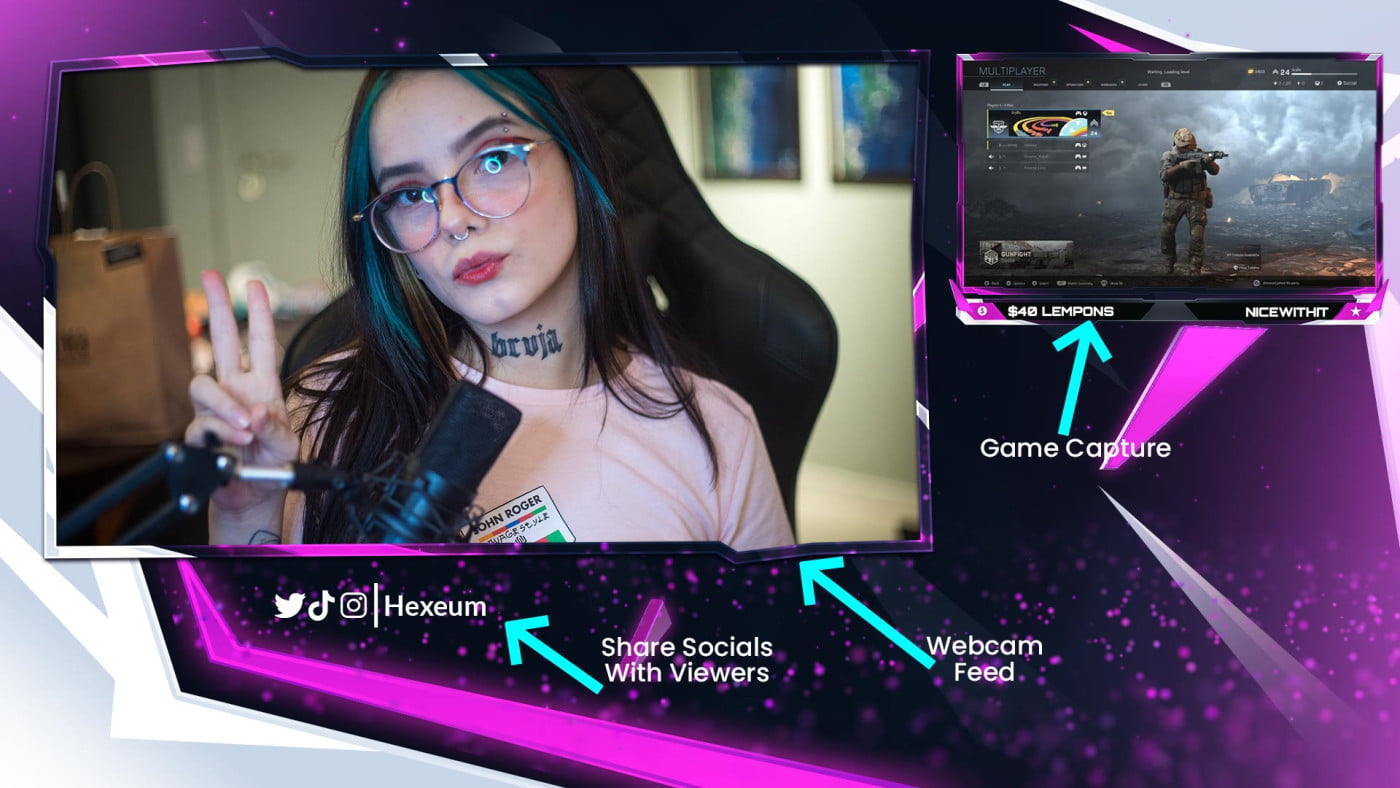
Intermission screens are widely popular overlay graphics used by streamers during a pause or break. However this usually isn’t a break from the stream, rather an in between section of the stream. An example of this is when a streamer is waiting to find a new game in a multiplayer lobby. They could even be even switching game entirely. One of the key features of the intermission screen is that it puts a focus on the streamers webcam.
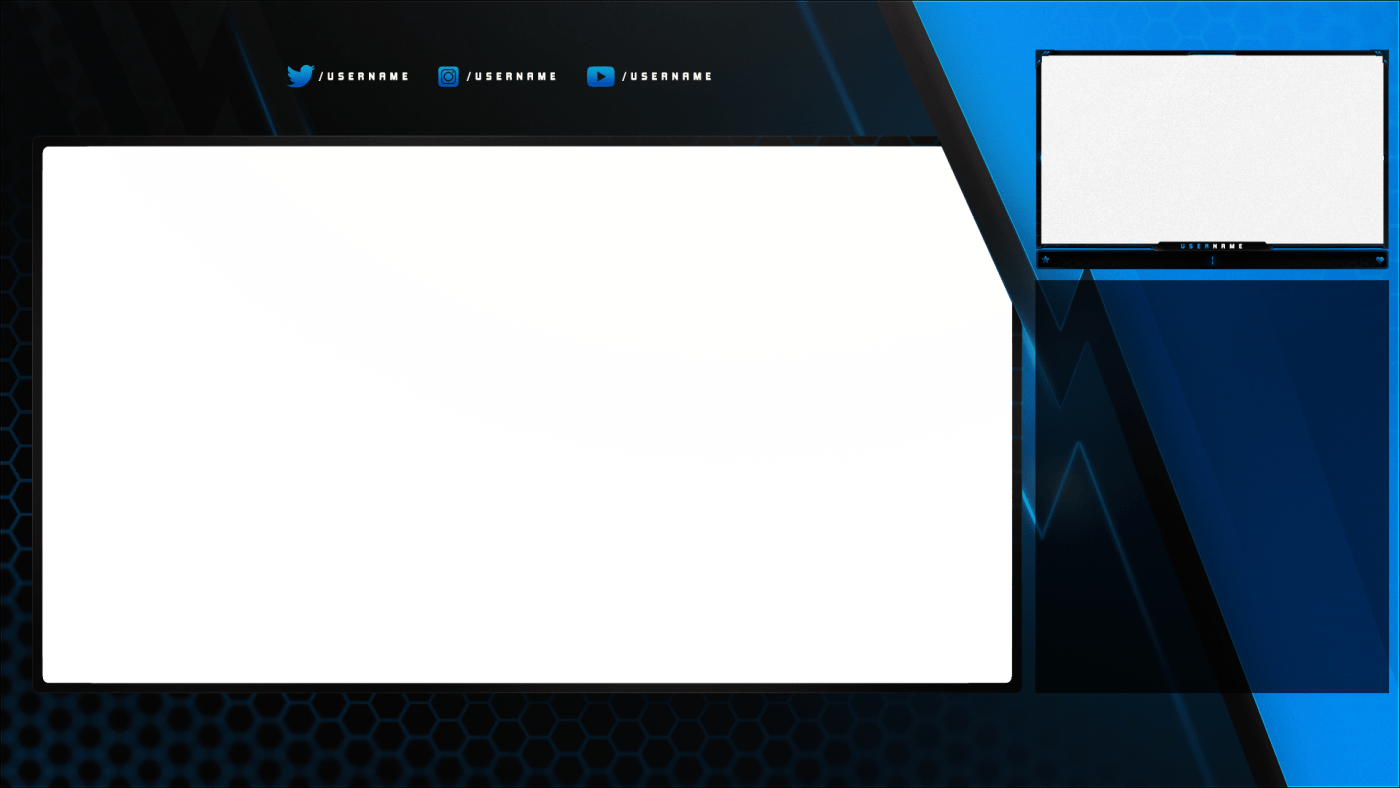
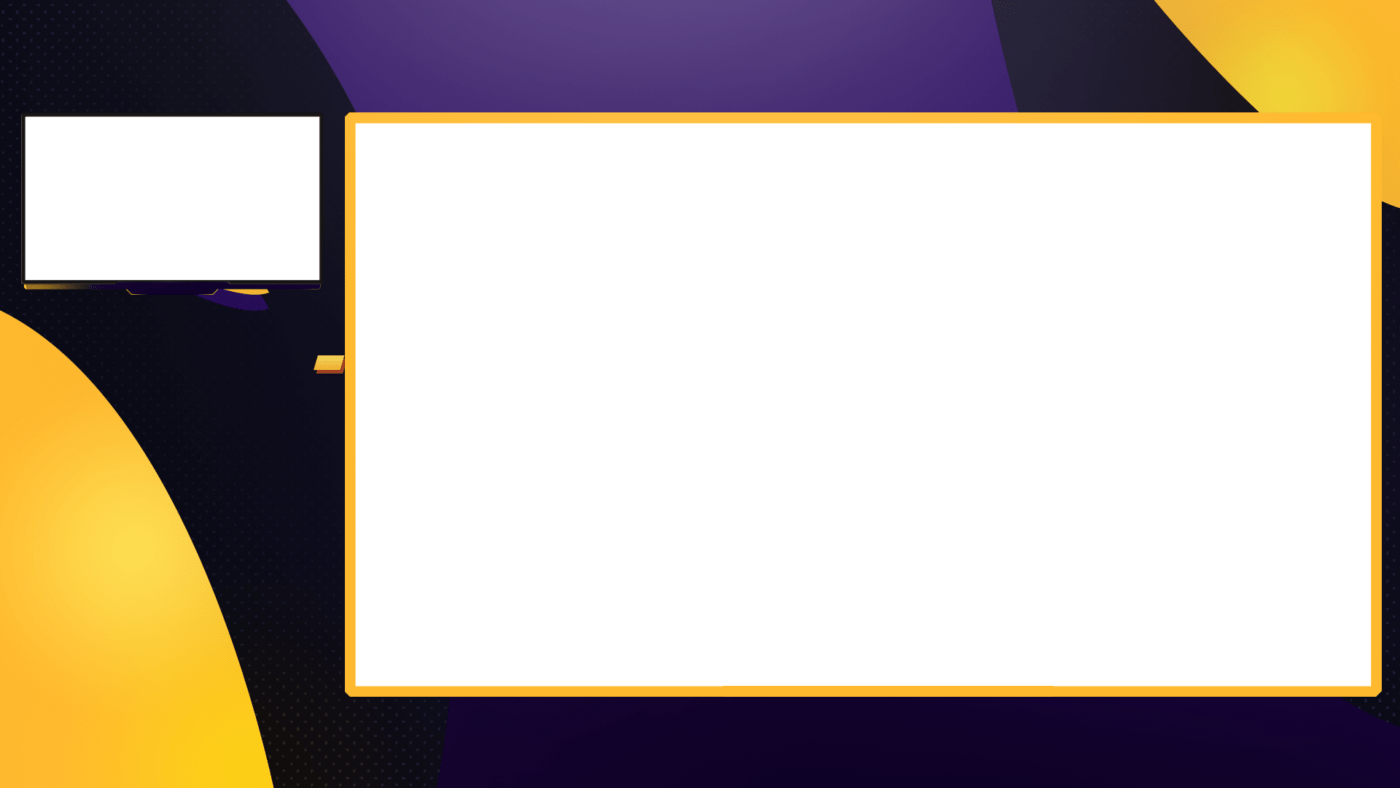
Typically when a streamer is playing a game, the majority of the screen is taken up by their gameplay, and a smaller section of the screen is dedicated to their webcam video. The intermission is the inverse of this, having the larger part of the screen for the webcam and the smaller part for the game capture. Oftentimes there’s also an overlay displaying chat on this screen.
It’s worth mentioning this screen is the perfect place to display useful information to viewers. Whether it’s social media usernames or your sponsors, viewers aren’t hyper focused on gameplay during an intermission. This means there’s a much higher chance of them seeing this information.
Free Intermission Screens
Time for the freebies ! We’ve done our best to find you a whole bunch of free intermission screens available to download instantly. A lot of these screens are part of full packages which are also available for free. So if you’re upgrading your stream graphics then why not upgrade everything all together.
Where To Find Free Intermission Screens ?
If you’re wanting to go more in depth with your search for an intermission screen then you’re going to have to check out a few different sources. Now, where you’ll look will depend entirely on whether you want them for free or if you want to buy the overlays. To help you find as many options as possible we’ve put together this list of stores that offer all sorts of free designs.
- WDFlat : They’ve been creating free designs for quite a few years now. It’s no surprise they’re one of the top choices for streamers looking to upgrade their stream for free. We have rated them as number one purely because of the number of designs available to choose from. With this huge library of designs, you’re sure to find something that matches with your criteria.
- Hexeum : We started offering free designs as a way to help out streamers in any way we could. We try to offer a variety of individually free graphics, but we’ve also got full stream packages, which of course include an intermission screen.
- Kudos.tv : Kudos put out some of the highest quality designs out there. This is true of their free designs too. You’ll find the same quality in both their premium and free packages, making them a great choice.
- NerdOrDie : One of the first stores around that’s been consistently creating designs for years. It’s clear from the amount of freebies they give away that they also have a vested interest in helping streamers grow.
How To Make An Intermission Screen ?
There are quite a few options available when it comes to creating your own intermission screen. There’s overlay makers available such as Canva or PlaceIt which simplify the process of creating an intermission screen. In addition to this you could make a Twitch overlay using free software like Photopea. The final and what we believe is the best option is to create a dynamic intermission screen.
One of the issues we’ve run into using traditional static intermission screens is their lack of flexibility. If you’re using a premade design then chances are you won’t have control over the placement of either the webcam or game capture windows.
By understanding how to create a dynamic intermission screen, you can start getting really creative with your stream. Perhaps you usually stream solo but sometimes you’d like to collaborate with other streamers and have their webcam also shown. Well with traditional static intermission screens this wouldn’t be possible and the only solution would be to get another static screen made up.
Now that you’ve got an idea of the benefits, let’s get straight into showing you how they’re made.
What You'll Need
For the 3rd requirement, there’s a few places you can find such backgrounds. You can get animated backgrounds or you can find static ones using pxhere. To help you find good designs on pxhere, try using search terms that include words like abstract or art.
To help you follow along with this tutorial we’re giving one of our premium backgrounds away for free. You can download it here.
Steps
- Download the latest version Stream FX and follow the installation instructions.

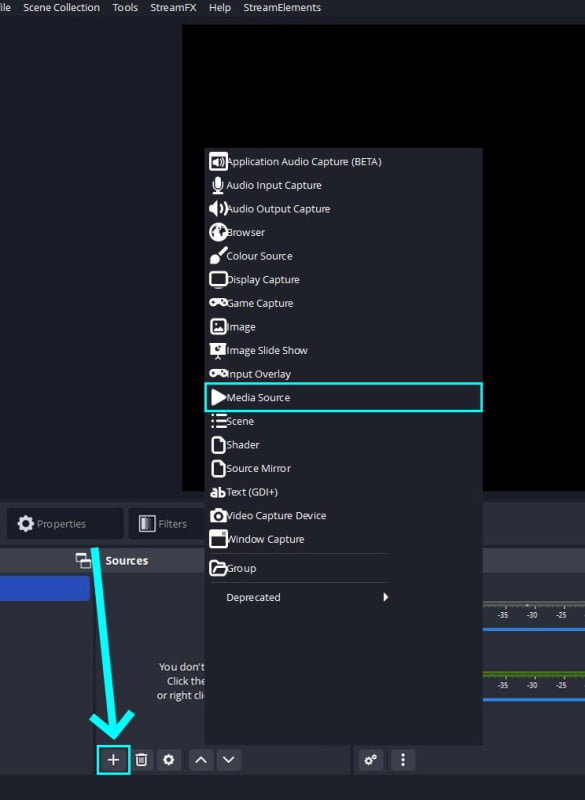
- Launch OBS. You’ll have at at least one scene in OBS, if you have more than one scene, simply select which one you’ll use to set up the intermission screen. Then from the Sources section add a media source. If you’re using an animated background use a media source, for static backgrounds use an image source.

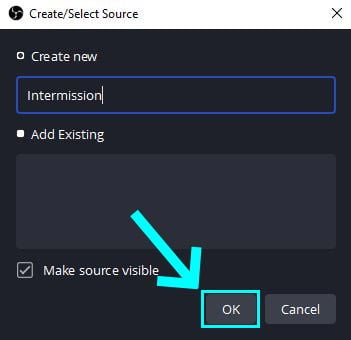
- Name the media source appropriately and hit OK.

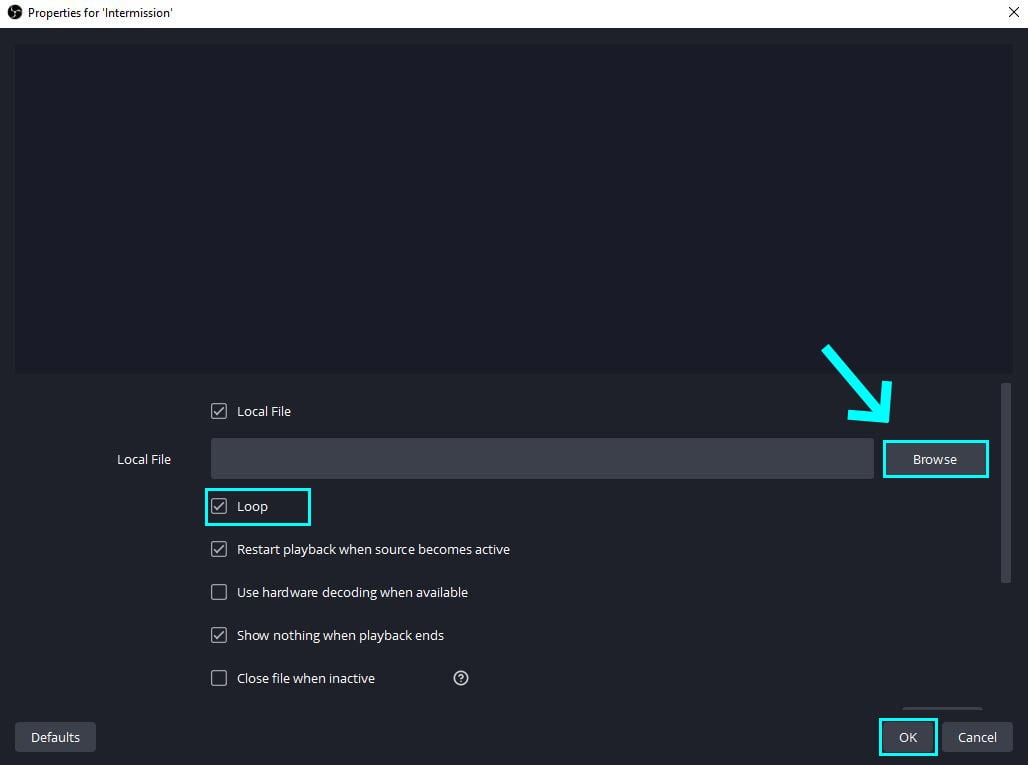
- Select Browse and from the new window, navigate to your animated background file on your computer and select it. Enable Loop and press OK.

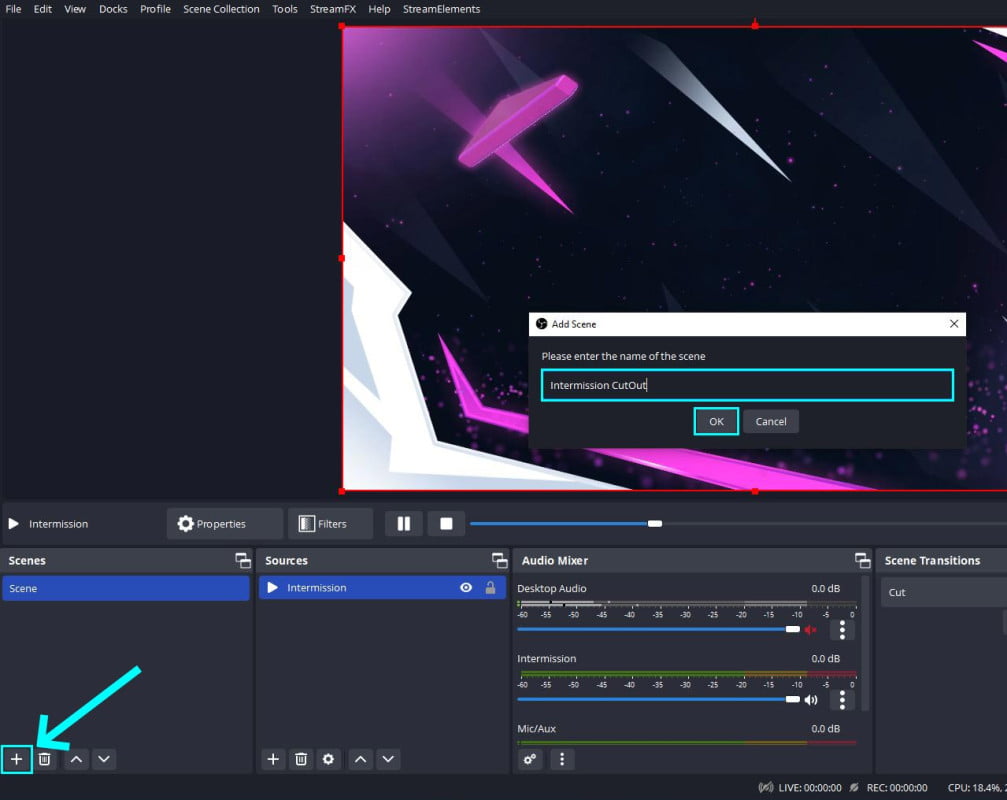
- Create a New Scene and name it Intermission Cutout. Once given a name select OK to finish creating the new scene.

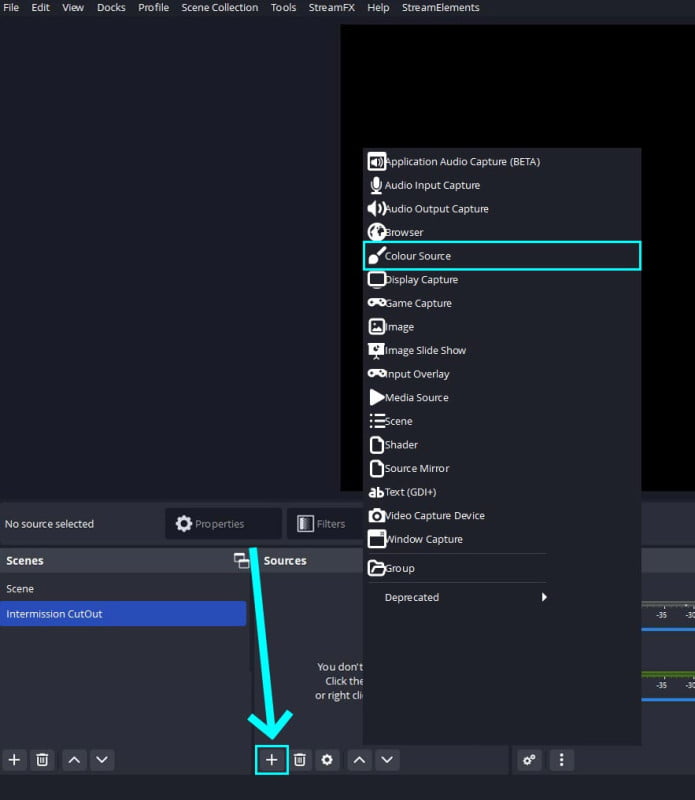
- Select the new scene created in the previous step and create a Color Source.

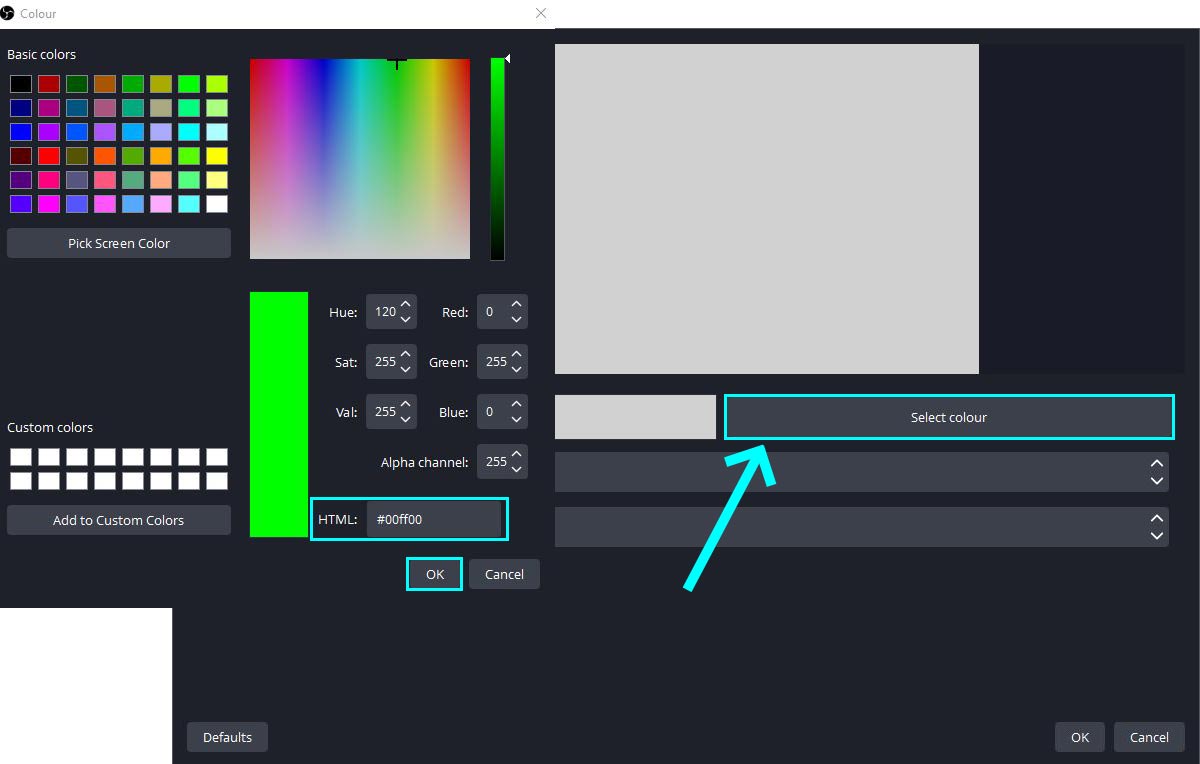
- Name the color source and select OK to continue to the properties section. From the properties window press Select Color. A new window will show where you can select colors. In the HTML section enter the value #00ff00. Finish off by pressing OK.

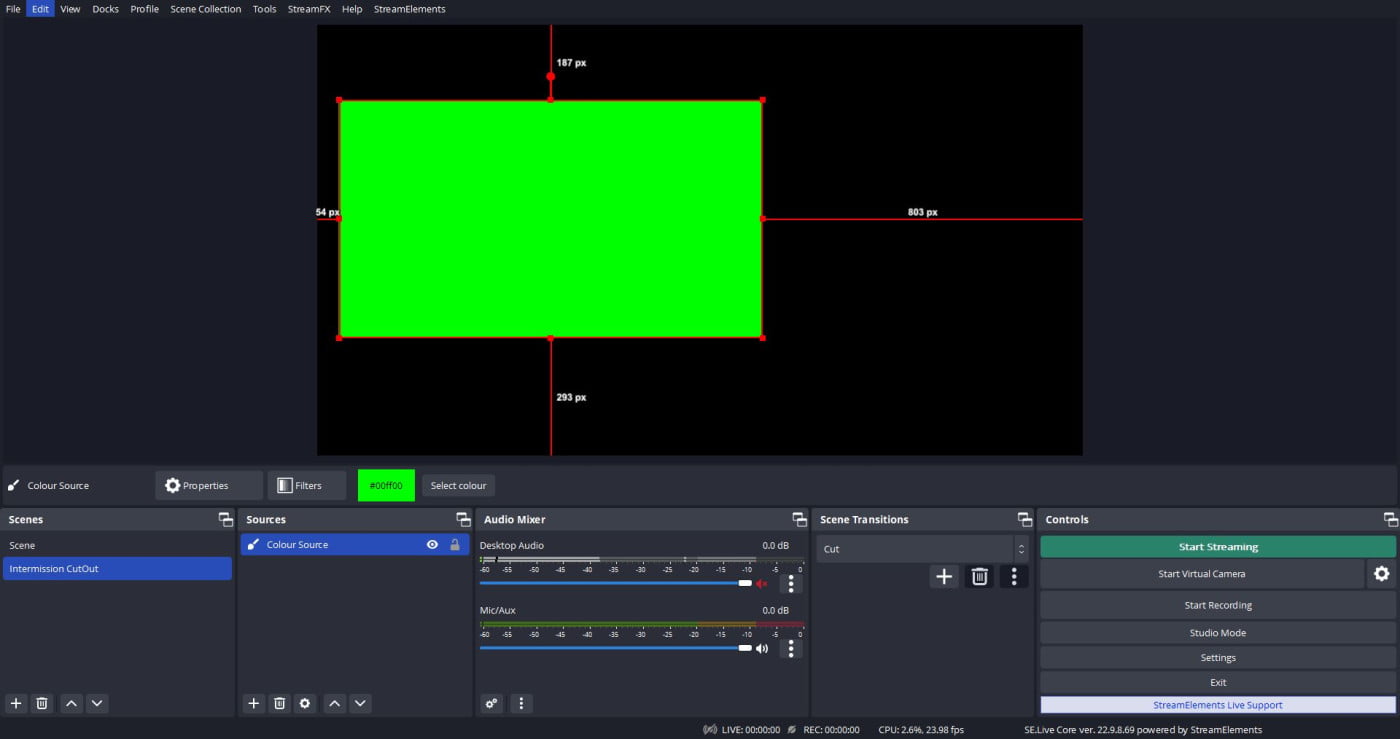
- Scale down the color source and position it where you like. This color source will serve as the position for a cut-out in the intermission screen.

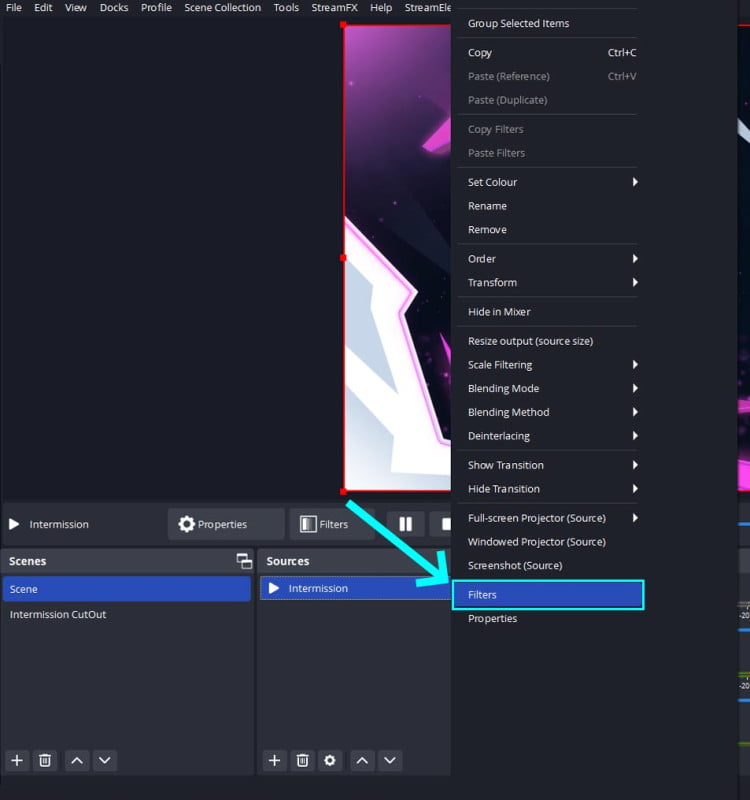
- Now switch back to the main scene where we previously added the media source. Right click the media source and select Filters

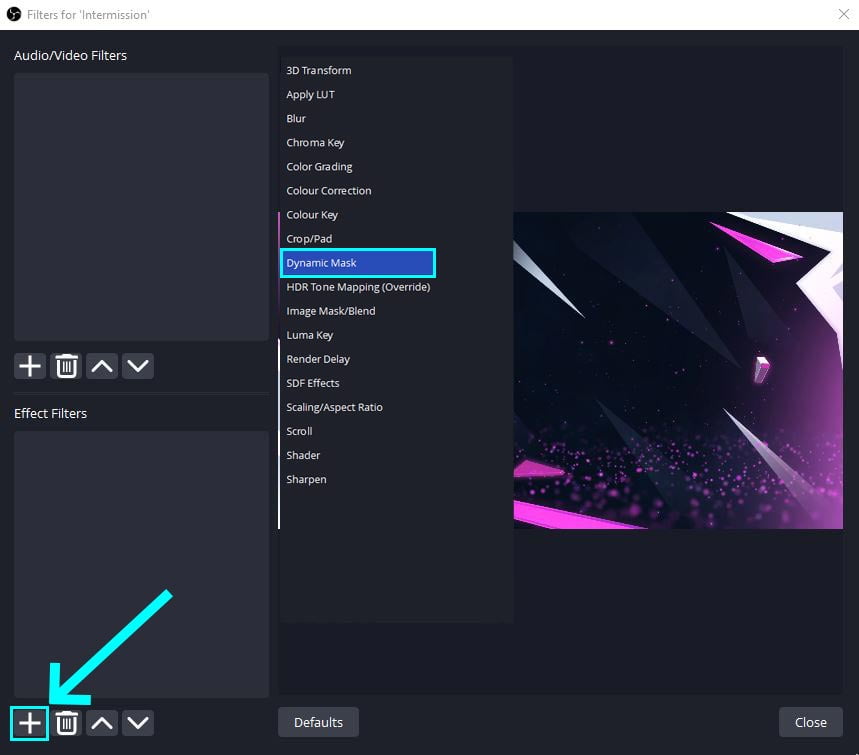
- From the filters window select the + button and then select Dynamic Mask from the list of filters.

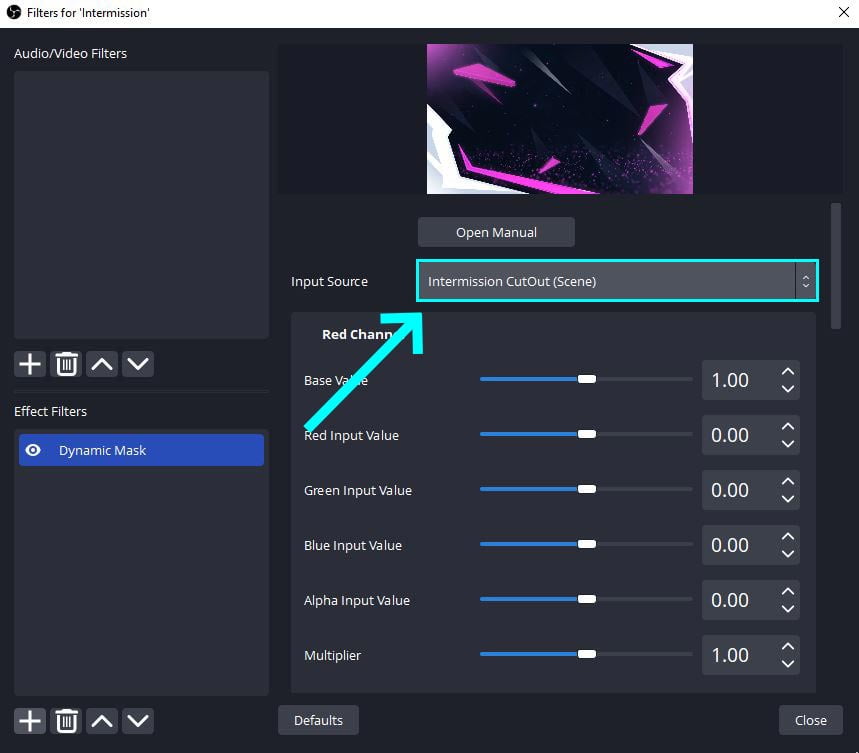
- Change the Input Source to Intermission Cutout scene using the dropdown that appears on selection.

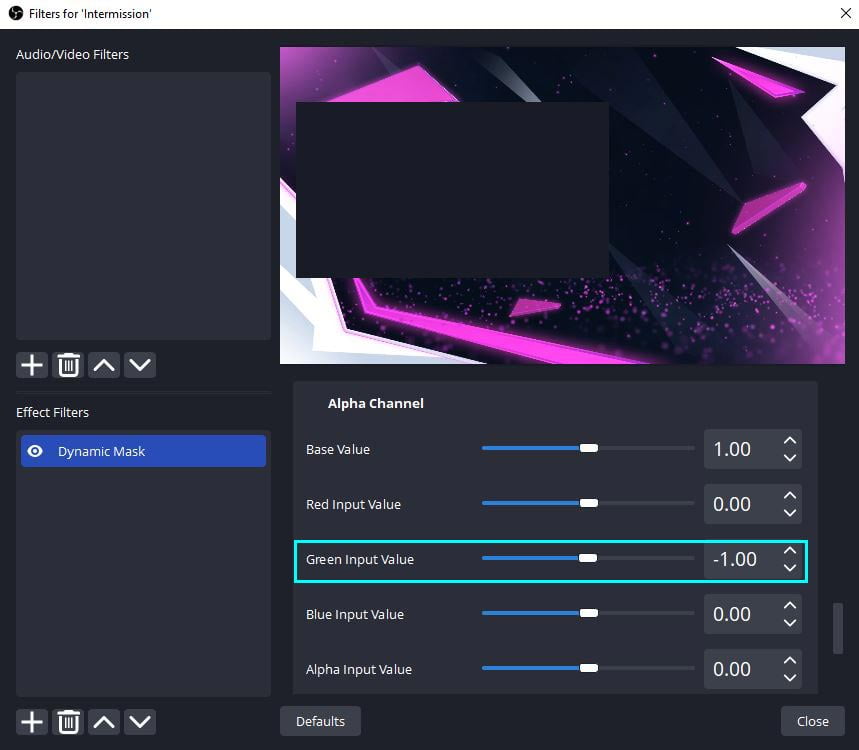
- Scroll down to the Alpha Channel section. Change the Green Input Value to -1. Press close once you’re finished.

- Download the latest version Stream FX and follow the installation instructions.
Video Tutorial
If you enjoy learning from videos we’ve found a great video that guides you through the process of creating an animated intermission screen. Keep in mind for this tutorial they use premium software Photoshop and After Effects. You can follow along with the photoshop portion of the video and instead of Photoshop use a free alternative called Photopea. Unfortunately for the animation part there’s no such similar software available for free.
How To Set Up An Intermission Screen In OBS
In order to cover all basis we’ve found a great video tutorial (see below) detailing how to set up an intermission screen in OBS. For those of you who are more inclined to learn visually we highly recommend checking the video out. For those who want a step by step procedure check out our OBS overlays set up guide.
Top Tips
Here are some tips to keep in mind when setting up your intermission screen.
- Consider adding Twitch chat overlay to this screen using KapChat.
- Display recent events (Subs, Follows, Donos).
- Display your socials to promote engagement on other platforms.
- Crop the webcam or game capture sources so they don’t overlap into each others window (You can crop by holding Alt + Left Click on a sources red boundary).
Conclusion
So to wrap things up, you should now be familar with exactly what an intermission screen is and how it can be used. We’ve shown you a collection of free screens, so you have no excuse not get started using one.
This article has mainly covered free assets so far. However, if you’re looking for some more unique and higher quality premade stream overlay packages, we’ve got plenty in store.
This entry was posted in Designs.
Liam Doherty
Liam Doherty comes from game development background, initially exposing him to the world of content creators. In 2017 he decided to dive headfirst into the creators realm, offering solutions for branding and creating better content.
Hexeum
© 2025 Hexeum. All rights reserved
Login
Register
We use cookies to ensure that we give you the best experience on our website. If you continue to use this site we will assume that you are happy with it.OkNoPrivacy policy

